



Free Shipping over $300

Support 24/7

Secure Payments

Hot Offers

Aliwheels is a leading motorcycle parts supplier offering free shipping anywhere in the world on orders above $300. Please note that all of our motorcycle parts and accessories are certified and tested. With more than 10,000* products to choose from this is your one place to get the motorcycle part you need. Browse our vast inventory of motorcycle radiators, fairings, clutch plates, headlights, chains, and sprockets.

Free Shipping over $300

Support 24/7

Secure Payments

Hot Offers

Riding your GSX-S1000 at night shouldn’t feel like squinting through fog. But if you own one, you’ve probably noticed the stock headlight just doesn’t cut it once the sun goes down. You’re not imagining things, and you’re definitely not the only one dealing with this.

This is one of the most consistent complaints across Suzuki GSXS1000 owner communities, with threads on the topic going back years. Let’s break down why the factory headlight underperforms and what actually fixes it.

Why the Stock GSX-S1000 Headlight Falls Short?

The GSX-S1000 uses a reflector-style headlight housing paired with a halogen bulb. This is an older lighting technology compared to the LED and projector setups found on many newer bikes. Reflector housings work by bouncing light off a curved surface to create the beam pattern, but they’re far less efficient than projector-style housings at focusing that light onto the road.

Owners across forums describe the same experience: the headlight looks fine parked in a driveway, but once you’re actually riding at highway speed in the dark, the beam simply doesn’t illuminate far enough ahead. Several riders specifically mention feeling unsafe on unfamiliar roads at night because of how little the stock light reveals.

What Riders Are Actually Saying?
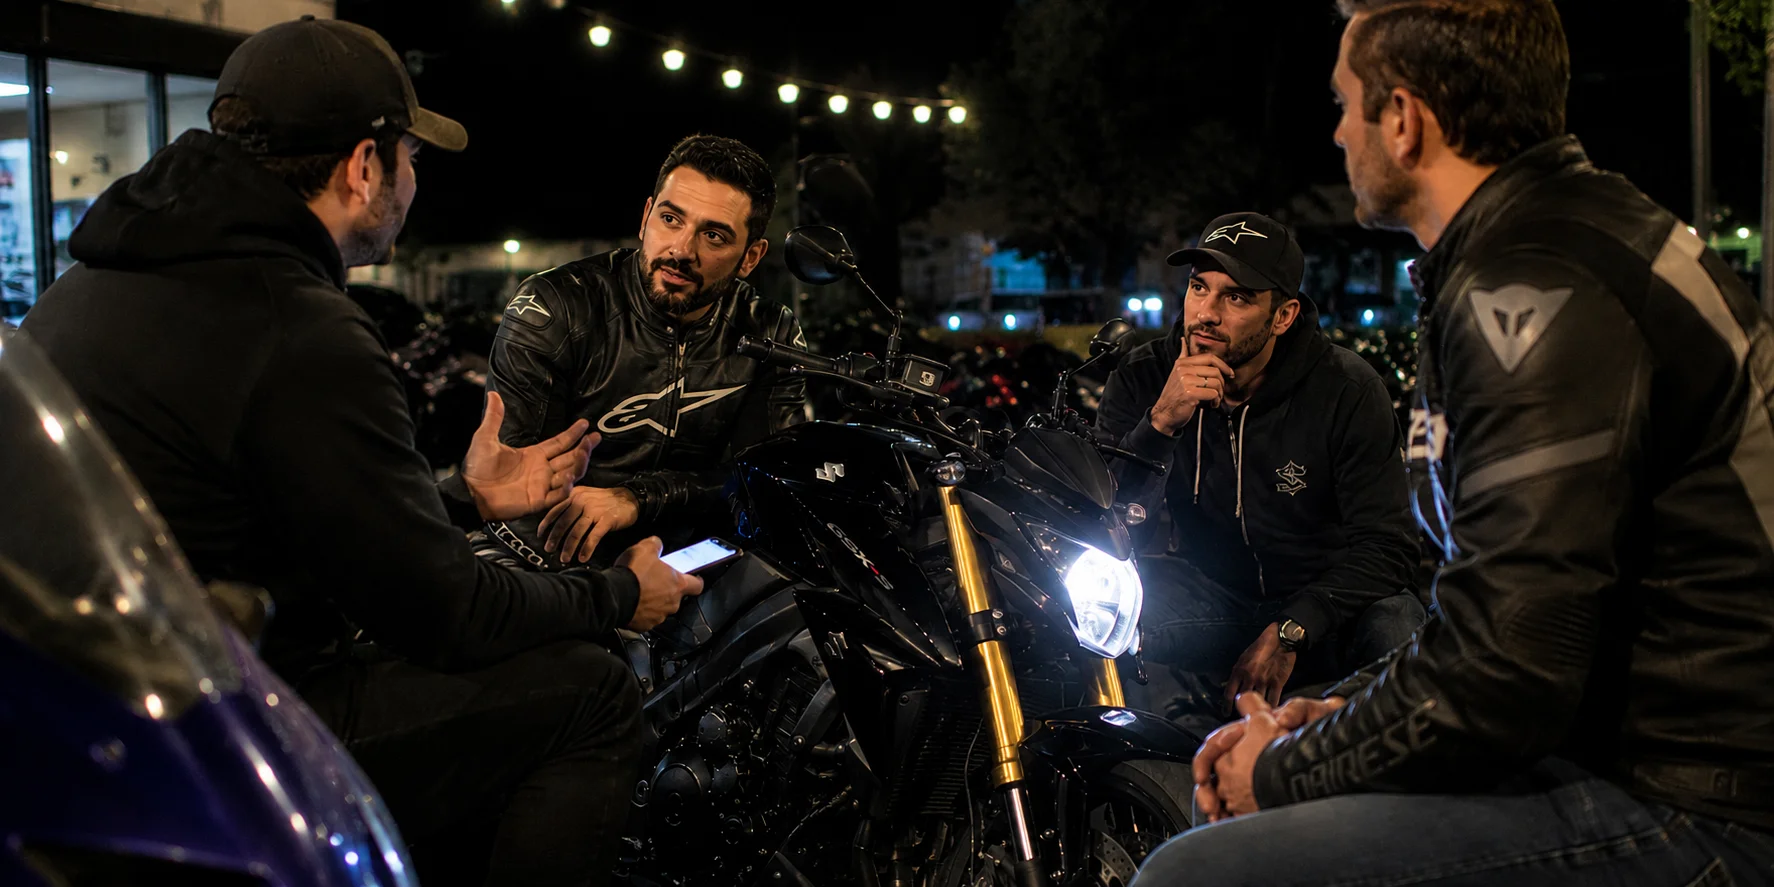
GSX-S1000 riders discussing

The GSXS1000 owner forum, with over 120,000 posts and 11,000 members, has years of recurring discussion around this exact issue. Common themes include:

“The headlight isn’t visible enough at night.” Multiple owners report that other drivers seem to have trouble spotting them, raising real safety concerns beyond just personal visibility.

Frustration with finding a proper LED replacement. Riders trying to upgrade run into connector mismatches, with some LED kits using two-prong connectors when the stock housing needs three, or physical sizing issues where the replacement bulb’s back end simply doesn’t fit the factory housing.

Misaligned headlights straight from the factory. Several owners discovered their headlights were aimed incorrectly from the start, making the already weak beam even less effective until properly adjusted.

Model-specific differences. The standard GSX-S1000 uses a single H4 dual-beam bulb, while the GSX-S1000F uses two separate H7 bulbs. Riders often buy the wrong replacement because they don’t realize their model needs a different setup entirely.

Is This a Safety Issue?

Yes, and multiple owners treat it as one. Beyond simple inconvenience, poor headlight performance limits your reaction time to hazards on unlit roads. Riders who commute at night or travel through rural areas without streetlights face a real visibility gap with the stock setup. This isn’t just about preference. It’s a genuine safety concern worth addressing properly.

What Doesn’t Fix It?

A few common attempts fall short of solving the real problem.

Simply swapping in a brighter halogen bulb. This helps marginally but doesn’t address the core limitation of the reflector housing itself. You’ll get slightly more light, not a real transformation.

Random LED bulbs without checking model-specific fitment. As forum threads confirm repeatedly, generic LED kits often don’t physically fit the housing correctly, leading to melted connectors, poor beam patterns, or bulbs that simply won’t seat properly.

Ignoring headlight alignment. Even a perfect bulb upgrade won’t help if your headlight is aimed too high or too low. Several owners found their factory alignment was off from the start.

The Real Fix: A Proper Headlight Upgrade

Rather than chasing generic bulb swaps that may or may not fit, starting with a headlight assembly built specifically for your GSX-S1000’s model year solves the fitment guesswork from the start.
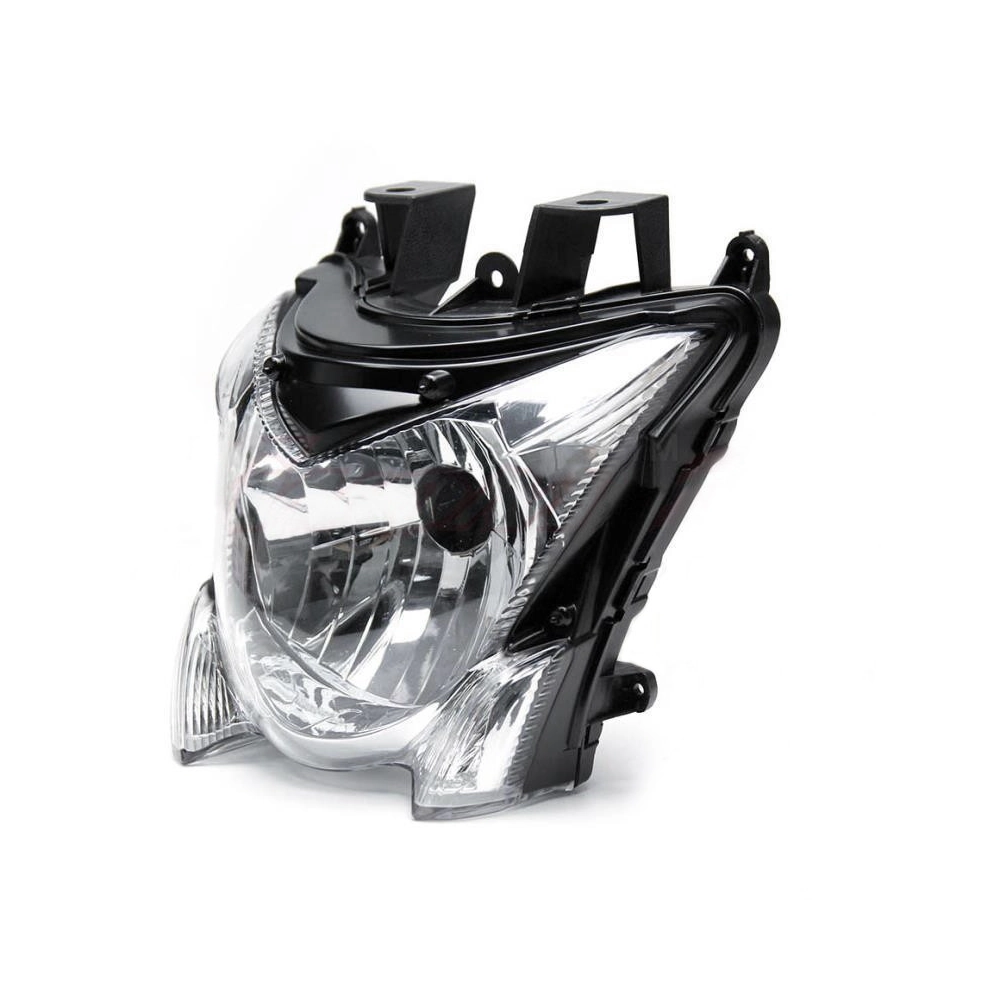
 Suzuki GSX-S1000 15-18 Headlight

Aliwheels stocks the Suzuki GSX-S1000 15-18 Headlight, designed as a direct replacement for your exact model and year range. Starting with a properly fitted housing means that any bulb upgrade you add afterward, LED or otherwise, has a much better chance of seating correctly and performing as it should.

Steps to a Better Night Riding Setup

  1. Confirm which variant you own, the standard GSX-S1000 or the F model, since bulb types differ between them.
  2. Replace the headlight assembly with a properly fitted unit for your year.
  3. Choose a quality LED bulb rated specifically for motorcycle use, not automotive kits repurposed for bikes.
  4. Check the connector type before installing, since two-prong and three-prong setups aren’t interchangeable.
  5. Adjust your headlight aim after installation. Most bikes have adjustment screws or gears accessible from the front of the housing.
  6. Test ride at night before a long trip to confirm that both brightness and beam alignment feel right.

Headlight Alignment: Don’t Skip This Step

Several forum threads reveal that riders assumed their upgrade wasn’t working, when the real issue was simply a misaligned headlight. Locate your adjustment mechanism, usually either a screw-style or gear-and-notch style adjuster depending on your model year, and take the time to properly aim your beam before judging whether your upgrade actually helped.

If you’re unsure how to access the adjusters, most bikes have them positioned at the top or side of the headlight housing, reachable without removing the front fairing.

GSX-S1000 headlight alignment

Browse More Suzuki GSX-S1000 Parts

If you’re upgrading your lighting setup, it’s worth checking your other electrical components while you’re at it. Aliwheels stocks fitment-matched parts for your exact GSX-S1000 model year, helping you avoid the trial and error many riders go through sourcing parts elsewhere.

Conclusion

The GSX-S1000’s dim headlight isn’t a rare complaint. It’s a well-documented, years-long topic among owners who ride at night and want better visibility. The stock reflector housing and halogen bulb simply weren’t built for serious night riding.

Start with a properly fitted headlight assembly for your exact model, add a quality LED bulb, and take the time to align it correctly. Riders who’ve made this upgrade consistently report a night-and-day difference, literally, in how confident they feel on unlit roads.
(Commenting: OFF)

Ask any Kawasaki KLR 650 owner about their exhaust, and you’ll likely get a strong opinion. Some love the heavy factory muffler for its quiet, reliable performance. Others can’t wait to swap it for something lighter. Almost everyone has thoughts on which aftermarket option is actually worth the money.

This guide breaks down what KLR 650 owners actually say about their exhaust options, based on years of ongoing discussion across one of the largest KLR-focused communities online, so you can make the right choice for your riding style.

Why the Stock Exhaust Divide Opinion?

The factory KLR 650 muffler is big, heavy, and admittedly not much to look at. Owners often compare it to a barbecue grill or a lawnmower muffler. But it’s also quiet, reliable, and doesn’t need repacking as most aftermarket options do.

This tradeoff- weight and looks versus reliability and quiet operation is exactly why the exhaust upgrade conversation never really ends on KLR forums. With over 362,000 posts and 32,000 members in one dedicated KLR community alone, this is clearly a topic riders care deeply about.

What Riders Say About Going Aftermarket?

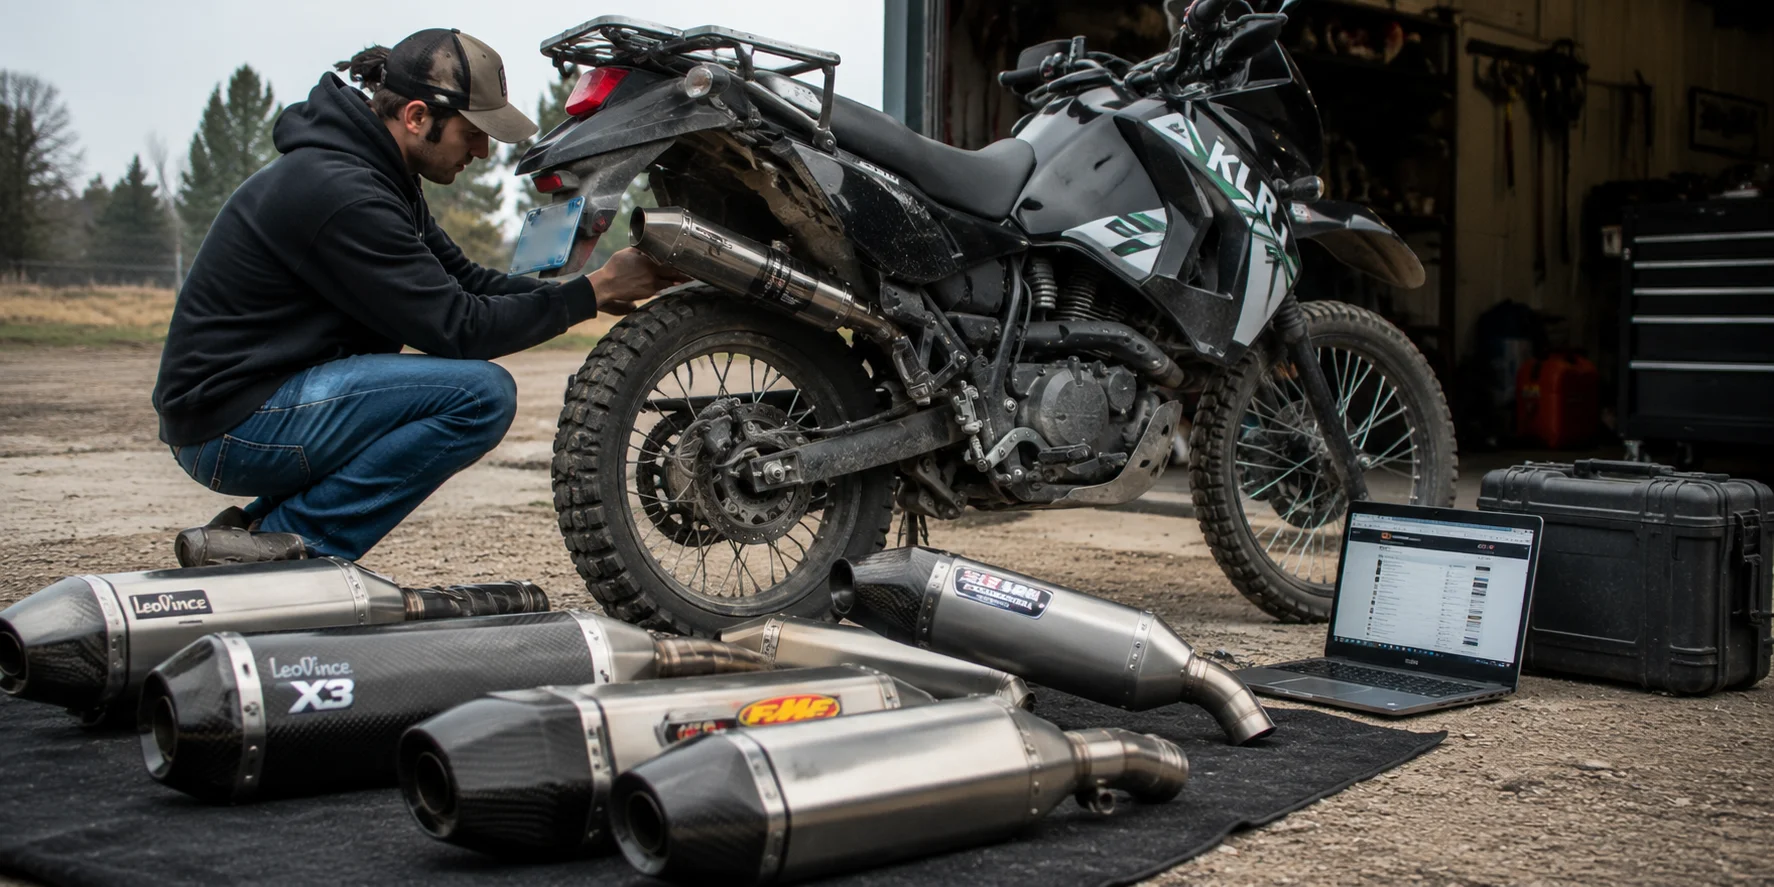
KLR 650 aftermarket exhaust upgrade

Weight savings is the biggest draw. Since the KLR is already a heavy bike, shedding a few pounds from the exhaust is one of the more noticeable changes riders report after swapping.

Sound level varies dramatically between brands. This is where owner experiences differ most. Some aftermarket options like the LeoVince X3 run around 94 decibels, close to stock levels, while others like certain FMF and Big Gun setups run noticeably louder, with some riders describing them as “hearing damage loud” without earplugs.

Repacking requirements catch new owners off guard. Nearly every aftermarket exhaust except a few premium options needs periodic repacking to maintain its sound and performance. Riders who skip this maintenance report their exhaust getting progressively louder over time as the packing material burns out.

Jetting and fueling matter more than expected. Multiple owners warn that installing an aftermarket exhaust without adjusting your carburetor or fuel mapping can cause performance issues, including flat spots in the power band. The stock setup runs lean from the factory, and changing the exhaust without accounting for that can do more harm than good.

Comparing the Most Discussed Options

LeoVince X3. Consistently mentioned as a top choice among owners who want quieter performance without frequent repacking. Runs around 94 decibels and holds up well over thousands of miles without significant sound increase.

Lexx. A budget-friendly alternative in a similar quiet range as the LeoVince, though it does require periodic repacking. Popular among owners who don’t mind occasional maintenance in exchange for a lower upfront cost.

FMF Q4. Slightly louder than the LeoVince and Lexx options, generally described as having a pleasant sound without being excessive, though opinions vary based on individual tolerance for noise.

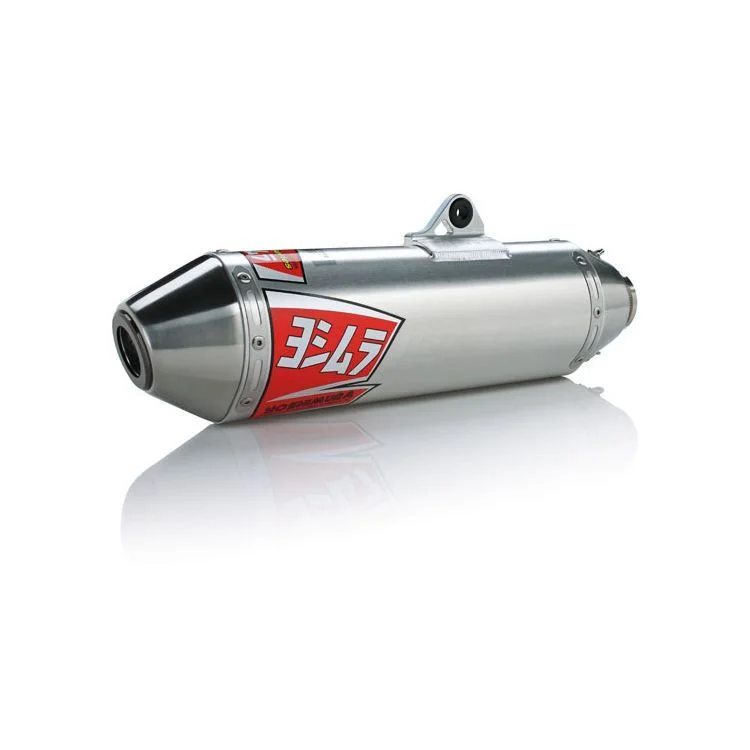
Yoshimura RS-2. Praised for its lightweight and appearance, but multiple owners note it runs louder than they expected, especially at wide-open throttle.

Big Gun systems. Mixed reviews. Some owners report years of trouble-free use, while others cite customer service concerns and higher noise levels than anticipated.

Is an Aftermarket Exhaust Actually Worth It?

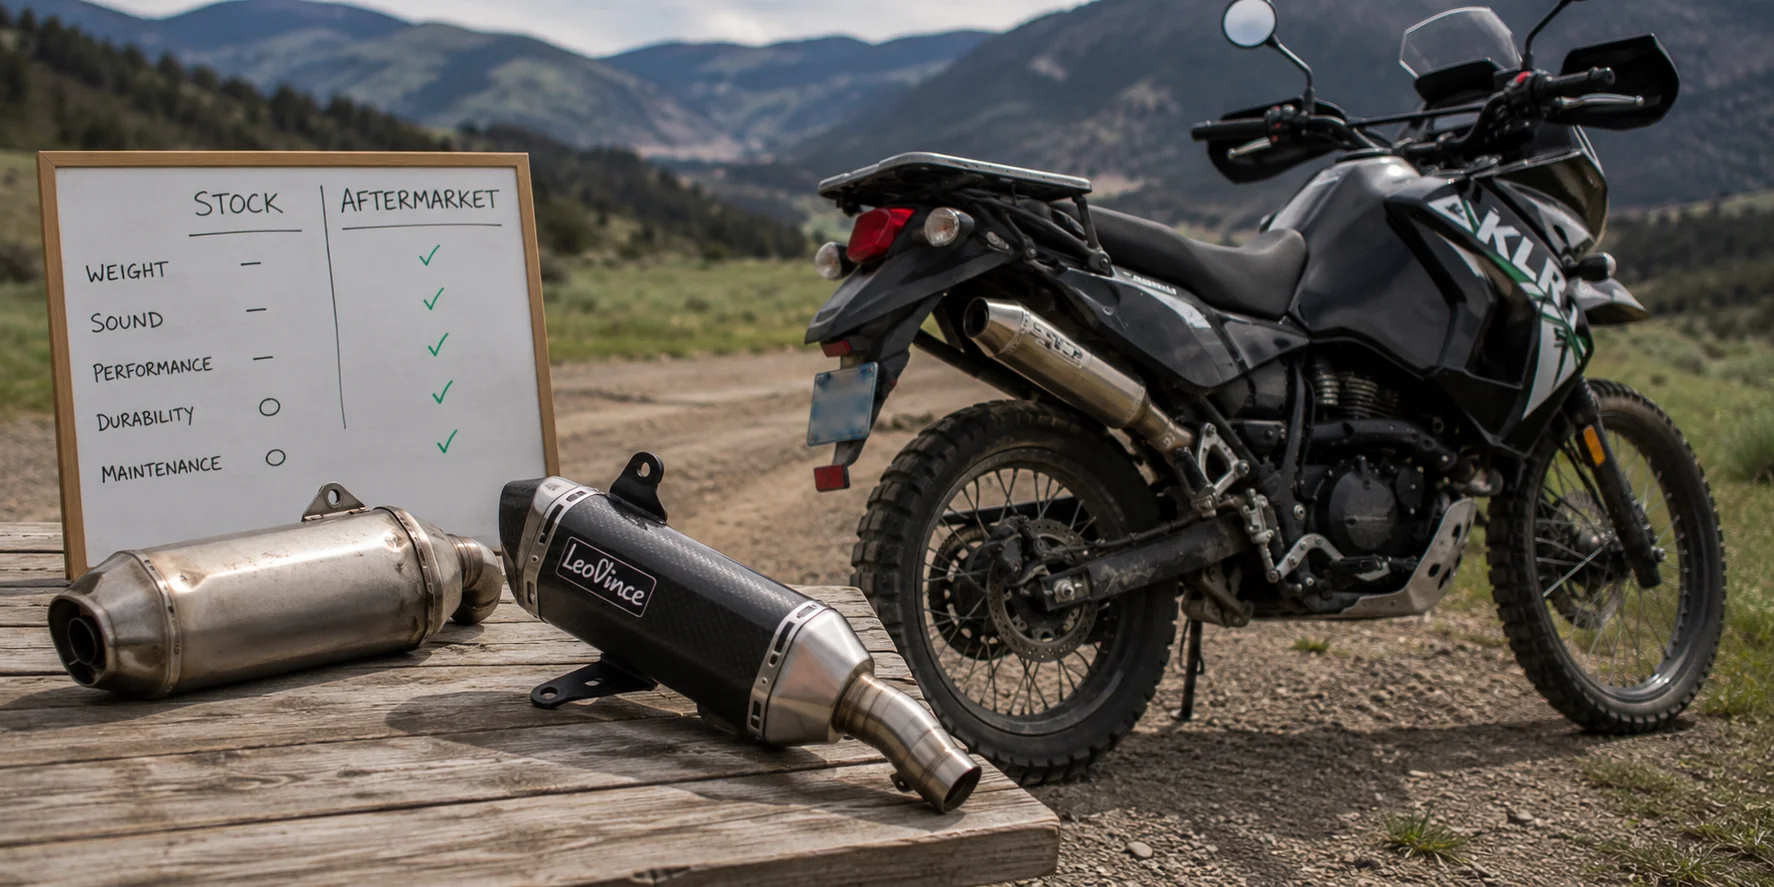
This depends entirely on what you’re optimizing for. If pure performance is your goal, most experienced KLR owners agree that aftermarket exhausts offer little to no real horsepower gain on their own. The main benefits are weight reduction and sound, not increased output.

Stock vs aftermarket exhaust

If you’re chasing a lighter bike and don’t mind occasional maintenance, an aftermarket option makes sense. If you prioritize a quiet, low-maintenance setup and don’t mind the extra weight, plenty of experienced owners genuinely prefer sticking with stock.

Common Mistakes to Avoid

Skipping the jetting adjustment. If you switch to a free-flowing aftermarket exhaust without adjusting your carburetor, you risk running lean, which can cause engine damage over time, not just performance issues.

Choosing based on looks alone. Several riders admit they picked an exhaust primarily for appearance, then regretted it once they realized how loud it actually was on long rides.

Ignoring local noise regulations. Some riders specifically mention needing a legally compliant, spark-arrestor-equipped exhaust for certain trails or areas. Check your local requirements before buying based on sound alone.

Not accounting for the catalytic converter. Since the KLR’s catalytic converter sits inside the factory muffler can, any aftermarket midpipe needs the correct bend and connection to work properly. Not every generic option accounts for this.

Installing Your New Exhaust

Once you’ve chosen the right option for your riding style, installation generally follows these steps:

  1. Let the bike cool completely before starting.
  2. Remove the factory muffler by disconnecting it from the header pipe and unbolting the mounting brackets.
  3. Position the new exhaust system, aligning it with the factory mounting points.
  4. Secure all connections and brackets according to the manufacturer’s torque specifications.
  5. Adjust your carburetor jetting if your new exhaust significantly changes airflow.
  6. Start the bike and listen for exhaust leaks before your first ride.

Shop Kawasaki KLR 650 Parts

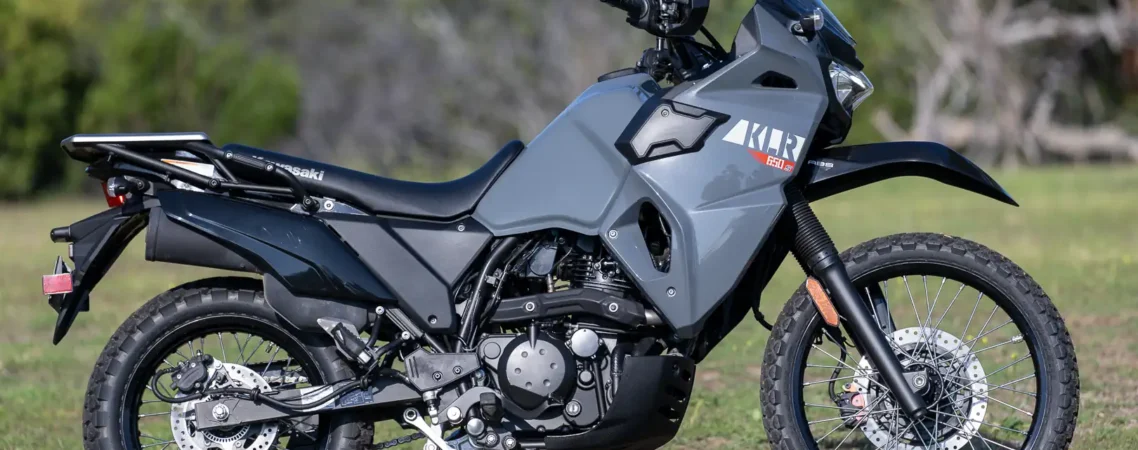
If you’re upgrading your exhaust, it’s worth checking your intake and jetting components at the same time, since these work together to keep your engine running properly. Aliwheels has the Kawasaki KLR 650 Exhaust (2022-2023), built as a direct fitment option for your model year.

Kawasaki KLR 650 Exhaust 2022-2023

Conclusion 

The KLR 650 exhaust debate has been running for years, and it’s not likely to settle anytime soon. What matters most is matching your choice to your actual priorities, whether that’s weight savings, sound level, or long-term low maintenance. Do your research on decibel levels, factor in repacking requirements, and don’t skip the jetting conversation if you go aftermarket.

Whatever you choose, make an informed decision based on what actual owners have already learned through years of trial and error, rather than guessing your way through it.

(Commenting: OFF)

You dropped your Panigale V2, or maybe you were just doing routine maintenance, and now your headlight bracket is cracked or snapped clean off. Before you panic and call your dealer, let’s talk about what this part actually does, why it’s harder to replace than you’d expect, and what your real options are.

This guide covers everything owners of the 2020-2023 Panigale V2 need to know about the headlight bracket, also called the fairing stay, including where to find one and how much you should expect to pay.

What Is the Role of the Headlight Bracket?

The headlight bracket, sometimes called the fairing stay, is the structural piece that holds your front fairing, headlight assembly, and windscreen together. It bolts directly to your frame and takes on a lot of stress every time you ride. Vibration, road impacts, and even minor tip-overs put constant pressure on this part.

When it cracks or breaks, your fairing loses its main support. That means your headlight can shift out of position, your windscreen can rattle loose, and in worse cases, your whole front fairing assembly becomes unstable at speed. This isn’t a cosmetic part you can ignore.

Why Do Panigale V2 Owners Struggle to Replace Headlights?

Here’s where things get frustrating. Unlike common wear parts such as brake pads or oil filters, the headlight bracket isn’t something most riders keep in stock or even think about until it breaks.

Ducati owners on forums report a specific problem: the V2’s bracket looks similar to the V4’s bracket, but the two don’t interchange. The mounting points and product codes differ between models, even though the shape looks nearly identical at a glance. This means you can’t just grab whatever bracket someone’s selling secondhand and expect it to bolt right on.

On top of that, OEM replacement brackets through a dealership run around $300. For a support bracket, that’s a steep price, and many owners find themselves searching for alternatives before committing to that cost.

OEM vs. Aftermarket Headlights: What’s the Real Difference?

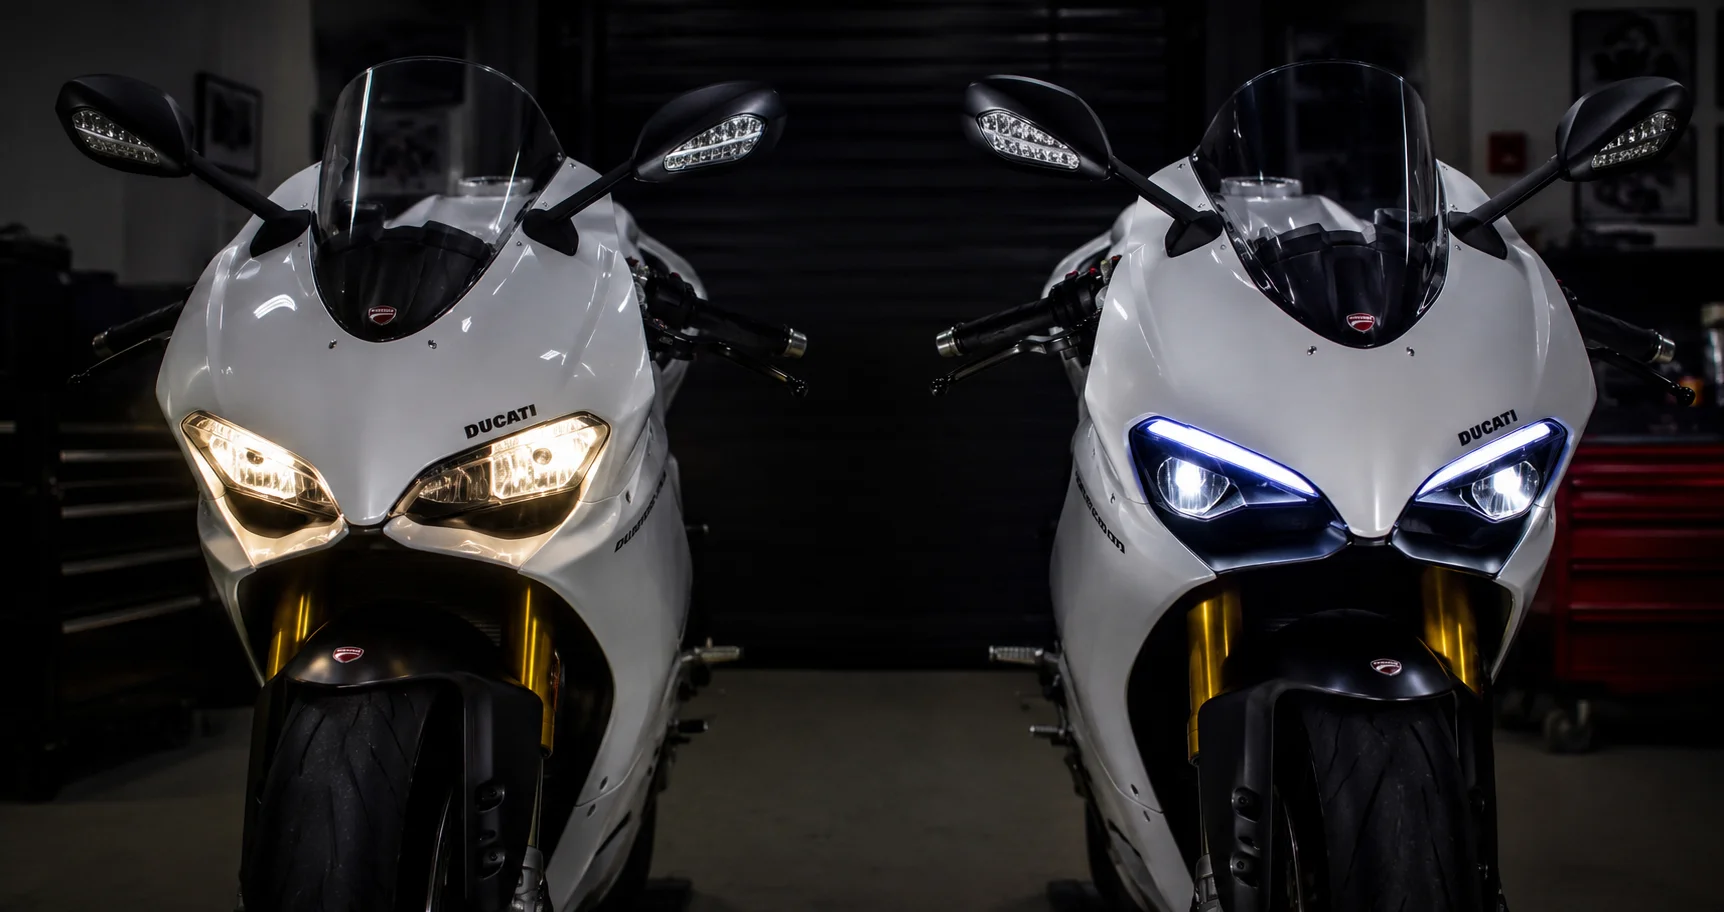
OEM vs. Aftermarket Headlights

OEM brackets guarantee exact fitment since they come from Ducati directly. You know it’ll bolt up without modification, and it matches your bike’s original specifications. The downside is price and availability. Dealers don’t always keep this part in stock, which means waiting on backorder while your bike sits unrideable.

Aftermarket brackets available at Aliwheels offer a more affordable path without sacrificing fitment accuracy when they’re built specifically for your model and year. The key is making sure the aftermarket part is designed for the V2 specifically, not a generic or V4-labeled part that only looks similar.

Some riders on Ducati forums mention finding carbon fiber aftermarket options priced similarly to OEM, while others prefer aluminum alloy versions from brands like Motoholders for better durability if the bike goes down again. Whichever route you choose, confirm the product listing specifies 2020-2023 V2 fitment before you buy.

4 Signs Your Headlight Bracket Needs Replacing

You don’t always need a dramatic crash to damage this part. Watch for these signs:

Visible cracks near the mounting points. Even hairline cracks weaken the bracket’s ability to hold weight securely.

The fairing or windscreen feels loose at speed. If your front end starts vibrating or shifting slightly during highway riding, a compromised bracket could be the cause.

The headlight sits crooked or misaligned. A cracked bracket can’t hold your headlight assembly in its proper position, leading to visible misalignment.

Recent drop or tip-over. Even a low-speed parking lot tip-over can crack this part without leaving obvious external damage. If your bike went down recently, inspect the bracket closely.

How to Check Your Bracket Before Buying a Replacement?

Before ordering a new bracket, take ten minutes to properly inspect the current one.

Remove your side fairings to get a clear view of the bracket’s full structure. Small cracks often hide near bolt holes, where stress concentrates most.

Check for any flex or movement when you gently push on the fairing near the headlight. A healthy bracket won’t give at all. Any noticeable flex means it’s compromised.

Look at the mounting bolts themselves. Stripped or loose bolt holes in the bracket material, not just the bolts, often mean the bracket needs full replacement rather than a simple bolt tightening.

Installing a Replacement Bracket

Once you’ve confirmed you need a Ducati Panigale V2 headlight bracket, the installation process follows a similar pattern whether you go OEM or a properly fitted aftermarket option.

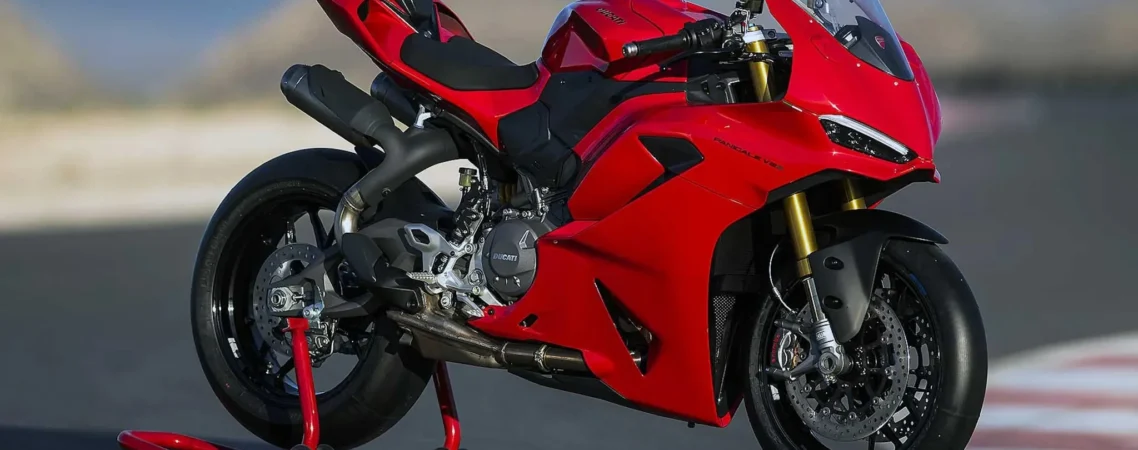
Ducati Panigale V2 Headlight Bracket 2020-2023
  1. Let your bike cool completely and set it on a stable stand.
  2. Remove the front fairing panels to access the bracket.
  3. Disconnect any wiring routed near the headlight assembly, noting the connection points.
  4. Unbolt the damaged bracket from the frame.
  5. Position the new bracket, aligning it with the factory mounting points.
  6. Secure it with the provided hardware, torquing bolts to spec.
  7. Reattach your headlight, wiring, and fairing panels.
  8. Double-check headlight alignment before your next ride.

This job typically takes an experienced rider one to two hours. If you’re not comfortable with fairing removal, a local mechanic can usually handle it quickly since the part itself is a direct bolt-in.

Preventing Future Bracket Damage

A few habits reduce your risk of dealing with this problem again.

Park your bike on stable, level ground whenever possible. Uneven surfaces increase tip-over risk, which is one of the most common causes of bracket damage.

Consider frame sliders or crash protection if you ride aggressively or track your bike. These absorb impact before it reaches structural parts like your fairing stay.

Inspect your fairing mounting points during regular maintenance checks, not just after an incident. Catching a hairline crack early saves you from a full failure down the road.

Preventing bracket damage

Shop Ducati Panigale V2 Parts

If you’re already replacing your headlight bracket, it’s worth checking the rest of your fairing hardware for wear at the same time. Aliwheels carries fitment-matched parts for your model in the Ducati motorcycle parts category, helping you avoid the guesswork that comes with sourcing V2-specific components.

Conclusion

A broken headlight bracket on your Panigale V2 isn’t just a cosmetic annoyance. It affects the structural stability of your entire front fairing assembly. Between the confusing V2 versus V4 compatibility issue and the steep OEM pricing, it’s easy to feel stuck. But once you know what to look for and where to source a properly fitted replacement, this fix is straightforward.

Inspect your bracket, confirm your fitment before buying, and get it replaced before a small crack turns into a bigger problem on the road.

(Commenting: OFF)

Or login with your social account