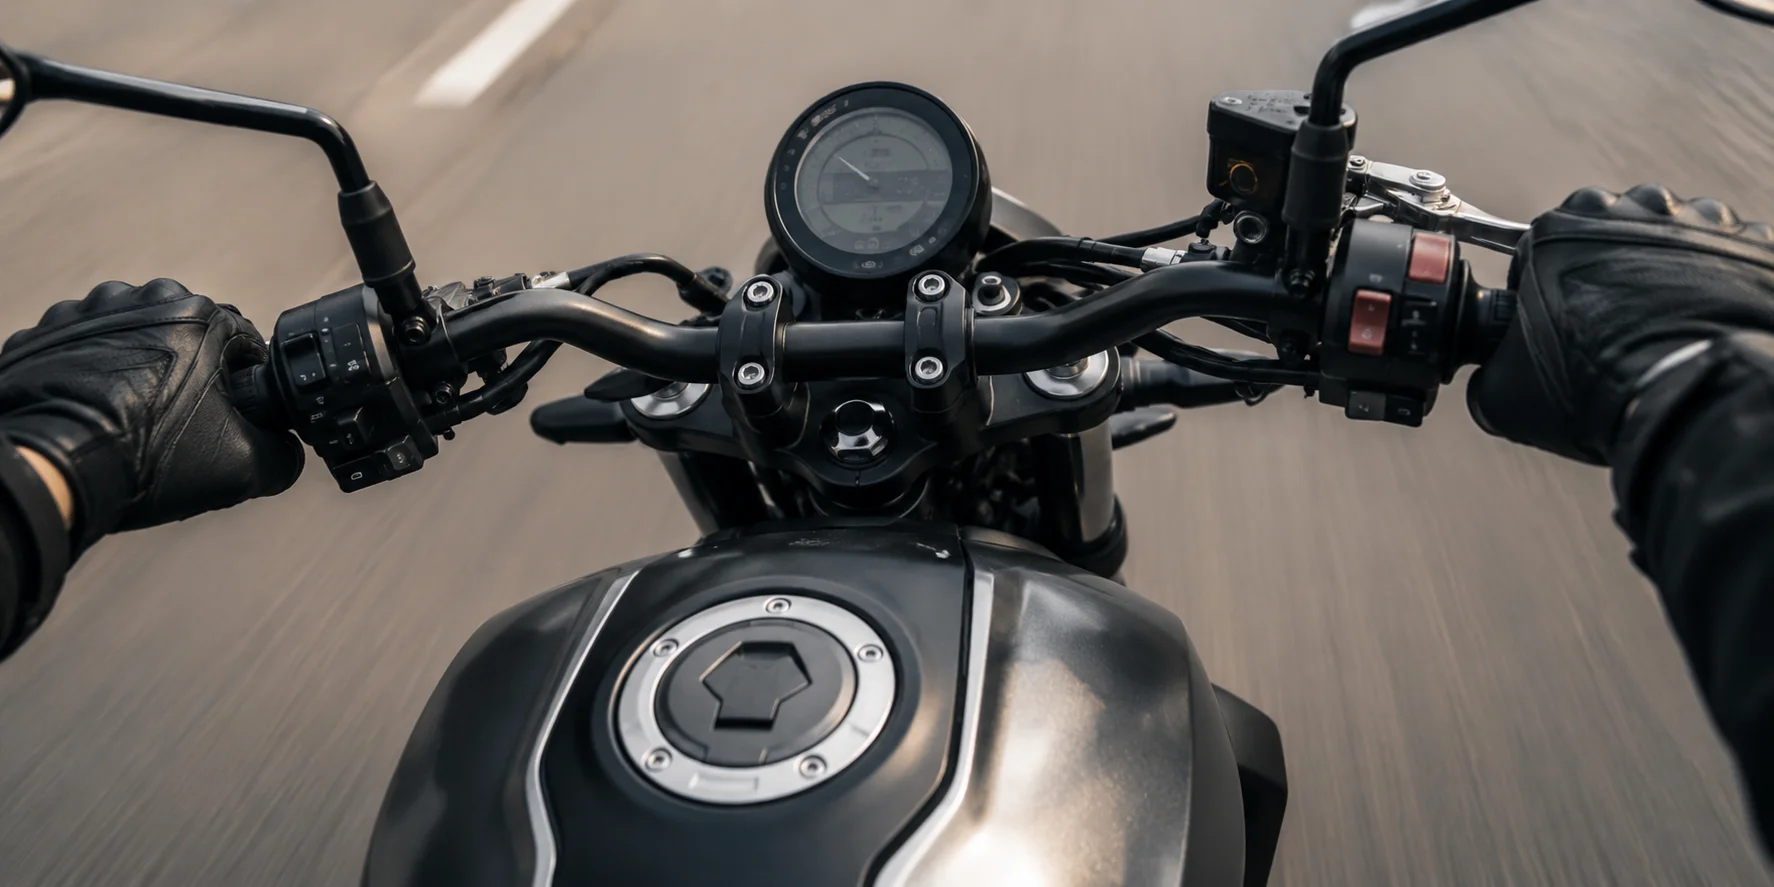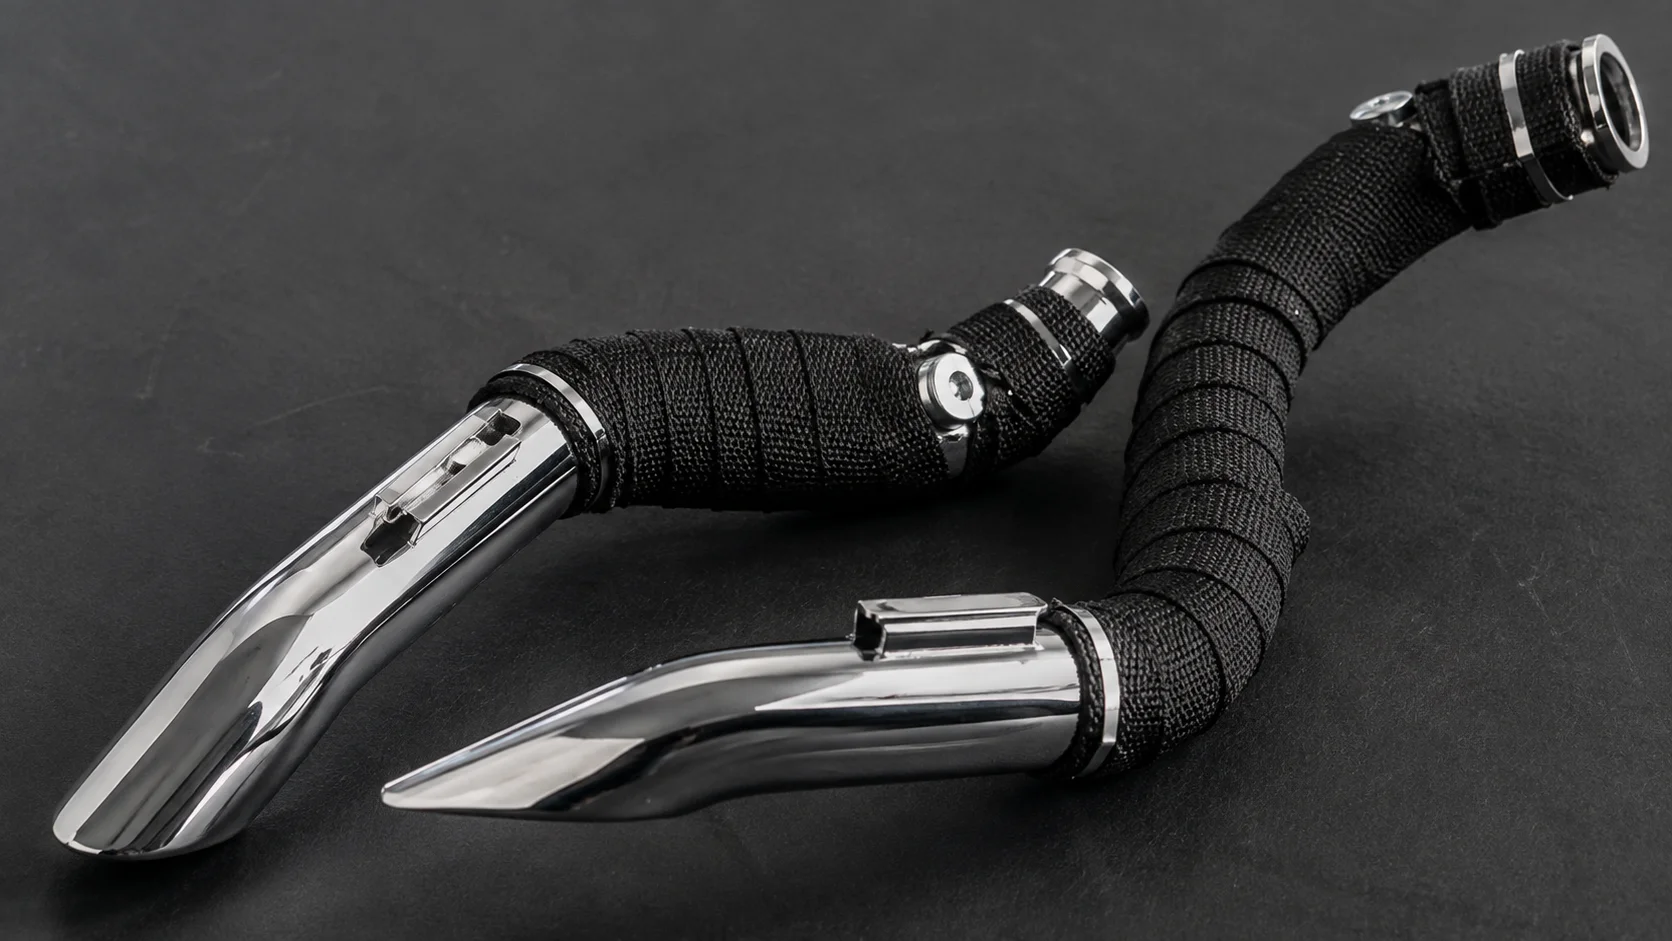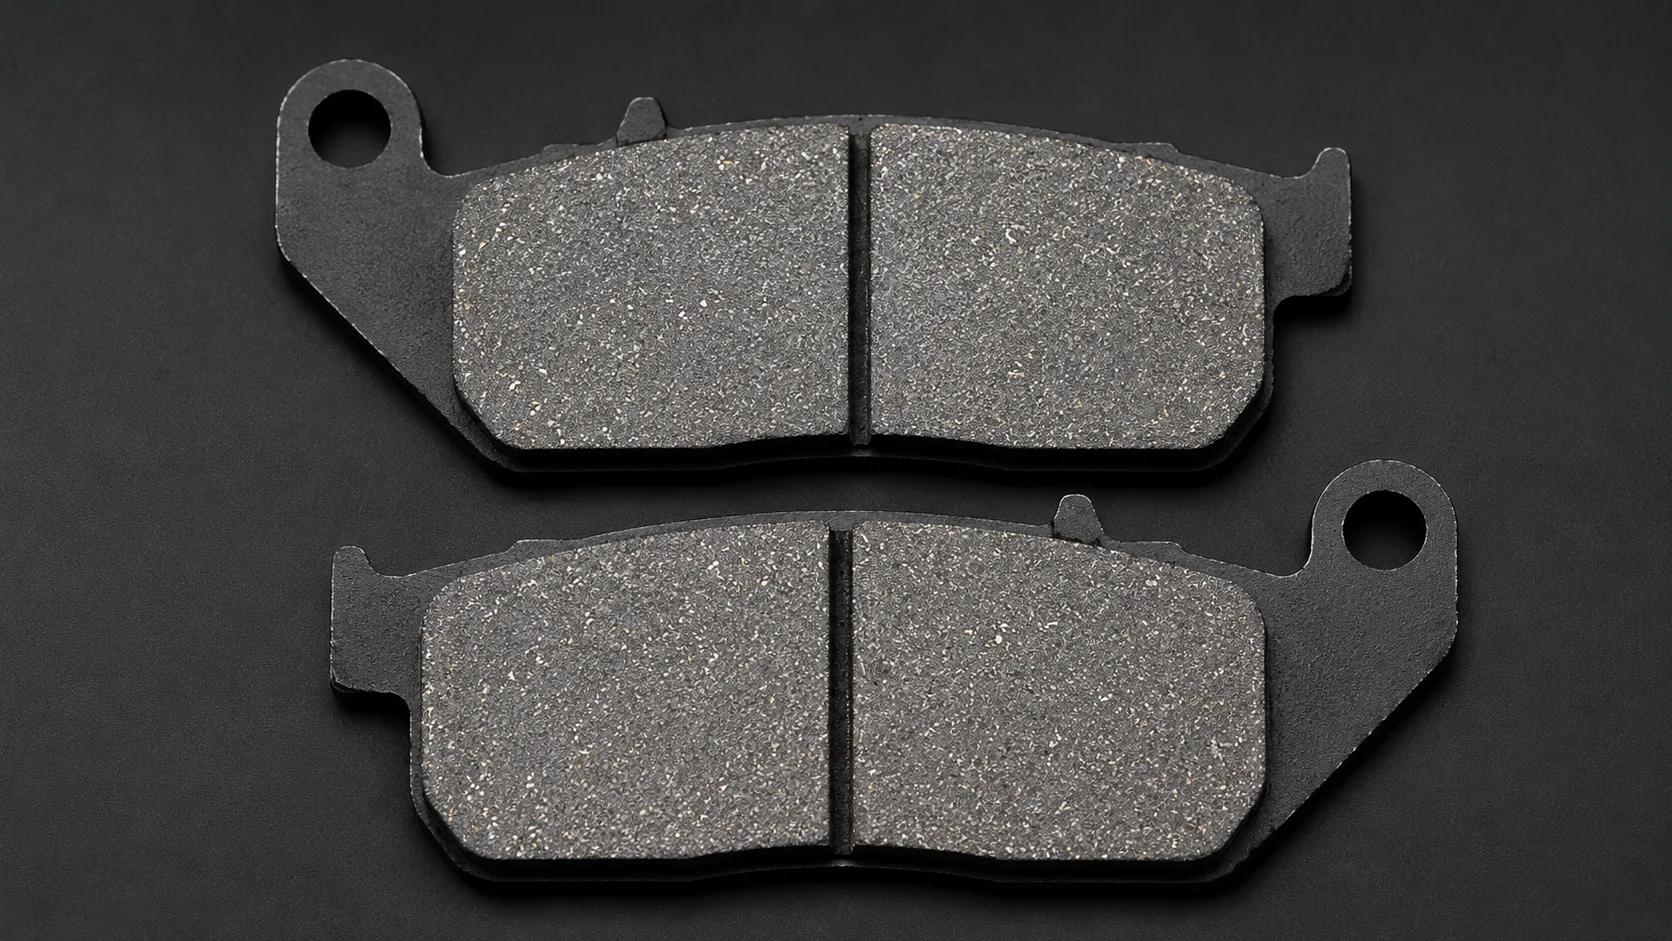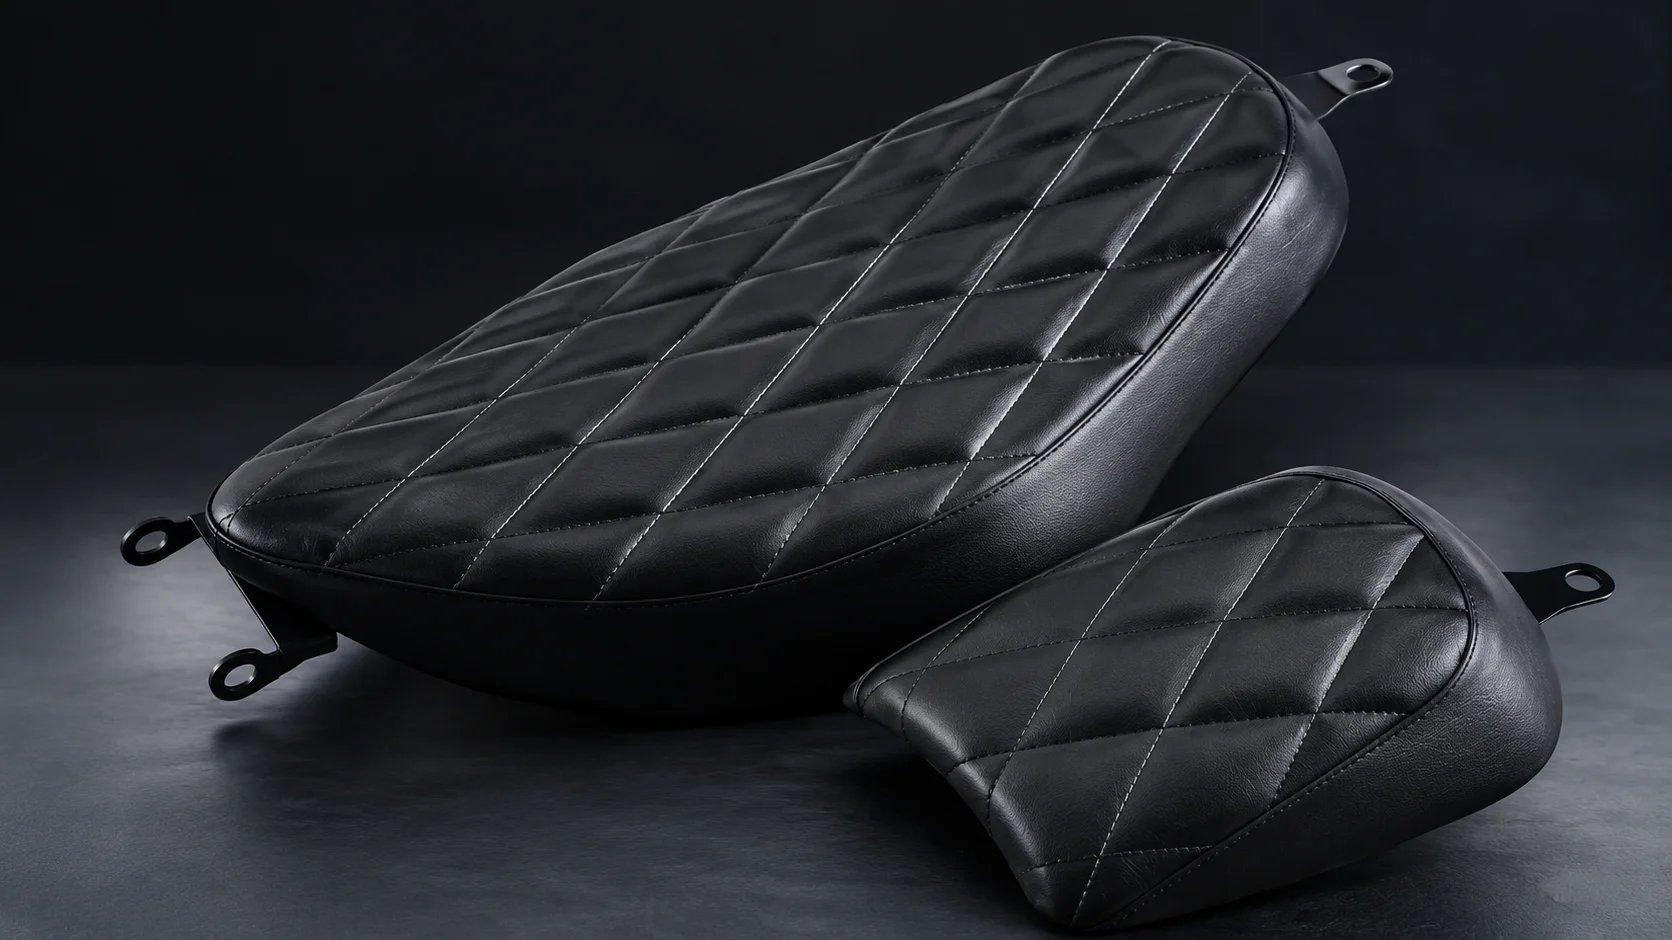



Aliwheels is a leading motorcycle parts supplier offering free shipping anywhere in the world on orders above $300. Please note that all of our motorcycle parts and accessories are certified and tested. With more than 10,000* products to choose from this is your one place to get the motorcycle part you need. Browse our vast inventory of motorcycle radiators, fairings, clutch plates, headlights, chains, and sprockets.

Free Shipping over $300

Support 24/7

Secure Payments

Hot Offers

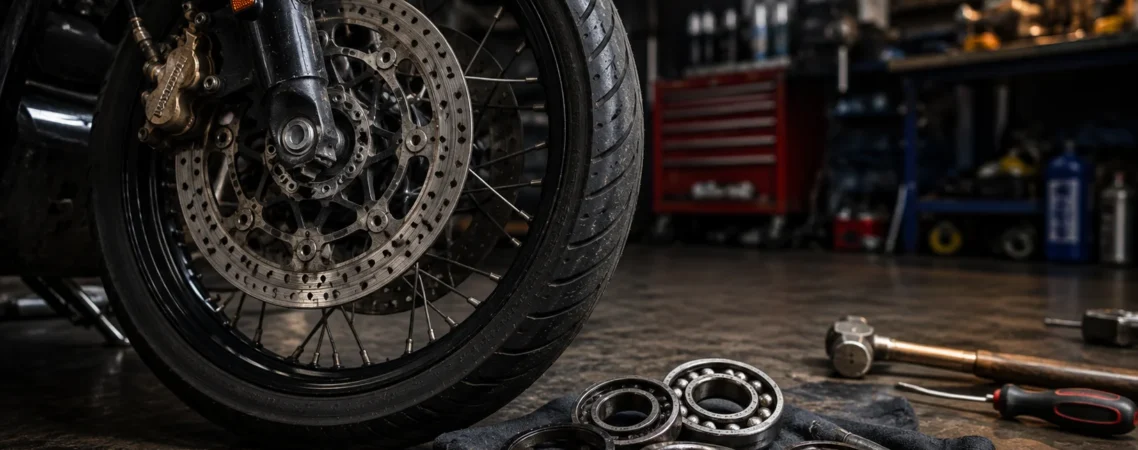
Wheel bearings rarely get a second thought until they start failing, and by the time they’re failing loudly, you’ve usually been riding on a genuinely unsafe wheel longer than you realized. These small components sit buried inside your hub, quietly doing the job of letting your wheel spin freely under real load, cornering forces, braking forces, and the constant weight of the bike and rider bearing down on them mile after mile. Catching the early signs saves you money and, more importantly, keeps a bearing failure from happening somewhere far worse than your driveway.

A Grinding or Growling Noise From the Wheel

This is usually the first sign riders notice, and it has a specific character once you learn to recognize it. A failing bearing produces a low grinding or growling sound that changes pitch with wheel speed, growing louder as you accelerate and quieter as you slow down. It sounds different from a chain noise or a brake issue, both of which tend to have their own distinct character, and it’s usually most obvious at moderate, steady speeds rather than during hard acceleration or braking, when other noises can mask it.

Pull over somewhere safe and, if you have a way to get the wheel off the ground, spin it by hand. A bad bearing often growls or feels gritty even off the ground and under no load, which confirms the noise you heard while riding isn’t coming from somewhere else on the bike entirely, like a dragging brake pad or a chain rubbing against a guard.

Play or Wobble When You Rock the Wheel

With the bike supported and the wheel off the ground, grab it at the top and bottom, not the sides, and try to rock it back and forth. A healthy bearing allows no noticeable play at all. Any wobble or looseness here points directly at bearing wear, since that’s exactly the kind of movement bearings exist to eliminate in the first place.
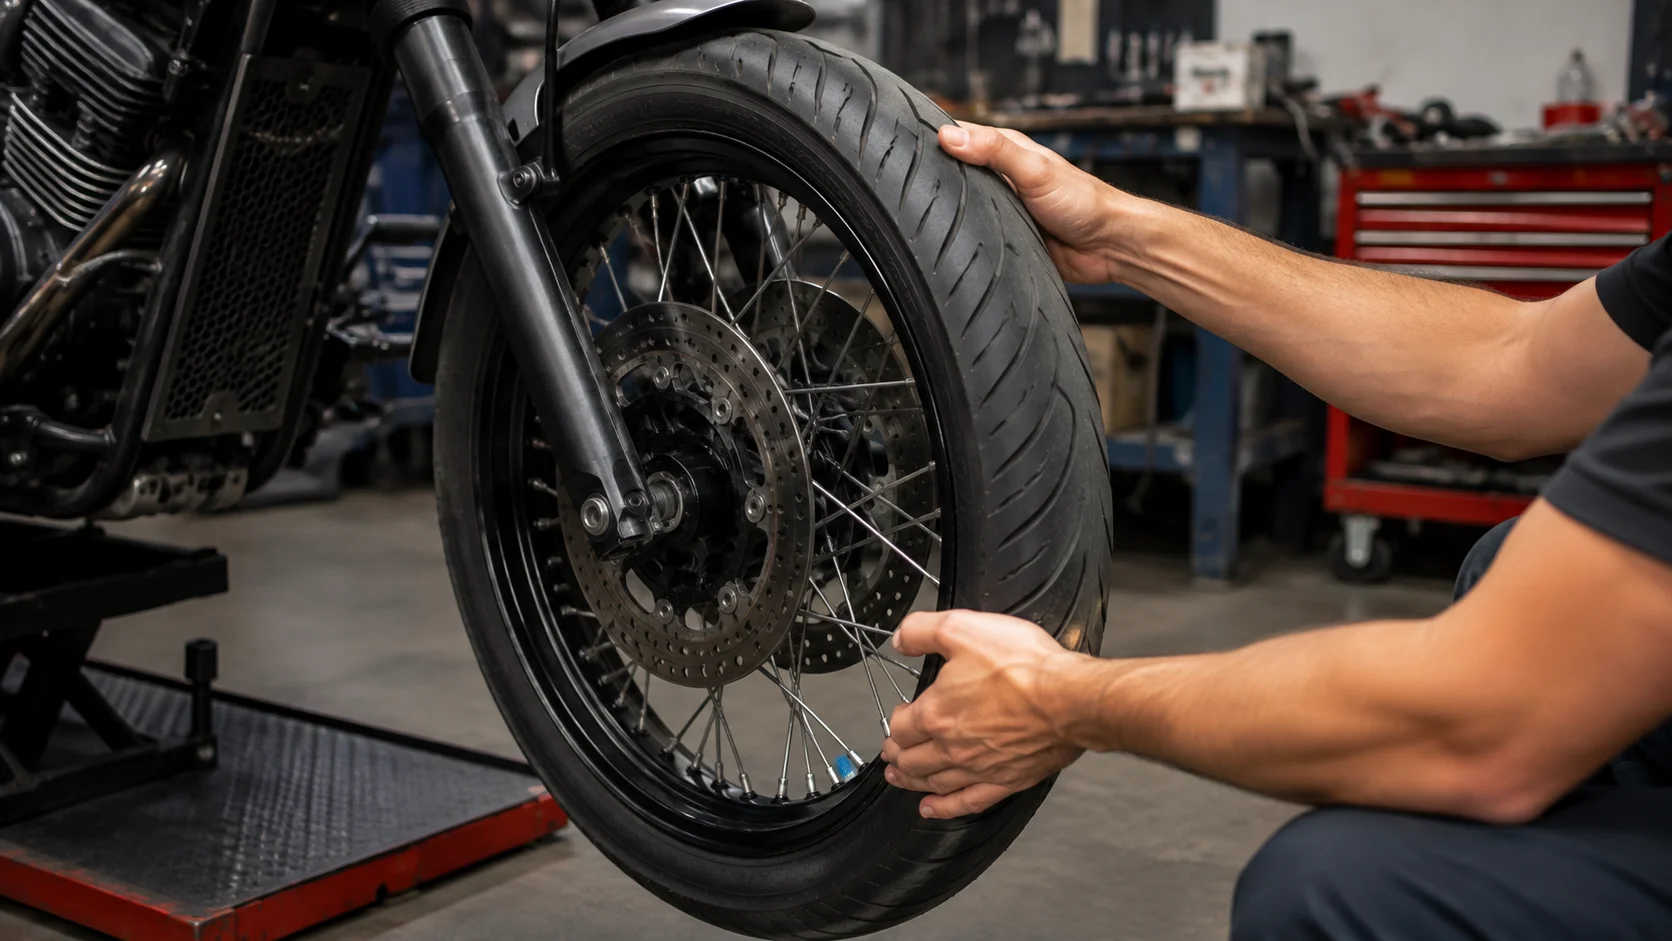
Motorcycle wheel wobble check

This check takes thirty seconds and tells you more than almost anything else on this list. If you feel play, don’t wait on a repair. A wheel with genuine bearing looseness can behave unpredictably under hard braking or aggressive cornering, and that’s not a risk worth taking to save a few days before you can get to a shop.

Uneven or Accelerated Tire Wear

A wheel that isn’t spinning perfectly true because of a failing bearing puts uneven pressure on the tire as it rolls, and that shows up over time as wear patterns that don’t match what you’d expect given your riding style. If you’re noticing unusual wear concentrated on one side of a tire, or wear that’s progressing noticeably faster than it used to without any real change in how or where you ride, bearing condition is worth checking before you simply blame the tire itself and replace it without addressing the actual cause.

This one’s easy to miss because tire wear has so many possible explanations, alignment, riding style, and tire pressure habits. Bearings rarely make the initial suspect list, which is exactly why it’s worth adding to your checklist specifically.

Vibration That Changes With Wheel Speed, Not Engine Speed

Bearing wear often introduces a vibration that becomes more noticeable as speed increases, and the key detail here is that it’s tied specifically to wheel rotation rather than engine RPM. Riders sometimes chase this as a balance issue or a tire problem first, since the symptom can feel fairly similar in the seat of your pants. But a vibration that scales with how fast the wheel is turning, rather than how fast the engine is revving, points toward the wheel assembly itself, and bearings are one of the most common causes hiding behind that specific pattern.

A simple way to help isolate this is paying attention to whether the vibration changes when you pull in the clutch and coast at the same road speed. If it persists the same way with the engine disconnected from the drivetrain, that’s a strong signal you’re dealing with something wheel-related rather than engine-related.

Heat Coming From the Wheel Hub After a Ride

A failing bearing generates friction it shouldn’t, and that friction produces heat as a natural byproduct. After a ride, carefully check the hub area near the bearing, not immediately after stopping when everything on the bike is naturally warm from riding, but noticeably hotter than you’d reasonably expect compared to the opposite wheel under the same conditions. Uneven heat between your front and rear hub, or between the left and right side of a wheel that uses dual bearings, is a useful comparison point that isolates the problem more precisely than any single check on its own.

Be careful doing this check. Give the bike enough time to cool from normal operating heat first, then compare relative warmth between wheels rather than touching anything immediately after a ride when burns are a real risk.

Why Riders Often Miss This Until It’s Serious

Part of what makes bearing wear tricky is how gradual it usually is. Unlike a sudden flat tire or a snapped cable, bearing degradation happens slowly across thousands of miles, and your brain adapts to small changes in how the bike feels without you consciously noticing. This is exactly why a deliberate check- rocking the wheel, listening carefully, and feeling for heat- matters more than just trusting your gut sense that everything still feels normal. Riders who only catch bearing wear once it’s making obvious noise have often been riding on a genuinely compromised wheel for longer than they’d like to admit in hindsight.
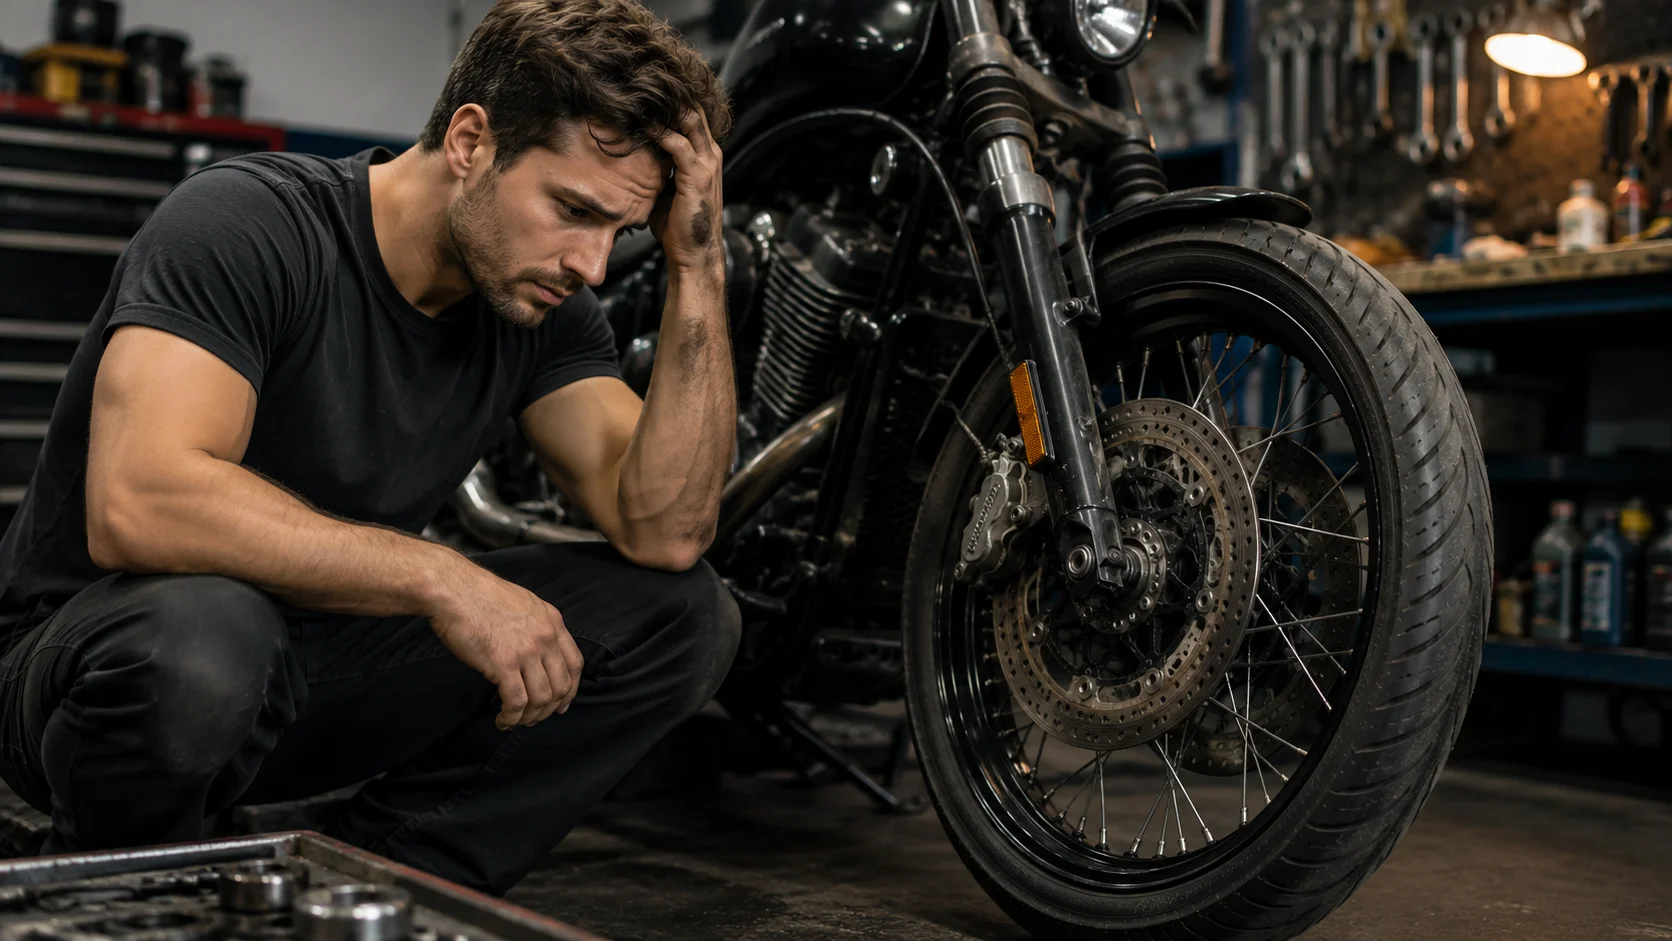
Rider inspecting a motorcycle wheel

If You’re Doing the Repair Yourself

Removing and installing wheel bearings correctly requires the right tools, since forcing a bearing in or out with improvised methods risks damaging the hub or the new bearing before it’s even seen a mile of use. Aliwheels carry a wheel bearing remover, installer, and puller tool kit built for the Harley-Davidson Street Bob FXBB 107, covering 2018 through 2024 models, which includes pullers, installers, and backing plates sized specifically for that platform’s bearing dimensions. If you ride something other than a Street Bob, check our full parts catalog for the bearing tools and replacement bearings matched to your specific make and model, since bearing sizes vary enough across brands and models that a generic, unmatched tool can do more harm than good.

Don’t Wait Once You’ve Confirmed It

Bearings don’t get better with time or careful riding. Once wear genuinely starts, it progresses, and a bearing that fails while you’re actually riding can lock a wheel or let it wobble badly enough to cause a real loss of control. If you’ve confirmed play, unusual noise, or excess heat pointing at a specific wheel, treat replacement as urgent rather than something to schedule around convenience or a busy week. This is one of the few items on any maintenance checklist where the cost of waiting genuinely isn’t worth whatever time or money you’d save by putting it off.
(Commenting: OFF)

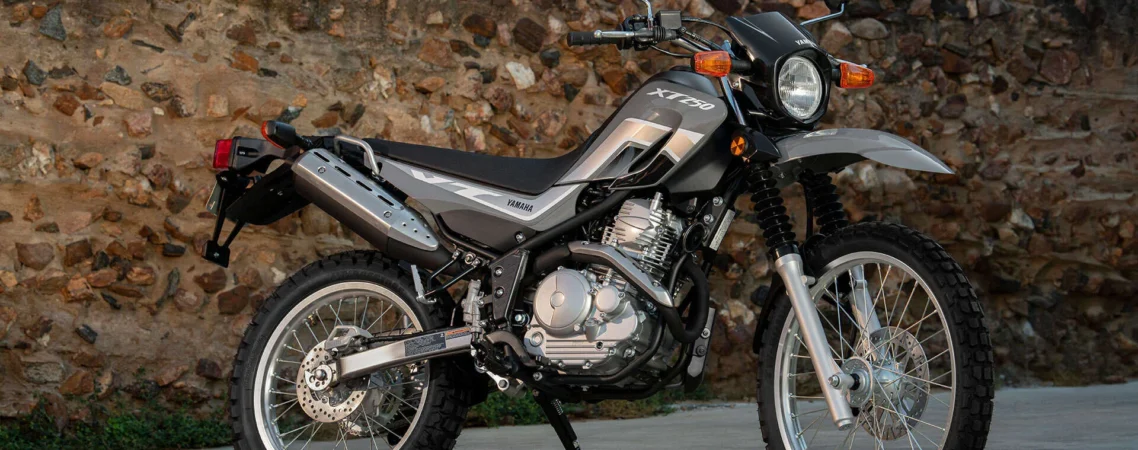
The Yamaha XT250 has earned a loyal following among dual-sport riders who want something simple, light, and genuinely capable on and off pavement. Yamaha also sells versions of this platform under the Serow and Tricker names, depending on your market and model year. All three share the same core engineering underneath slightly different bodywork and character.

This bike rewards owners who understand its straightforward, lightweight design. It is not trying to be a powerful adventure tourer. It is trying to be reliable, accessible, and fun, and it succeeds at exactly that when properly maintained.

This guide covers the problems XT250 owners run into most often, along with maintenance priorities that keep this platform running well for years. A quick, honest note before we start: parts availability for this specific model is genuinely more limited than for mainstream street bikes, so we will be direct about what is actually available rather than pointing you toward parts that do not exist.

The XT250 Platform Rewards Simplicity

The XT250 uses an air-cooled, single-cylinder engine, a straightforward five-speed transmission, and a genuinely simple overall design. This simplicity is a feature, not a limitation. Fewer complex systems mean fewer things that can fail, and the components that do exist are generally accessible for maintenance.

This matters for new dual-sport riders, especially. A bike this simple forgives mistakes more easily than a complex, electronics-heavy adventure bike would. It also means most maintenance tasks stay within reach of a reasonably confident home mechanic, rather than requiring specialized diagnostic equipment.

Fuel System Care: The Most Common Real-World Issue

This is genuinely the area where XT250 owners run into the most trouble, and it makes sense once you understand how these bikes get used. Many XT250s see seasonal riding, extended storage between rides, or genuinely infrequent use compared to a daily commuter bike.

Old fuel breaks down during storage periods. It leaves behind gum and varnish deposits that clog small passages in the fuel system, whether your bike runs a carburetor or fuel injection, depending on model year. Starting problems after a bike sat unused for weeks or months almost always trace back to this cause.

Watch for hesitation, rough idle, or difficulty starting after any extended period of non-use. If your XT250 sat through a winter without proper fuel system preparation, budget for a cleaning or fuel system service before assuming something more serious is wrong.

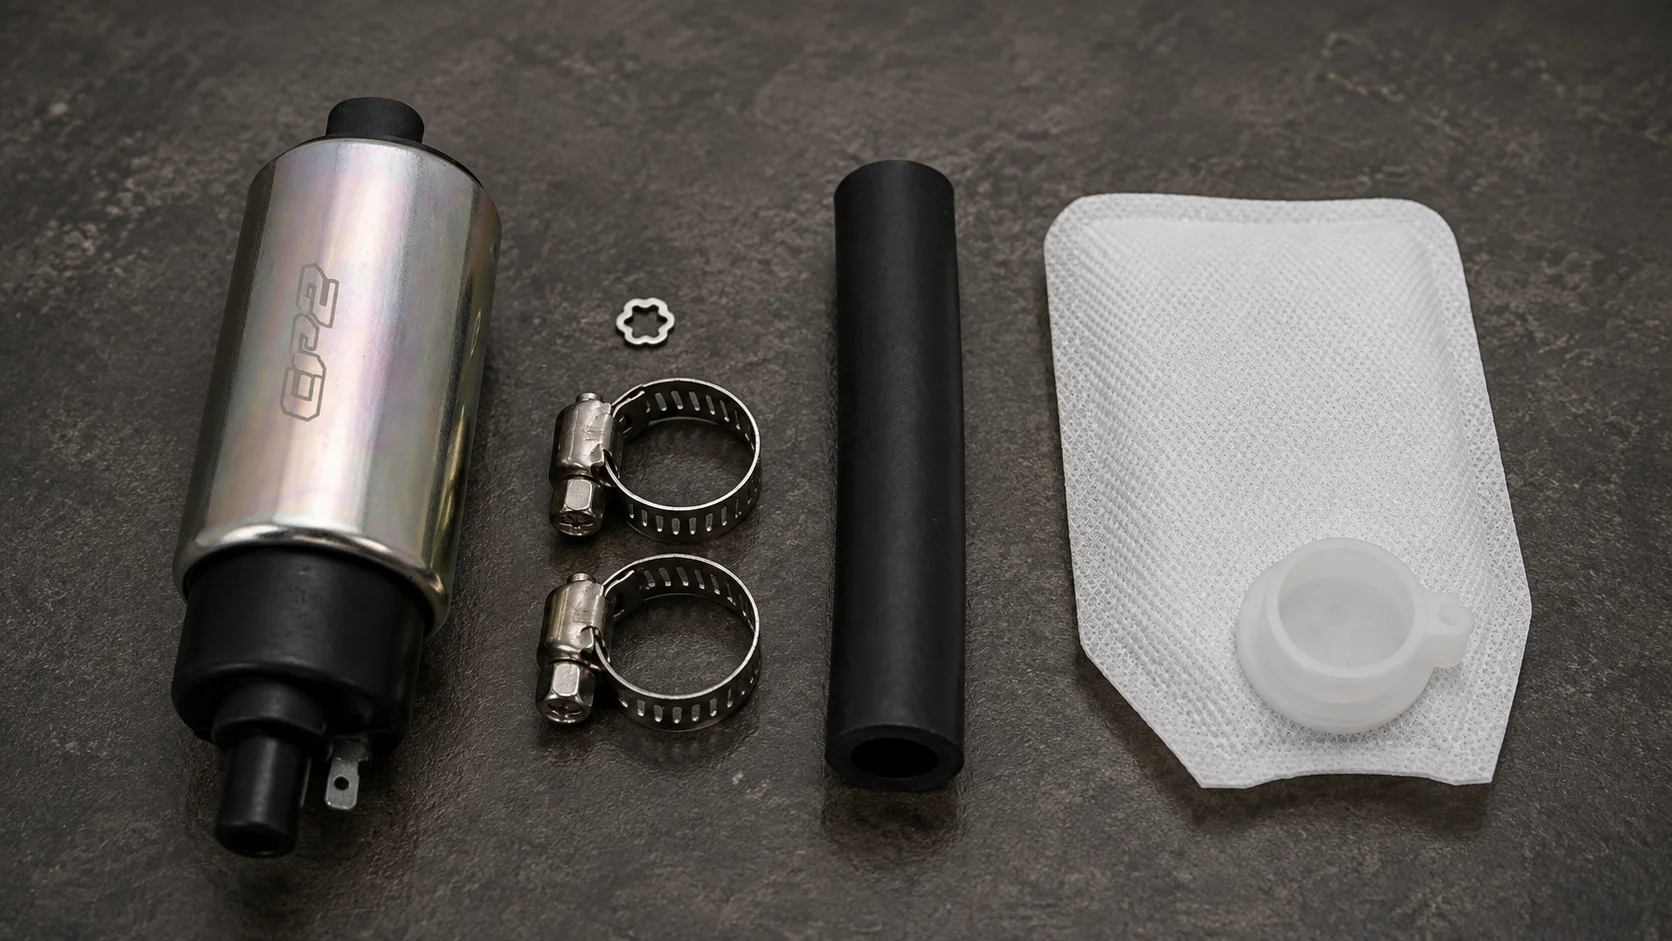
We stock a fuel pump for the Yamaha XG250 Tricker and XT250 Serow, covering both naming conventions across different markets. If your fuel pump has genuinely failed rather than just needing a cleaning, this gives you a direct replacement path without hunting through less reliable sources.

Motorcycle Fuel Pump For Yamaha XG250 TRICKER

Storage and Long-Term Fuel Management

Given how much fuel system trouble traces back to storage periods, prevention matters more here than on a bike you ride daily. A fuel stabilizer added before any extended storage period keeps fuel from breaking down as quickly, and it costs far less than a fuel system cleaning after the fact.

If you know your XT250 will sit for more than a month, consider running the tank closer to empty first, or use a stabilizer and run the engine briefly to circulate treated fuel through the system. This small habit prevents the single most common complaint XT250 owners report.

Chain and Sprocket Maintenance

Like any chain-driven motorcycle, the XT250 needs regular chain maintenance to perform well and last. Off-road and dual-sport use accelerates chain wear compared to purely on-road riding, since dirt and debris work their way into the chain more readily during trail riding.

Check chain slack regularly, more often if you ride off-road frequently. Clean and lubricate the chain after any dirty or dusty ride, not just on a fixed schedule. A neglected, dry chain wears both itself and the sprockets faster than a well-maintained one, turning a simple maintenance task into a more expensive replacement.

Look at sprocket teeth periodically too. Worn teeth develop a hooked shape rather than a straight edge, and this visual check tells you clearly when replacement time has arrived, regardless of what your mileage log says.

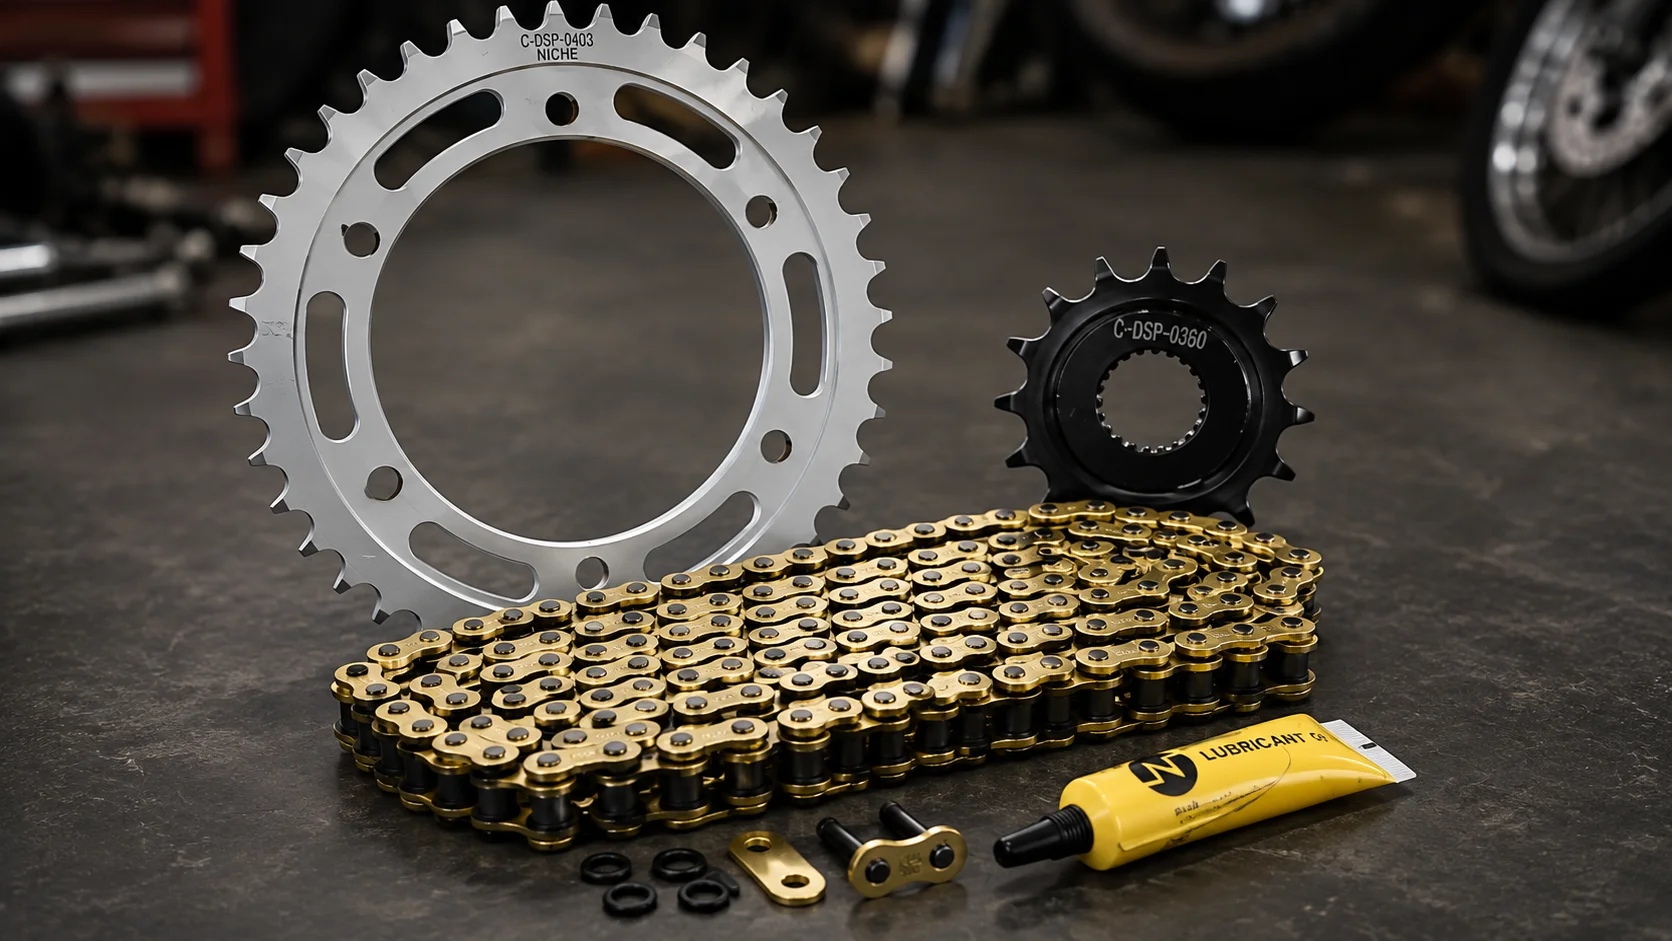
We stock a complete Yamaha XT250 Sprocket Chain Set for 2010 through 2023 models. If your drive system shows hooked teeth or excessive stretch, this direct replacement restores smooth power delivery without hunting for separate parts.

Yamaha XT250 Sprocket Chain Set 2010-2023

Suspension Setup for Mixed Riding

The XT250 ships with suspension tuned as a genuine compromise between street comfort and off-road capability. Depending on how you actually ride, this stock setup might already suit you well, or it might feel like it is fighting your intentions.

Riders doing mostly street riding sometimes find the stock suspension slightly soft or vague at higher speeds. Riders pushing hard off-road sometimes want more aggressive damping and travel than the stock setup provides. Understanding which category you fall into helps you decide whether suspension work is worth pursuing, rather than assuming the stock setup is simply wrong for everyone.

Start with basic adjustments if your suspension offers them, like preload settings matched to your weight. This costs nothing and often solves complaints that riders initially assume require expensive aftermarket components.

Air Filter Maintenance for Dusty Conditions

Dual-sport and off-road riding exposes the air filter to far more dust and debris than typical street riding. This makes air filter maintenance more important on the XT250 than it would be on a pavement-only commuter bike.

Check your air filter condition more frequently if you ride off-road regularly. A clogged filter restricts airflow, which hurts both performance and fuel efficiency. Depending on your filter type, cleaning and re-oiling extends its life significantly between full replacements, and this is a task well within reach of any owner comfortable with basic maintenance.

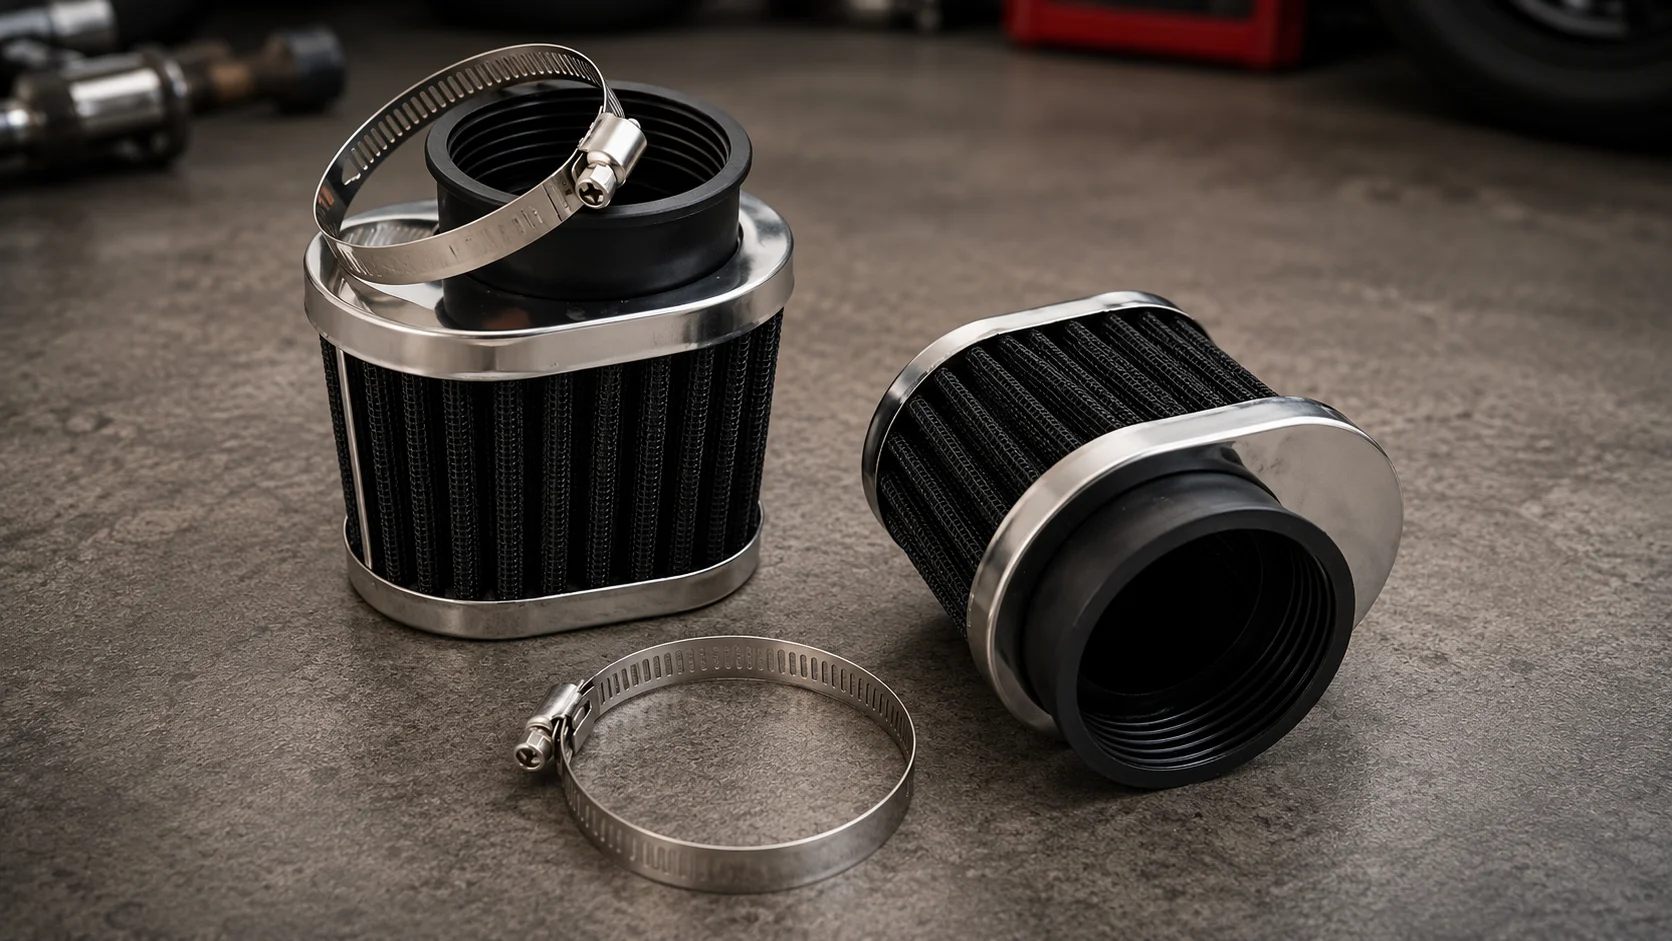
We stock a direct-fit Yamaha XT250 Air Intake Filter Cleaner Pod for 2010 through 2018 models. If your current filter is clogged or degraded from dusty rides, this replacement restores optimal airflow and protects your engine without fitment hassle.

Yamaha XT250 Air Intake Filter Cleaner Pod 2010-2018

Cold Weather Starting Considerations

Air-cooled, single-cylinder engines can present specific starting challenges in cold weather that liquid-cooled, multi-cylinder engines handle more gracefully. This is not a defect. It is simply a characteristic of this style of engine that owners benefit from understanding.

If your XT250 starts hard in cold weather, confirm your starting procedure matches Yamaha’s recommendations for your specific model year and fuel system type, since carbureted and fuel-injected versions may have different recommended cold-start approaches. Battery condition also matters more in cold weather, since cold temperatures reduce a battery’s effective cranking power regardless of how healthy it tested in warmer conditions.

Battery Care for Seasonal Riders

Given how often XT250 owners use their bikes seasonally rather than daily, battery maintenance deserves real attention. A battery that sits unused for weeks or months self-discharges gradually, and combined with any small parasitic draw from the bike’s electronics, this can leave you with a dead battery exactly when you finally want to ride.

A battery tender solves this completely. Connect it whenever the bike will sit for more than a couple of weeks, and you eliminate the surprise dead battery that catches so many seasonal riders off guard every spring.

Brake Maintenance Across Riding Conditions

The XT250’s disc brakes work well for its weight and intended use, but off-road riding introduces more dirt and grit into the braking system than pure street riding does. This affects both pad wear and how often you should inspect the system overall.

Check brake pad thickness more frequently if you ride off-road regularly, since dirt and grit accelerate wear beyond what typical street riding would cause. Check brake fluid condition periodically too, watching for the same moisture-contamination signs that affect any hydraulic brake system over time; clear to light amber fluid is healthy, dark or cloudy fluid needs attention.

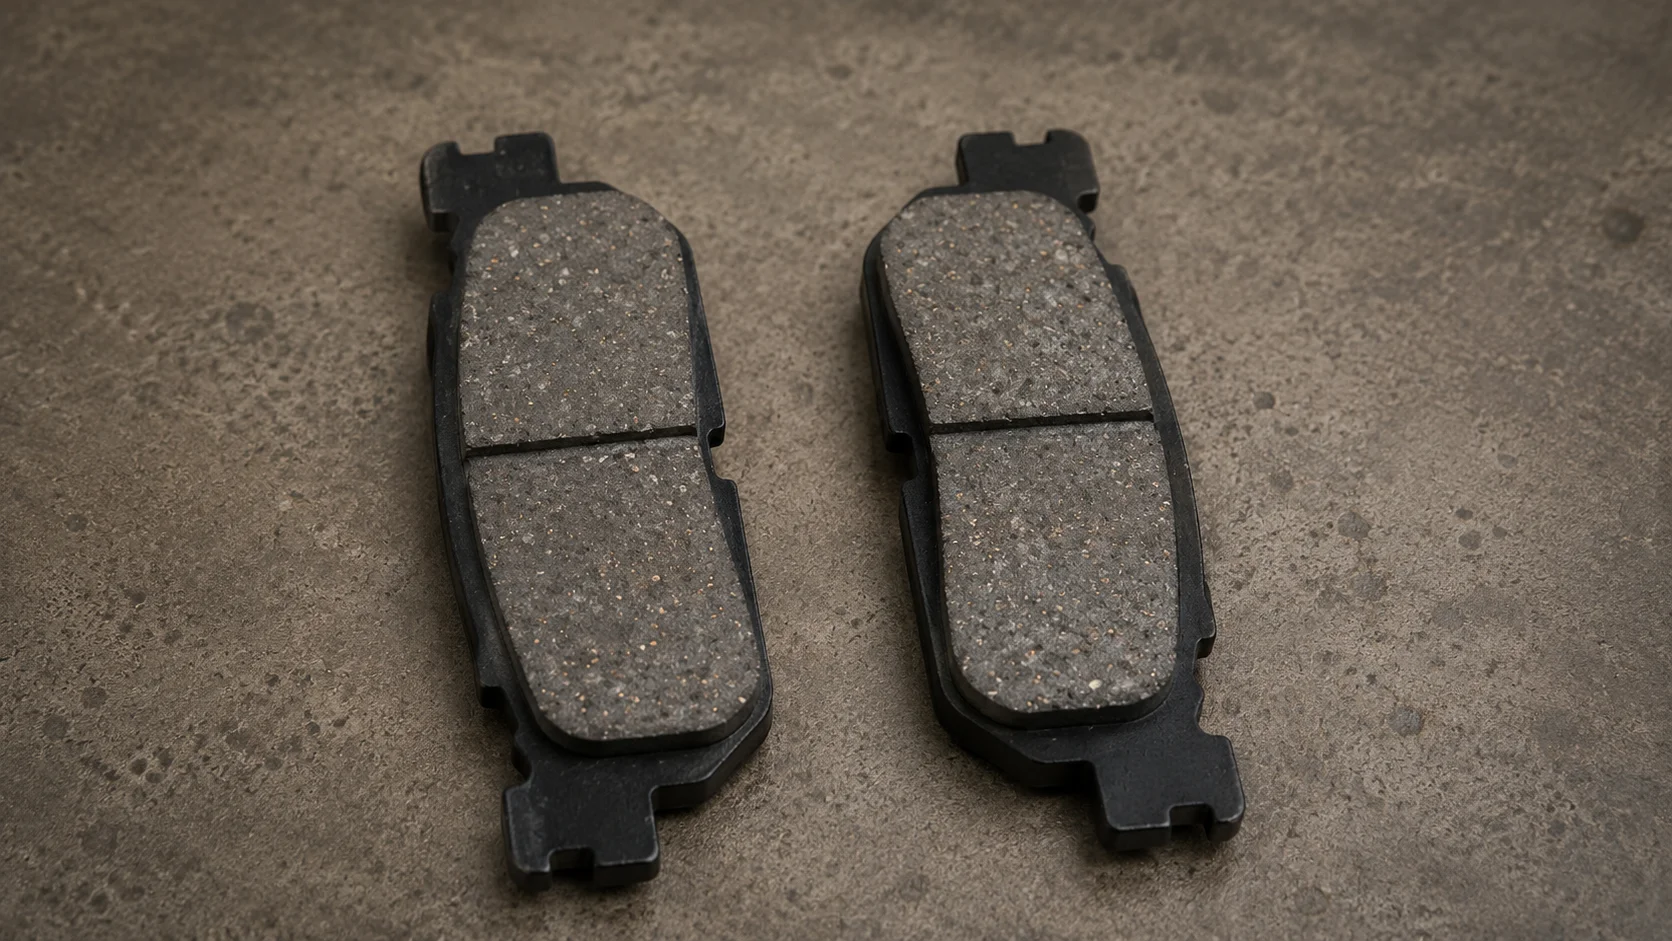
We stock direct-fit Yamaha XT250 Front Brake Pads for 2010 through 2024 models. If your current pads are worn down or contaminated from trail riding, this replacement restores dependable stopping power without guessing on fitment.

Yamaha XT250 Front Brake Pads 2010-2024

Being Realistic About Parts Availability

Here is something every XT250 owner should understand clearly. This is a smaller-volume model compared to mainstream street bikes, and that affects how easily you can source certain parts, especially model-specific bodywork or less common components.

Generic dual-sport parts, chains, sprockets, filters, and consumables are usually easy to find from multiple sources. Model-specific parts get harder to source the more specialized they are. If you cannot find exactly what you need through one source, checking parts shared across the XT250, Serow, and Tricker family sometimes widens your options, since these models share significant underlying engineering despite different names in different markets.

Building a Maintenance Routine That Fits How You Actually Ride

Everything covered here becomes easier to manage with a routine matched to your actual riding pattern, rather than a generic schedule borrowed from a different type of bike entirely.

If you ride seasonally, prioritize fuel system preparation before storage and battery maintenance during dormant periods above almost everything else on this list. If you ride off-road regularly, prioritize chain, air filter, and brake maintenance more frequently than the stock service intervals suggest, since dirt and debris accelerate wear across all three systems.

None of these tasks require special expertise. They require consistency, and building that habit protects a genuinely simple, reliable platform from the handful of problems that do come up.

What to Check Before Buying a Used XT250

If you are shopping for an XT250 rather than already owning one, a few checks protect you from inheriting someone else’s neglected maintenance. Ask directly about storage history, since long dormancy periods predict fuel system problems reliably on this platform specifically.

Check chain and sprocket wear closely, especially if the bike shows signs of regular off-road use. Test cold starting if possible, since this reveals both fuel system health and battery condition at once. Look at brake pad thickness and fluid condition, keeping in mind that off-road use accelerates wear beyond typical street-riding expectations.

The Bottom Line for XT250 Owners

The XT250 rewards owners who understand its simple, accessible design and maintain it consistently. Fuel system care matters more here than on most bikes, given how often these bikes see seasonal or infrequent use. Chain, air filter, and brake maintenance all deserve more frequent attention if you actually use the bike’s off-road capability regularly.

None of the problems covered here are complicated or alarming. They simply require the right attention at the right time, and this platform’s simplicity means most owners can handle that attention themselves without needing specialized tools or expertise. Start with fuel system care if your bike has seasonal use, since that addresses the most common real-world complaint on this platform.

Browse the complete range of genuine Yamaha Motorcycle Parts at Aliwheels

(Commenting: OFF)

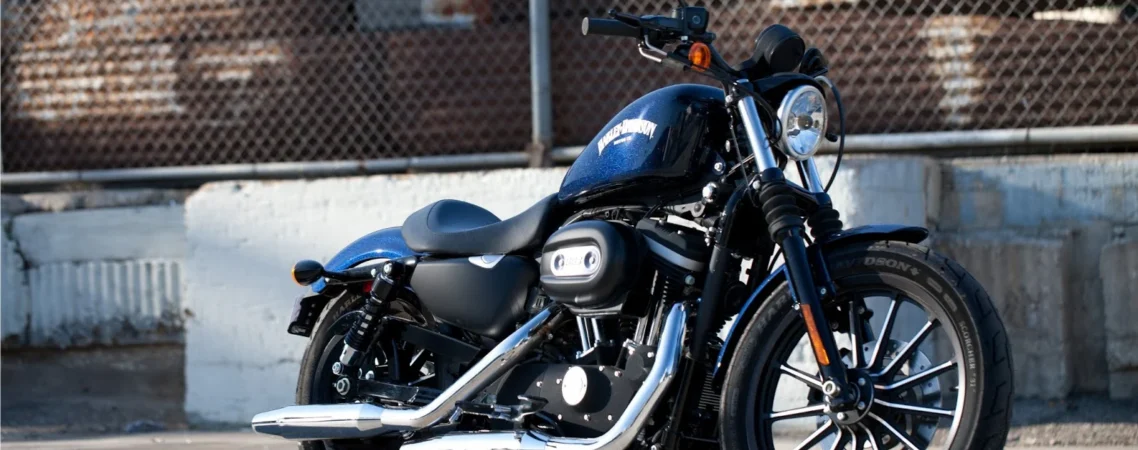
The Harley-Davidson Iron 883 became an instant favorite the moment it landed in showrooms. It offered the stripped, blacked-out custom look riders wanted, built onto Harley’s accessible Sportster platform. New riders loved the approachable size. Experienced riders loved the easy customization potential.

That popularity means plenty of Iron 883s on the road today, spanning model years from its early releases through the present lineup. Whether you just bought your first one or you have owned yours for years, understanding this bike’s specific quirks makes ownership far smoother.

This guide walks through the problems Iron 883 owners run into most often, along with the upgrades that consistently make the biggest difference. Every recommendation ties back to real, available parts, not generic advice you cannot actually act on.

The Iron 883 Rewards Owners Who Understand Its Character

The Iron 883 sits on Harley’s Sportster platform, which has a long history and plenty of engineering evolution behind it. Depending on your model year, your bike might feel noticeably different from a friend’s Iron 883 built just a few years apart. Harley made real changes to engine mounting, fuel delivery, and other core systems across the Sportster’s production run.

This matters because generic Sportster advice does not always translate perfectly across every year. A change that affects a 2010 model might not apply to a 2018 model, and vice versa. Always confirm your specific model year before assuming any fix or upgrade applies directly to your bike.

Vibration: Understanding What’s Normal and What Isn’t

Sportster engines have a reputation for vibration, and the Iron 883 inherits that reputation honestly. Earlier Sportster designs used solid engine mounting, which transmits significantly more vibration to the rider than a rubber-mounted or counterbalanced setup.

Iron 883 handlebar vibration

Harley introduced rubber engine mounting improvements to later Sportster generations, which noticeably smoothed out the ride compared to older solid-mount models. If you are comparing notes with an owner of an older Sportster and your bikes feel dramatically different in terms of vibration, this mounting difference likely explains it.

Some vibration remains normal on any Sportster, including the Iron 883. It is part of the platform’s character, not a defect. That said, new or worsening vibration, especially if it comes with unusual noise, deserves investigation rather than automatic dismissal as “just how Sportsters feel.”

Charging System Issues: Stator and Regulator Wear

Like most Harley models built during this era, the Iron 883 can develop charging system problems as it ages. The stator generates current inside the engine, and it wears down over time, particularly on bikes that see frequent stop-and-go city riding rather than sustained highway use.

Watch for a headlight that dims noticeably at idle. This is often the first sign something is wrong. A battery that will not hold a charge overnight, even after a full charge, points the same direction.

Testing voltage at the battery terminals with the engine running tells you quickly whether this system needs attention. You want a steady reading between roughly 13.5 and 14.5 volts. Anything consistently below that range suggests the charging system is not keeping up, and further diagnosis is worth your time before you end up stranded.

The Stock Fuel Tank: A Common Range Complaint

Riders new to the Iron 883 often experience a moment of surprise the first time they watch the fuel gauge drop faster than expected. The stock “peanut” tank holds a genuinely small amount of fuel compared to most other cruisers on the market, and this limits your range between fill-ups noticeably.

This is a deliberate styling choice, not a flaw. The compact tank contributes directly to the Iron 883’s lean, stripped silhouette that draws so many riders to the model in the first place. Still, it catches new owners off guard, especially those planning longer rides without checking their range assumptions first.

Plan your fuel stops accordingly, particularly on unfamiliar routes where you cannot predict exactly where the next gas station sits. Running this bike dry on a remote stretch of road is a frustrating, avoidable mistake.

Stock Exhaust: Restrictive by Design

Every stock Harley exhaust system balances sound regulations, emissions compliance, and cost, and that balance usually means real performance gets left on the table. The Iron 883 is no exception. Its stock exhaust breathes more restrictively than many owners expect once they start comparing notes with aftermarket options.

Harley-Davidson Iron XL 883N Exhaust Pipes 2009-2020

This restriction affects more than just sound. A freer-flowing exhaust, paired with appropriate air intake and fuel adjustments, can genuinely improve throttle response and low-end torque. This matters especially on a smaller-displacement engine like the 883, where every bit of usable power counts more than it would on a bigger cruiser. Check out the Harley-Davidson Iron XL 883N Exhaust Pipes 2009-2020

Before installing any aftermarket exhaust, check whether your specific setup needs a fuel remap or carburetor adjustment alongside it. Running lean after an exhaust change stresses the engine over time if left uncorrected, so pair any exhaust upgrade with the appropriate fuel system check.

Air Filter and Intake Restriction

Alongside the exhaust, the stock air intake system on the Iron 883 also prioritizes emissions compliance over maximum airflow. Many owners find a genuine, noticeable difference after upgrading to a higher-flow air filter setup, particularly when paired with exhaust improvements.

This upgrade works best as part of a complete package rather than an isolated change. An air filter alone rarely transforms performance dramatically, but combined with exhaust and appropriate tuning, the cumulative effect becomes clearly noticeable in how the bike responds to throttle input.

Front Brake Performance: A Common Point of Criticism

Riders coming from bikes with dual front disc brakes sometimes find the Iron 883’s single front disc setup underwhelming, particularly during hard braking situations. This is not a defect. It reflects a cost and simplicity tradeoff common across entry and mid-level cruiser models.

Buy Harley-Davidson Iron XL 883N Front Brakepads 2009-2020 here.

Harley-Davidson Iron XL 883N Front Brakepads 2009-2020

That said, stopping power matters enormously for safety, and plenty of owners choose to upgrade brake components as one of their first modifications. Fresh, high-quality brake pads make a meaningful difference on their own, even without a full caliper or rotor upgrade. If your stock brakes feel spongy or less confident than you would like, start with fluid and pad condition before assuming you need a larger, more expensive upgrade.

Check brake fluid color periodically as part of routine maintenance. Fresh fluid looks clear to light amber. Dark or cloudy fluid indicates moisture contamination, which reduces braking performance precisely when you need it most.

Seat Comfort: A Nearly Universal Complaint

This is one of the most consistent complaints across Iron 883 ownership, and it makes sense once you consider the bike’s styling priorities. The stock solo seat looks great and fits the bike’s aggressive, stripped character. It does not prioritize long-ride comfort, and riders feel that difference after an hour or two in the saddle.

This complaint gets even more pronounced for owners who want to bring a passenger along. The stock seat setup was never designed with two-up comfort as a priority, and passengers often report the experience as genuinely uncomfortable on anything beyond a short ride.

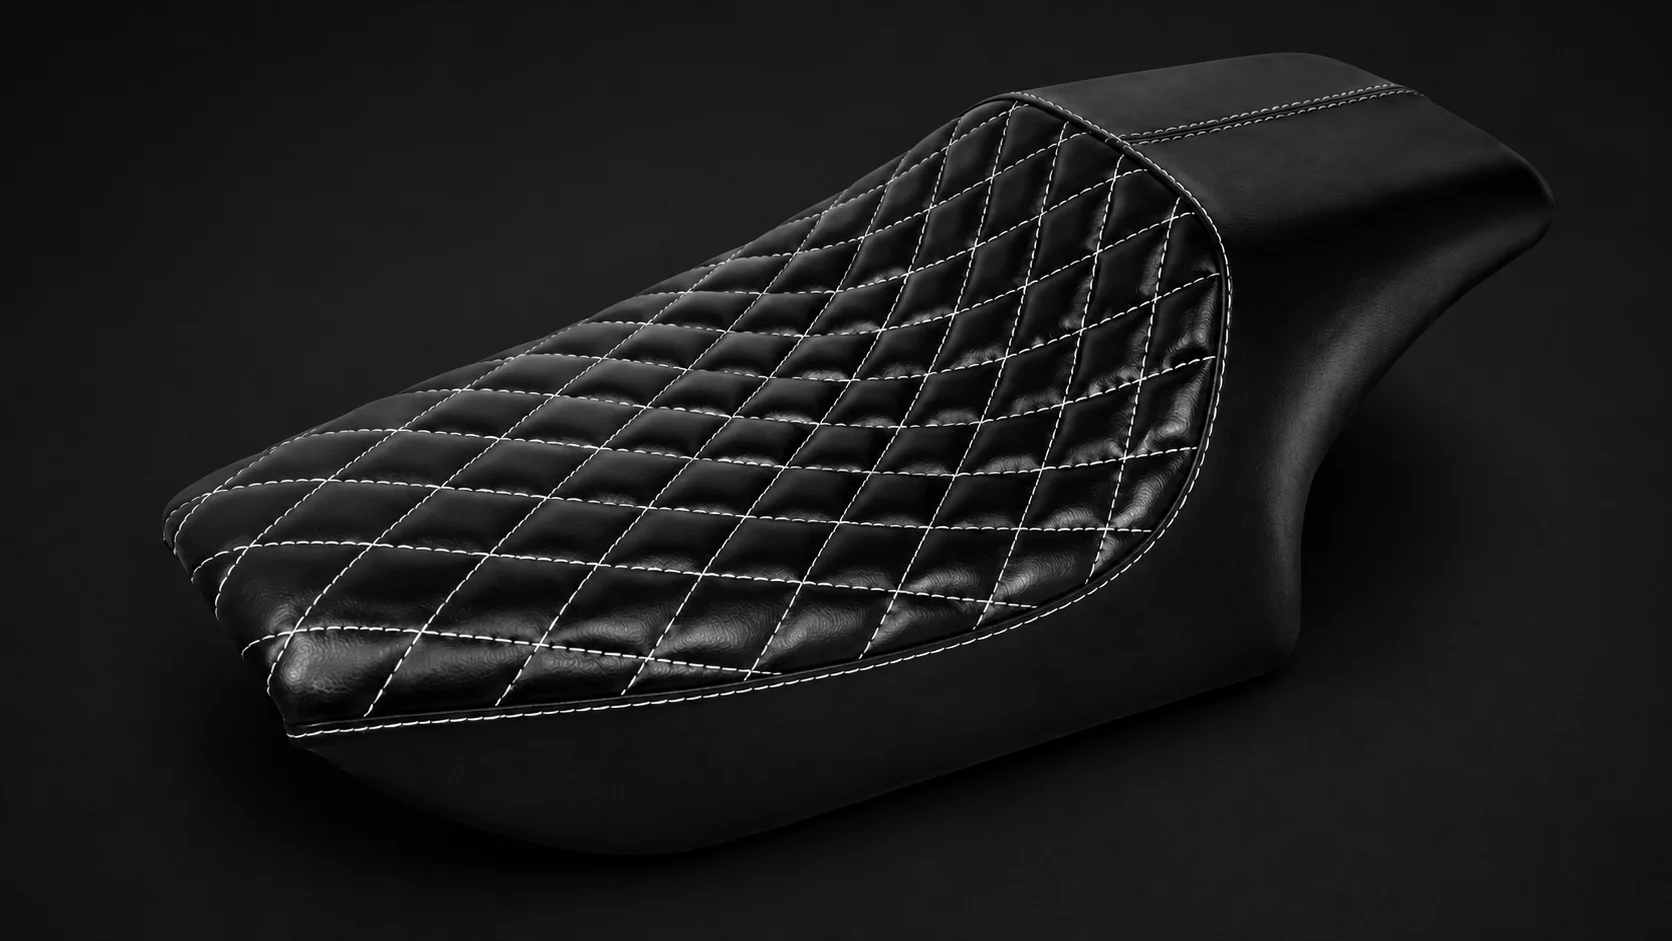
Harley Iron 883 Driver Passenger Two-Up Seat 2004-2017

The Aliwheels stock has a two-up seat built specifically for the Sportster XL 883, XL 1200, and Iron 883 across 2004 through 2017 models. This upgrade transforms the two-up riding experience without requiring any other modifications, and it remains one of the most consistently recommended first upgrades among Iron 883 owners specifically because the improvement is so noticeable.

Also you can find the Harley-Davidson Iron XL 883N Seat 2009-2020 at Aliwheels. 

Harley-Davidson Iron XL 883N Seat 2009-2020

Clutch Cable Adjustment and Wear

Like most cable-operated clutch systems, the Iron 883’s clutch cable stretches gradually over time and use. This changes clutch engagement feel, sometimes gradually enough that owners do not notice the shift until engagement feels noticeably different from when the bike was newer.

Check clutch cable adjustment as part of routine maintenance rather than waiting for a problem to become obvious. A properly adjusted cable gives you predictable, consistent engagement every time you pull the lever. A stretched, poorly adjusted cable can make shifting feel notchy or inconsistent, which riders sometimes misattribute to bigger transmission problems when the actual fix is simple and inexpensive.

Paint and Chrome Finish Durability

Some owners report finish quality concerns on certain components, particularly chrome-plated parts exposed to weather and road conditions regularly. This varies by model year and specific component, but it comes up often enough in owner discussions to warrant mention here.

Regular cleaning and appropriate protective products extend finish life significantly. Address any early signs of corrosion or pitting promptly, since chrome degradation tends to accelerate once it starts rather than staying static. A small area of surface corrosion left unaddressed often spreads faster than owners expect.

Building a Realistic Maintenance Routine

Every issue covered in this guide becomes easier to manage with consistent attention rather than reactive fixes after something already feels wrong. A simple routine catches most problems while they are still small, inexpensive fixes.

Iron 883 maintenance routine

Check charging voltage periodically, not just when you notice a symptom like a dimming headlight. Inspect clutch cable adjustment during regular service intervals. Test brake fluid condition and pad thickness on a consistent schedule rather than waiting for warning signs. Look over chrome and painted surfaces during regular washing, addressing any early corrosion before it spreads.

None of these tasks individually take much time. Together, they prevent the majority of the common Iron 883 headaches covered throughout this guide.

Planning Your First Round of Upgrades

If you are new to Iron 883 ownership and wondering where to start with upgrades, prioritize based on what actually affects your riding experience most directly. Seat comfort tends to deliver the most immediately noticeable improvement for the investment, particularly if you ride with a passenger regularly or take longer trips.

Exhaust and intake upgrades come next for most owners, since the performance improvement genuinely enhances the riding experience on a smaller-displacement engine where every bit of response matters. Pursue these as a paired upgrade rather than one at a time, since exhaust and intake changes work together rather than in isolation.

Brake improvements matter most for owners who ride more aggressively or frequently in traffic where quick stopping power counts. If you primarily cruise at a relaxed pace on open roads, this upgrade matters less urgently than it would for a rider navigating dense city traffic daily.

Harley Davidson Sportster Parts at Aliwheels

The Iron 883 remains one of Harley’s most popular entry points into the brand, and understanding its specific character makes ownership significantly more rewarding. Vibration and fuel range limitations connect directly to the platform’s core design choices. Charging system wear and clutch cable adjustment connect to age and mileage, affecting every bike differently depending on its history and how it was ridden.

None of this should discourage you from owning or enjoying this bike. Every motorcycle platform has its own maintenance personality, and once you understand the Iron 883’s, staying ahead of problems becomes routine rather than stressful. Start with the seat upgrade covered here if comfort tops your list of complaints, since it delivers one of the most immediately noticeable improvements available for this platform.

Browse our full range of Harley-Davidson Sportster parts to find fitment-verified components across the Iron 883’s model years. Always confirm your exact model year before ordering, since Harley made meaningful changes across the Sportster’s long production run, and getting the right part the first time saves you both money and hassle.

(Commenting: OFF)

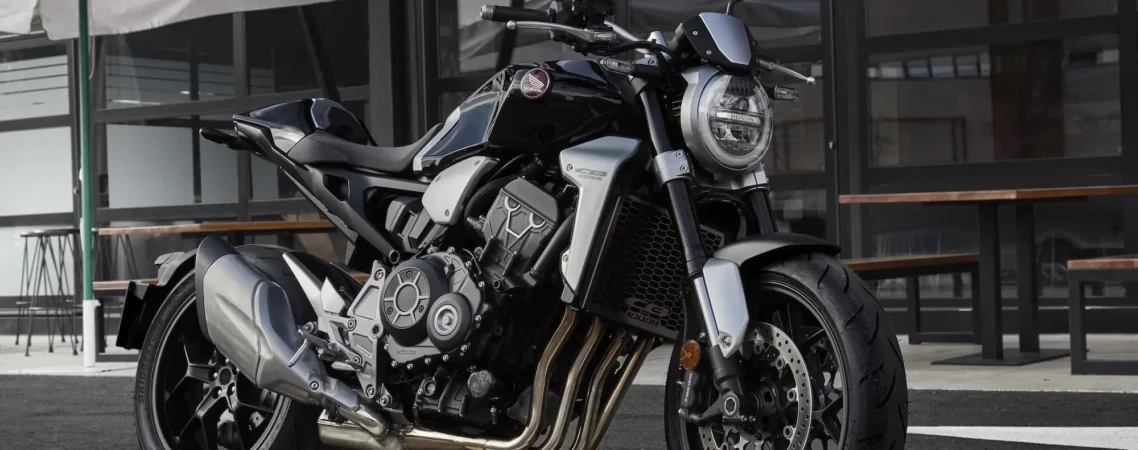
The Honda CB1000R stands out in a crowded field of naked bikes. It blends raw power with sharp, minimalist styling. Honda calls the design language “Neo Sports Café,” and it works. Riders love the aggressive stance and the inline-four engine borrowed from the Fireblade lineage. But owning a Honda CB1000R means more than admiring its looks. It means keeping up with maintenance and knowing which upgrades actually matter. This guide walks through the Honda CB1000R parts and upgrades that come up most often for CB1000R owners. We will cover routine maintenance items, common failure points, and a few upgrades worth considering once you know your bike well. Every section ties back to real Honda CB1000R parts you can find and buy, not vague advice that leaves you searching elsewhere.

Why the CB1000R Demands Different Care Than Older Naked Bikes

The CB1000R feels different from older Honda naked bikes. Honda redesigned it heavily starting with the 2018 model year, and the platform continued to evolve by 2021. The engine, frame, and electronics all changed. So maintenance advice from a decade-old CB1000 thread does not always apply here.

This matters because plenty of riders switch to the CB1000R from an older bike. They bring old habits with them. Those habits do not always transfer cleanly. A modern electronics package, updated drivetrain, and different service intervals mean you need current, accurate information. That is exactly what this guide provides.

Chain and Sprocket Maintenance: The Most Overlooked Job

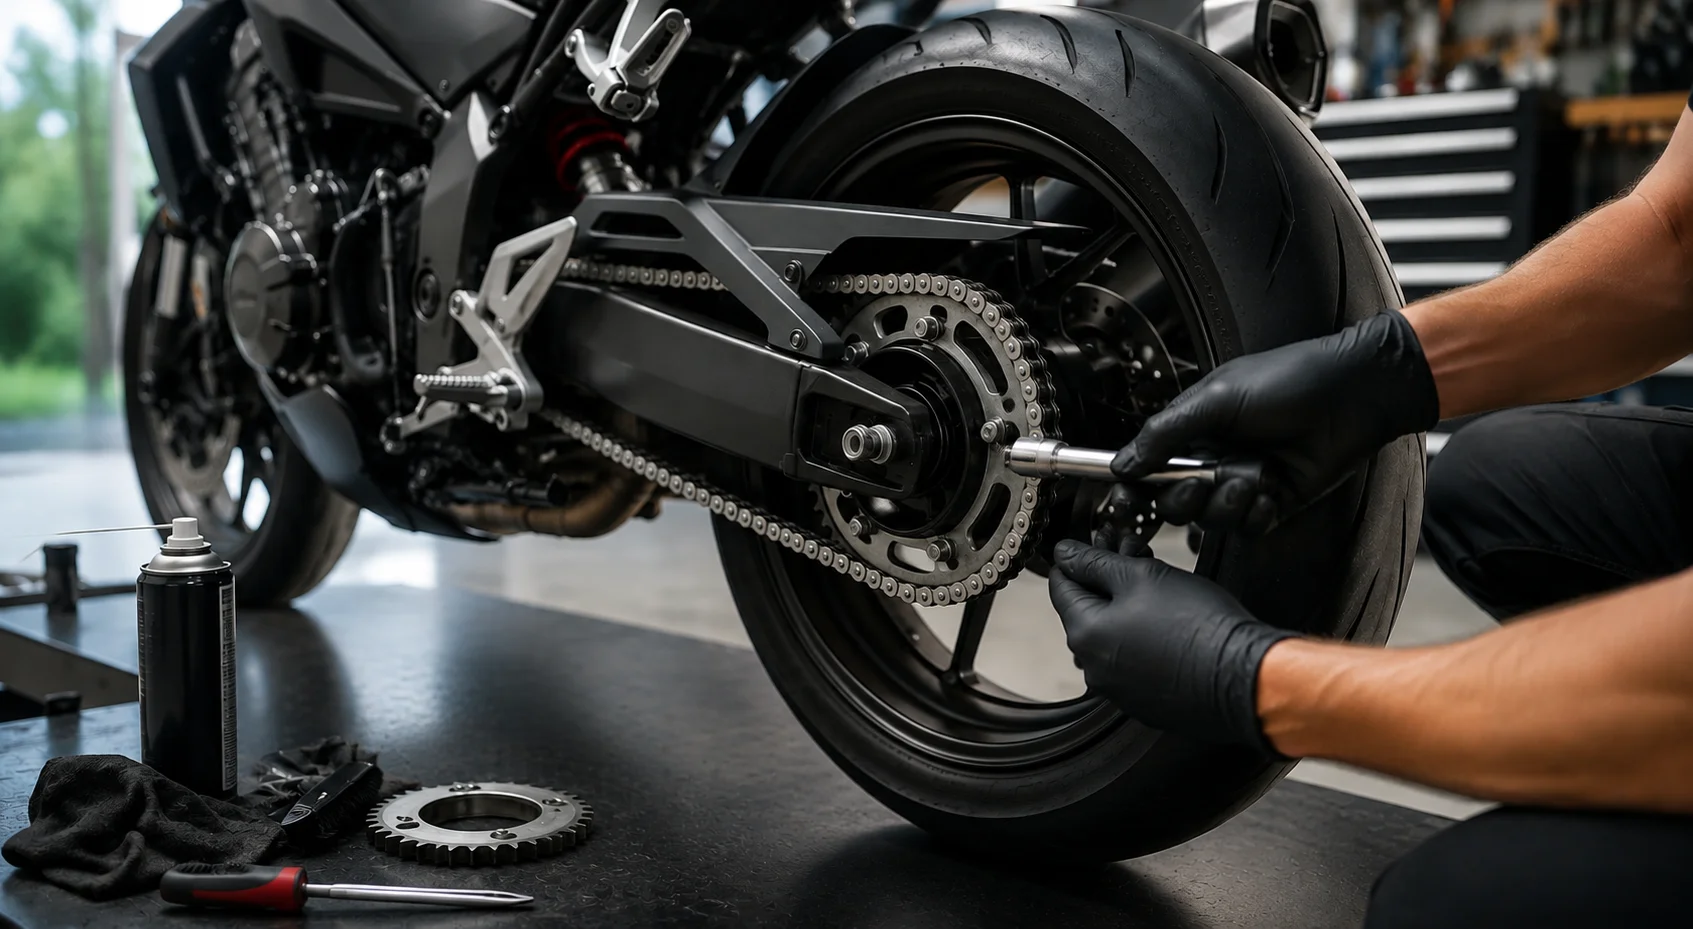
Honda CB1000R chain and sprocket maintenance

Every naked bike with real power needs a healthy chain and sprocket set. The CB1000R is no exception. In fact, its punchy midrange makes chain wear happen faster than riders expect.

Here is why this matters so much. A stretched chain throws off your gearing. It also creates a jerky feel during acceleration. Riders often blame the throttle response or the ride-by-wire system, but a worn chain is usually the real culprit.

Check your chain slack every few hundred miles. Look at the teeth on the sprockets, too. Worn teeth become hooked instead of straight-edged. When you see that shape, it’s time to replace. Wait too long, and more than an annoying vibration is at risk. A broken chain at speed can seriously damage your swingarm or even lock up the rear wheel.

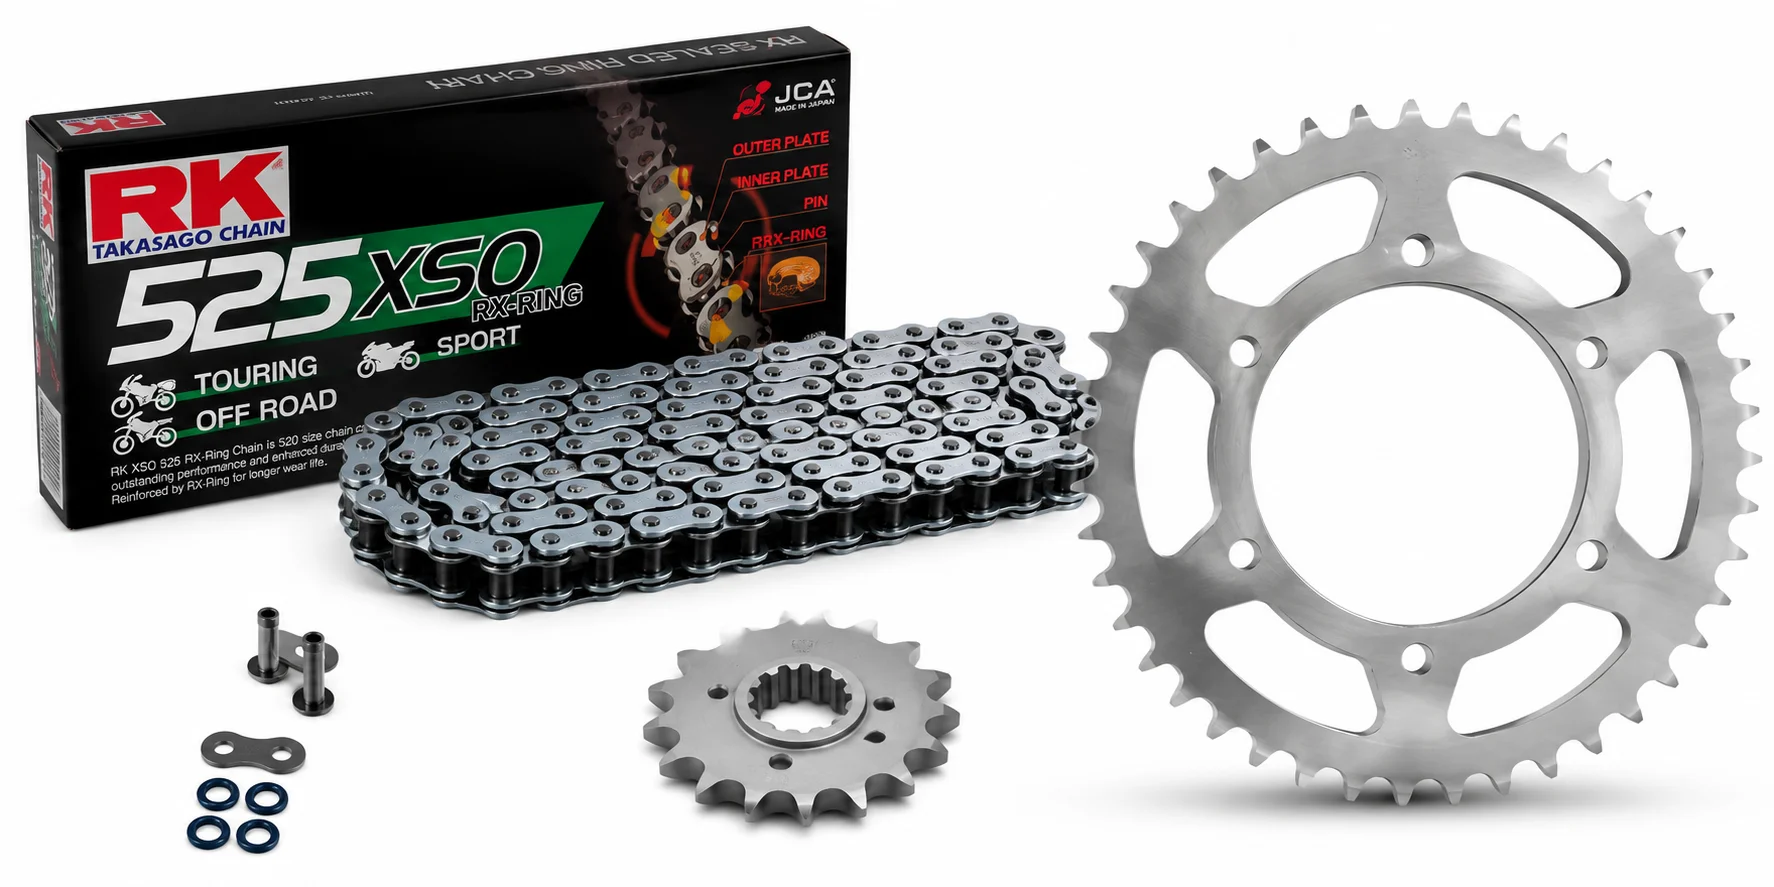
For 2021 through 2023 CB1000R models, we stock a direct-fit chain and sprocket set built for exact OEM specifications. This means correct pitch, correct tooth count, and a clean bolt-on installation. You will not need to modify anything or guess at compatibility.

One more tip here. Clean and lubricate your chain regularly between replacements. This single habit extends chain life significantly. Use a proper chain lube, not general-purpose oil, since it needs to withstand centrifugal force without flinging off the chain.

Stator Cover Damage: A Common but Preventable Problem

Naked bikes are low. To the ground. Riders tend to lean on them more than they realize, especially on slow parking lot turns or tight U-turns. Which means the engine covers take a lot more abuse than most owners realize.

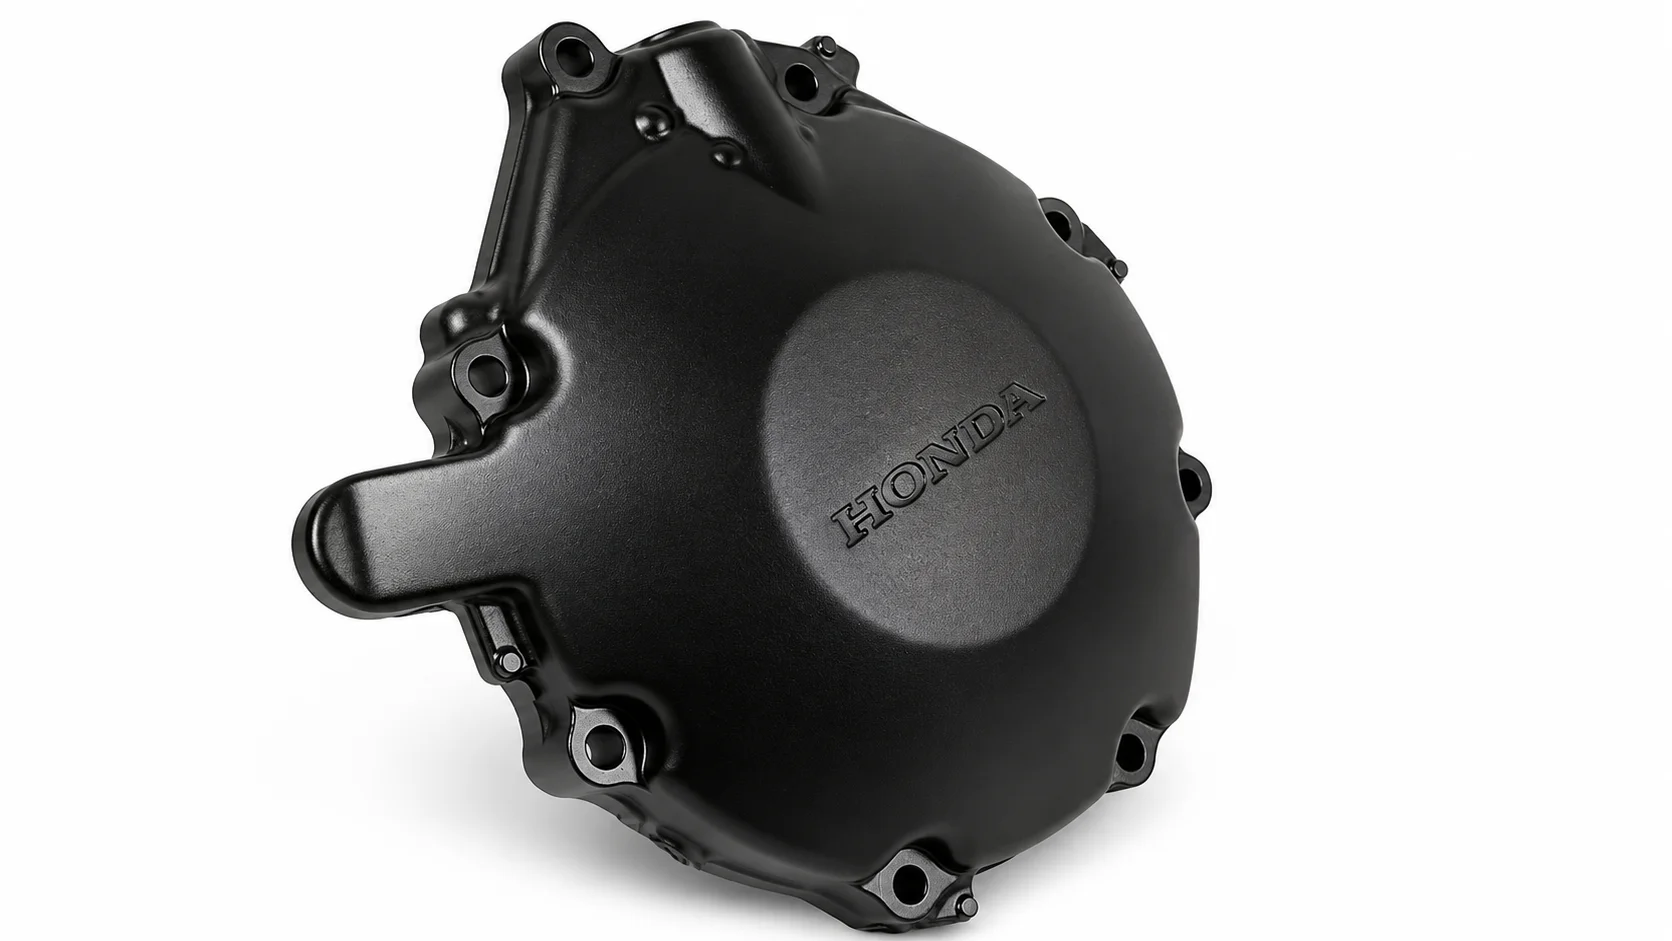
The stator cover is on the side of the engine and covers the inside charging system components. The cover on the CB1000R is in a weak place. It can crack or scuff badly even with a low-speed, gentle tip-over. Some riders only discover the damage when they see oil leaking out around the edges of the cover.

And it’s not just aesthetic. A cracked stator cover will leak oil at a steady rate. If not addressed, this can cause low oil levels and possible engine damage down the road. So don’t write off a cracked cover as a small problem.

Aliwheels carry a Honda CB1000R stator cover for 2021 through 2023 models. Replacing this part promptly after any drop protects your engine and keeps oil where it belongs. Installation is straightforward for anyone comfortable with basic engine work, though a shop visit works fine too if you prefer.

Honda CB1000R Stator Cover 2021-2023

Understanding the CB1000R’s Electronics Package

Modern CB1000R models come loaded with electronic rider aids. This includes traction control, multiple ride modes, and ride-by-wire throttle. These systems make the bike safer and more adaptable. However, they also introduce complexity that older bikes never had.

If your throttle feels inconsistent, do not immediately assume a mechanical fault. First, check which ride mode you are in. Rain mode, for example, deliberately softens throttle response. Riders sometimes forget they switched modes and assume something broke.

That said, genuine electronic issues do happen. A loose connector or corroded ground wire can cause real problems. If you experience warning lights, stalling, or erratic behavior that persists across ride modes, get the connections checked. Vibration from regular riding can work connectors loose over time, especially near the subframe and tail section.

Suspension Setup: Why Stock Settings Rarely Fit Everyone

Honda ships the CB1000R with suspension tuned for an average rider on an average road. Most owners are not average in either sense. Your weight, riding style, and typical roads all affect what setup actually works for you.

Start with the basics before spending money on upgrades. Adjust your preload to match your weight, with or without a passenger. Many riders skip this step entirely and then complain about a harsh or mushy ride. A five-minute adjustment often solves what feels like a bigger problem.

Once you have dialed in the basics, some riders explore aftermarket suspension components for more control. This makes sense for aggressive riders or those doing regular canyon runs. But for most owners, proper stock suspension setup solves the majority of complaints. Do not skip this step just because upgrading sounds more exciting.

Grips and Ergonomics: Small Changes, Big Comfort Gains

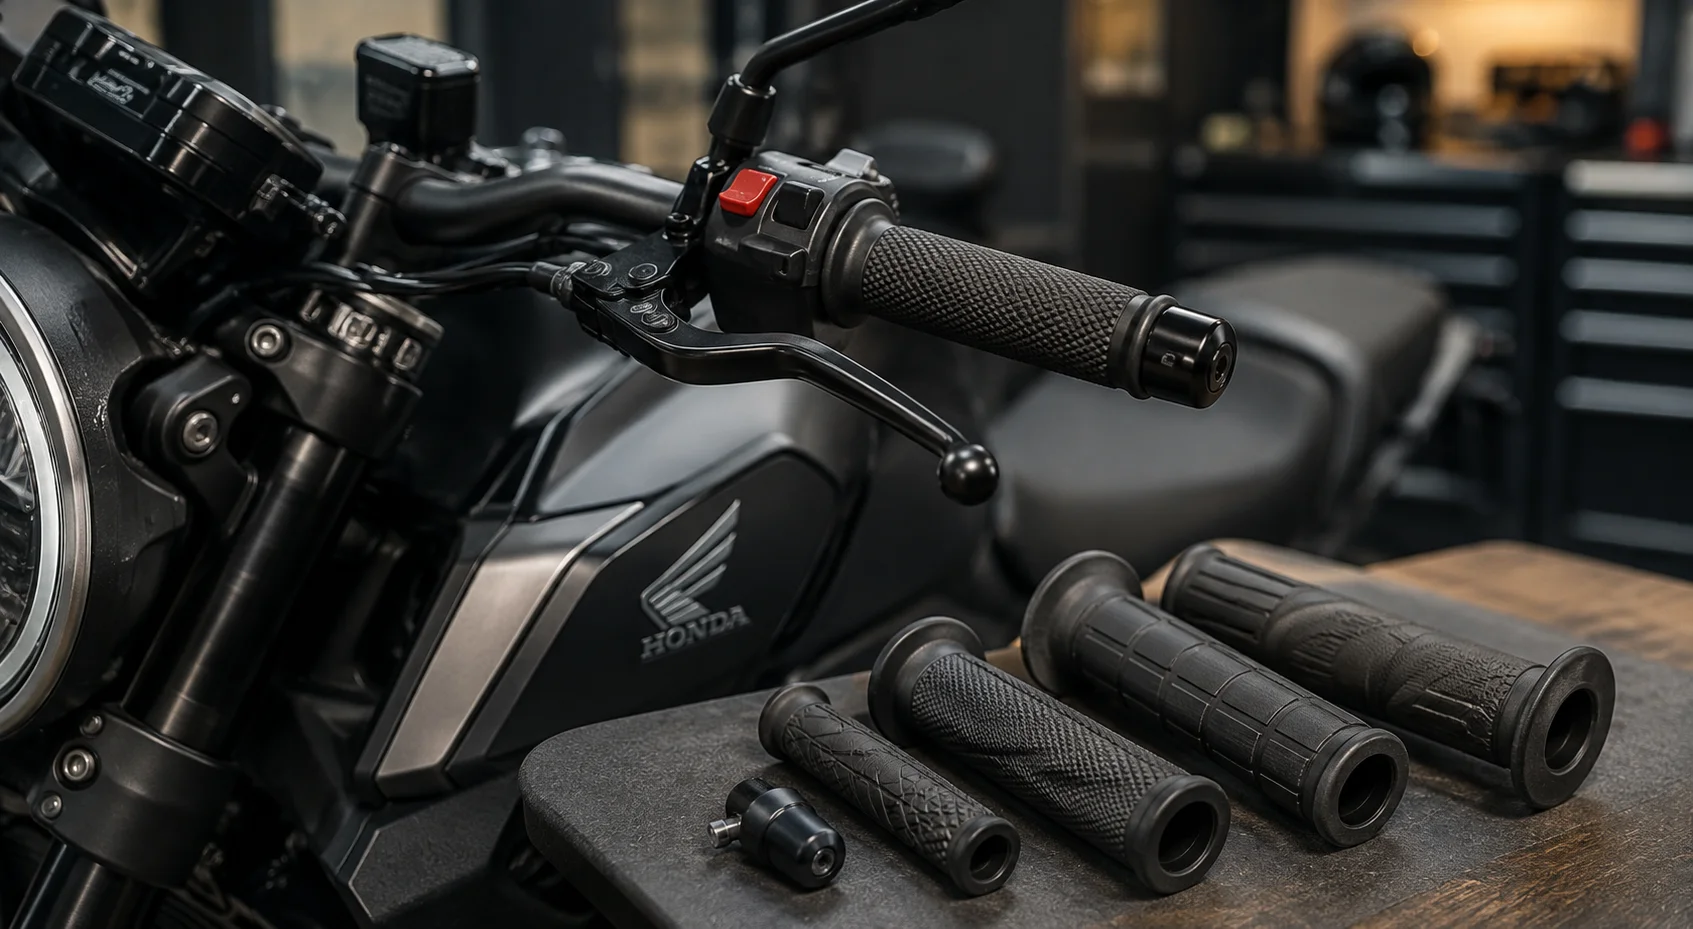
The CB1000R’s riding position leans slightly forward, which suits its sporty character. However, this position can create hand fatigue on longer rides. Stock grips prioritize feel and feedback over long-distance comfort, which makes sense for a bike built around aggressive riding.

Honda CB1000R handlebar grips and ergonomic upgrade

If you find your hands going numb after an hour, do not assume you simply need to “get used to it.” Grip diameter and compound both affect hand fatigue directly. Thicker, softer grips absorb more vibration and reduce pressure points.

This is a low-cost, easy upgrade that many riders skip simply because they do not think about it. Before investing in expensive suspension work or seat modifications, try addressing your grips first. It often solves more of the problem than people expect.

Brake Maintenance: What CB1000R Owners Need to Watch

The CB1000R comes with strong brakes suited to its performance character. That performance comes with maintenance responsibility. Aggressive braking generates more heat, and heat accelerates wear on pads and fluid alike.

Check your brake fluid color periodically. Fresh fluid looks clear to light amber. Dark, cloudy fluid means moisture contamination, which reduces braking performance exactly when you need it most. Replace fluid according to Honda’s recommended interval, not just when it looks obviously dirty.

Pad wear matters too. Many riders wait until they hear grinding before checking pads, but that means metal-on-metal contact already happened, which is expensive and dangerous. Instead, visually inspect pad thickness through the caliper every few thousand miles. Catching thin pads early costs far less than replacing scored rotors later.

Exhaust Options: Sound, Weight, and Real Performance Gains

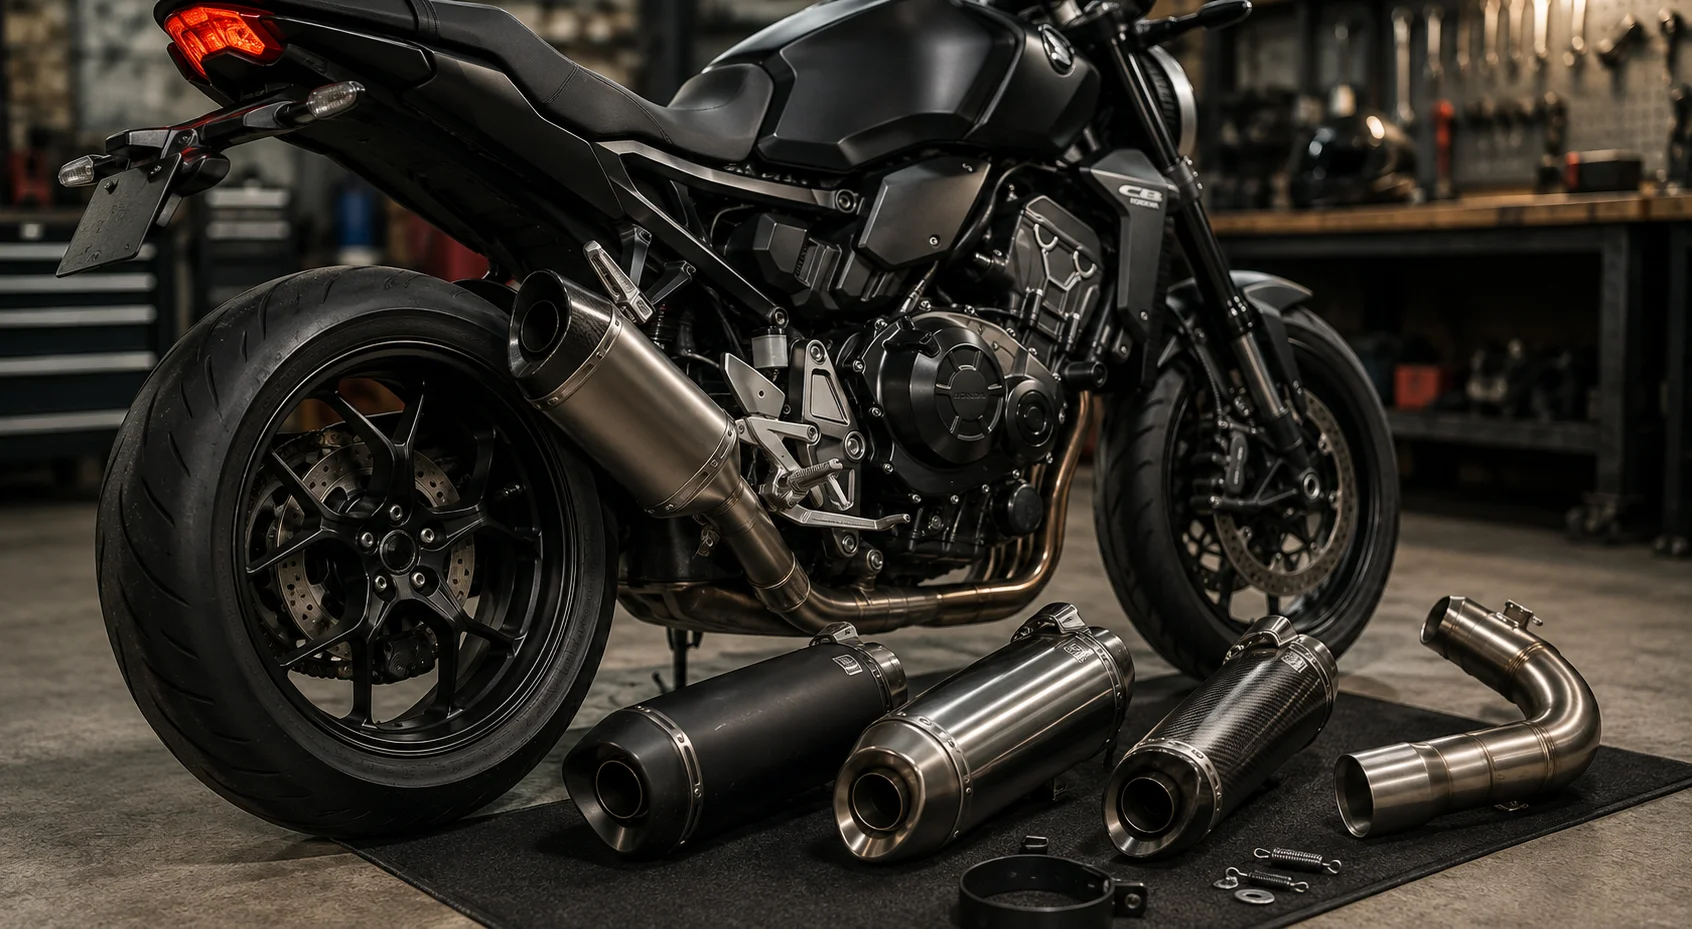
Plenty of CB1000R owners consider an aftermarket exhaust early in ownership. The bike’s engine note already sounds aggressive, but many riders want more. Beyond sound, a quality aftermarket system can shed real weight since stock exhausts prioritize emissions compliance and noise regulations over minimal mass.

Honda CB1000R performance exhaust upgrade options

Weight reduction on a naked bike matters more than people assume. Less weight at the rear wheel improves handling feel, especially during quick direction changes. Combine that with a modest throttle response improvement, and the upgrade earns its cost for many riders.

Before installing anything, check whether your specific model year requires a fuel remap alongside the exhaust change. Some configurations run leaner after an exhaust swap, and that lean condition can cause long-term engine stress if left uncorrected. A quick consultation with your installer prevents this problem entirely.

Tire Choice: Matching Rubber to How You Actually Ride

Stock tires on the CB1000R perform well for general riding, but they represent a compromise. Honda has to satisfy commuters, weekend canyon riders, and everyone in between with one tire choice. Your riding style might benefit from something more specialized.

If you ride mostly in dry conditions and push the bike hard through corners, a sportier tire compound rewards you with better grip and feedback. If you commute daily through varied weather, a tire built for all-condition performance and longevity serves you better than an ultra-sticky sport compound that wears out fast.

Tire pressure matters just as much as tire choice. Check pressure weekly, not monthly. Temperature swings and slow leaks both affect pressure more than riders realize, and incorrect pressure changes how the bike handles more dramatically than most people expect.

Battery Care: Preventing the Most Common Winter Complaint

Every fall, CB1000R owners flood forums with the same question. Why won’t my bike start after sitting for a few weeks? The answer almost always traces back to battery care, or the lack of it.

Modern electronics draw small amounts of power even when the bike sits off. Over weeks of inactivity, this drain adds up. Combine that with natural battery self-discharge, and you get a bike that cranks weakly or not at all when you finally try to start it.

A battery tender solves this problem completely. Plug it in whenever the bike sits for more than a week or two, and you will never face a dead battery surprise. This costs far less than emergency roadside assistance or a rushed battery replacement.

Fork Seal Care: A Quiet Problem Until It Isn’t

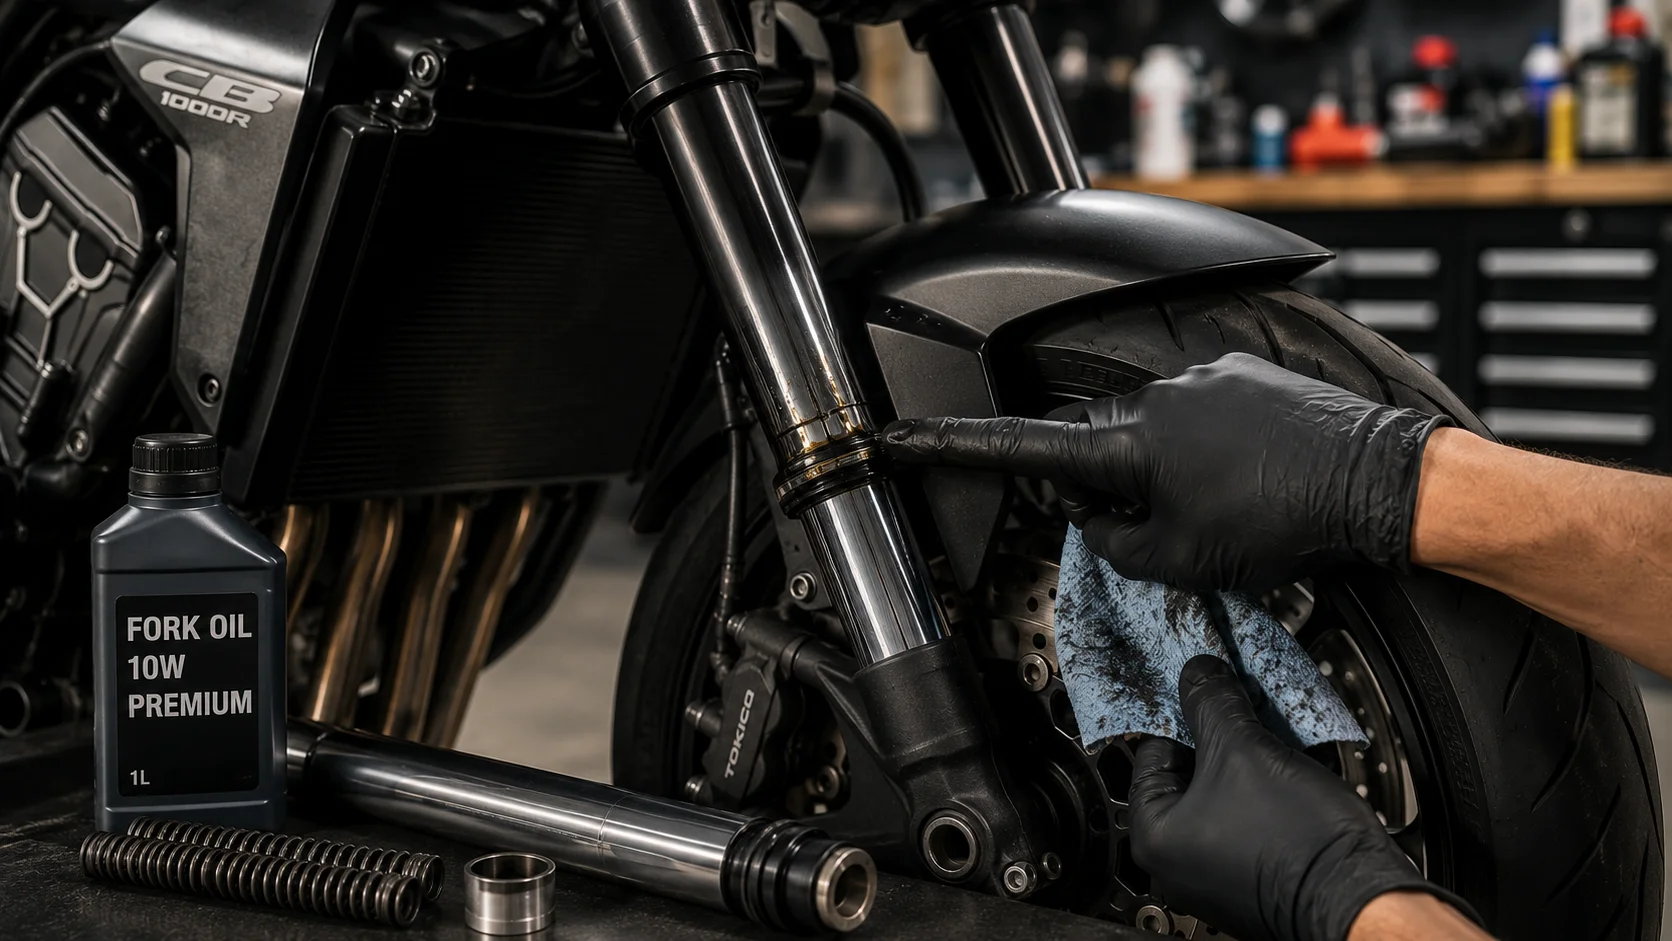
Fork seals rarely announce themselves loudly. You might notice a thin film of oil on the fork legs during a routine wash, or you might not notice anything until the ride starts feeling harsh and unpredictable.

Honda CB1000R fork seal inspection and maintenance

Once seals start leaking, fork oil escapes gradually. As oil volume drops, damping performance suffers. Your front end starts feeling vague through corners, and bumps transmit more harshly than before. This change happens slowly enough that many riders adjust without realizing anything changed.

Inspect your fork legs during every wash. Run a clean cloth along each leg and check for oil residue. Catching a leak early keeps the repair simple and affordable. Ignoring it lets the problem compound, potentially damaging the fork internals beyond simple seal replacement.

Building a Maintenance Routine That Actually Works

All the advice above means little without consistency. Riders who stay ahead of maintenance rarely face expensive surprises. Riders who wait for problems to announce themselves usually pay more, both in money and downtime.

Build a simple routine. Check chain slack and lubrication every few hundred miles. Inspect brake pads and fluid monthly. Look over fork legs and engine covers during every wash. Test your battery before long dormant periods. None of these tasks take much time individually, but together they prevent most of the common CB1000R headaches covered in this guide.

Aliwheels Honda CB1000R Motorcycle Parts Collection

The CB1000R rewards owners who understand its specific needs. It is not simply another naked bike, and treating it like one leads to preventable problems. Its punchy engine wears chains faster than a commuter bike would. Its low stance makes stator covers vulnerable during tip-overs. Its electronics package needs occasional attention to connectors and grounds.

None of this should discourage you from owning or enjoying this bike. Every motorcycle has its own maintenance personality, and once you learn the CB1000R’s, staying ahead of problems becomes second nature. Start with the Honda CB1000R chain and stator cover parts covered here, since those address the two most common real-world issues owners report. Then build outward from there based on how you actually ride.

Browse our full range of Honda motorcycle parts to find fitment-verified components for your exact CB1000R model year. Always confirm your year range before ordering, since Honda made meaningful updates to this platform across its production run, and getting the right part the first time saves you both money and time.

(Commenting: OFF)

Or login with your social account