


Free Shipping over $300

Support 24/7

Secure Payments

Hot Offers

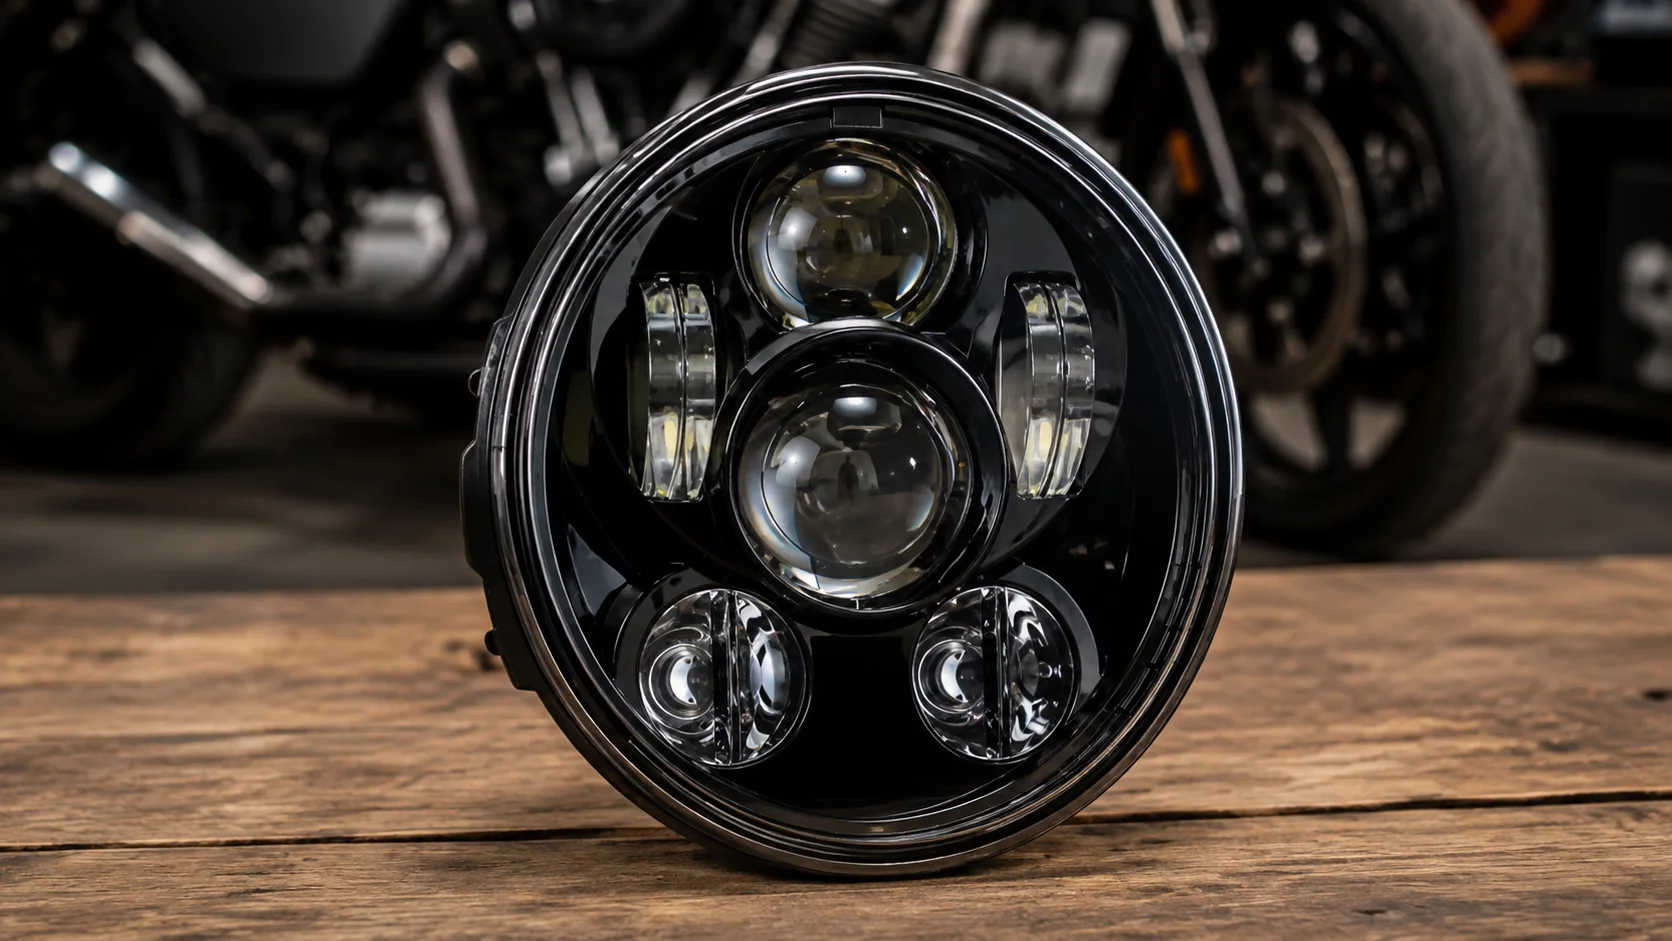
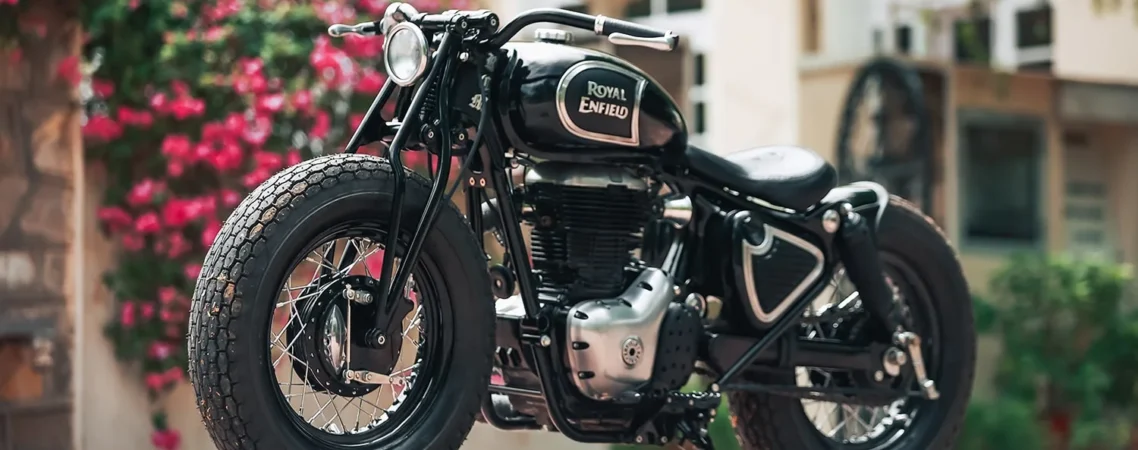
Aliwheels is a leading motorcycle parts supplier offering free shipping anywhere in the world on orders above $300. Please note that all of our motorcycle parts and accessories are certified and tested. With more than 10,000* products to choose from this is your one place to get the motorcycle part you need. Browse our vast inventory of motorcycle radiators, fairings, clutch plates, headlights, chains, and sprockets.

Free Shipping over $300

Support 24/7

Secure Payments

Hot Offers

Already picked out your new exhaust? If you found our guide on choosing the right system for your Harley-Davidson Road Glide, this is the next step. Here is exactly how to get it installed the first time correctly.

Tools You Will Need to Install a New Exhaust System: 

Gather everything before you begin, since stopping halfway through to find a missing tool wastes time and risks leaving your bike apart longer than necessary.

You will need a torque wrench, a socket set matching your bike’s bolt sizes, a motorcycle stand or lift, penetrating oil for stubborn bolts, and a new gasket kit specific to your exhaust system. Never reuse old gaskets, since they rarely seal a second time properly.

Step One: Let the Bike Cool Completely

Never work on a hot exhaust system. Give your bike at least an hour after your last ride before starting, longer in warm weather. Burns from a hot exhaust happen fast and heal slowly.

Step Two: Secure the Bike on a Stable Stand

Use a motorcycle stand or lift rated for your bike’s weight. Working on an unstable bike risks both injury and damage to your paint and bodywork during the removal process.

Step Three: Remove the Stock Exhaust System

Start by disconnecting any oxygen sensors if your bike has them, since these need careful handling to avoid damaging the wiring. Apply penetrating oil to exhaust mounting bolts if they show any resistance, and give it a few minutes to work before applying force.

Stock exhaust removal on a Harley touring motorcycle

Remove the muffler first, followed by the header pipes. Keep track of any spacers, brackets, or hardware as you go, since you will likely reuse some of these with your new system.

Step Four: Prepare the New Exhaust System

Lay out all components from your new exhaust kit and compare them against the included instructions. Confirm you have every bracket, gasket, and bolt before beginning installation, since missing a single small part partway through creates unnecessary delays.

Step Five: Install New Gaskets and Position the Header Pipes

Always use fresh gaskets at every connection point. Position your header pipes first, hand-tightening bolts initially rather than fully torquing them right away. This lets you adjust alignment slightly before final tightening.

Step Six: Attach the Muffler and Heat Shields

Once your header pipes sit correctly, attach the muffler section and any heat shields included with your kit. Check that heat shields maintain proper clearance from bodywork, saddlebags, and rider footpegs, since improper clearance leads to melted plastic or scorched paint down the road.

Step Seven: Torque Everything to Specification

This step matters more than most riders realize. Under-torqued bolts loosen over time from vibration, leading to exhaust leaks or rattling. Over-torqued bolts can strip threads or crack mounting brackets. Always torque to the specification listed in your exhaust kit’s instructions, working in the sequence recommended by the manufacturer.

Step Eight: Reconnect Sensors and Do a Final Check

Reconnect any oxygen sensors or electrical connections you disconnected earlier. Do a full visual check of every connection point, confirming nothing sits loose or misaligned before starting the engine.

Things You Should Not Do While Installation Procedure

Skipping new gaskets ranks as the most common mistake riders make. Old gaskets rarely seal properly, leading to exhaust leaks and unwanted noise soon after installation.

Rushing the torque sequence causes problems too. Tightening bolts fully in random order before checking overall alignment often leads to stress on mounting brackets. Follow the sequence in your instructions instead.

Ignoring heat shield clearance is another frequent issue. Riders sometimes focus purely on the exhaust fitting correctly without checking that heat shields clear saddlebags, floorboards, or wiring harnesses nearby.

Break-In and First Ride

Start your engine and let it idle for a few minutes, listening carefully for any hissing or ticking sounds that indicate a leak at a connection point. Check all fittings again once the exhaust reaches full operating temperature, since metal expands slightly with heat and can reveal a loose connection that felt fine when cold.

Plan to re-torque all fasteners after your first fifty to one hundred miles of riding. Vibration and heat cycling often cause slight loosening during this initial break-in period, and catching it early prevents bigger issues later.

Choosing the Right System for Your Motorcycle

Harley touring exhaust selection

If you have not yet chosen your exhaust system, our guide on choosing the right exhaust for your Harley Davidson Road Glide covers sound, material, and style considerations in detail before you buy.

Once you are ready, browse fitment-verified options like the Harley-Davidson DYNA Super Glide Custom Anniversary FXDC Exhaust Pipes, listed with exact model year and material specifications to remove any fitment guesswork before installation.

Browse Aliwheels‘ full Harley-Davidson Parts for fitment-verified exhaust systems across every touring model.

Frequently Asked Questions

Can I install a new exhaust system myself, or do I need a mechanic?

Most riders comfortable with basic tools can complete this installation at home. If you are unsure about torque specifications or sensor wiring, a professional installation avoids costly mistakes.

Do I need to reprogram my bike’s computer after an exhaust swap?

Some Harley models benefit from a fuel tune or ECU adjustment after a significant exhaust change, especially full systems that alter airflow noticeably. Check your specific exhaust kit’s recommendations.

How long does a typical exhaust installation take?

Most riders complete a full exhaust swap in two to three hours, depending on experience level and whether any bolts require extra effort to remove.

(Commenting: OFF)

Riding your GSX-S1000 at night shouldn’t feel like squinting through fog. But if you own one, you’ve probably noticed the stock headlight just doesn’t cut it once the sun goes down. You’re not imagining things, and you’re definitely not the only one dealing with this.

This is one of the most consistent complaints across Suzuki GSXS1000 owner communities, with threads on the topic going back years. Let’s break down why the factory headlight underperforms and what actually fixes it.

Why the Stock GSX-S1000 Headlight Falls Short?

The GSX-S1000 uses a reflector-style headlight housing paired with a halogen bulb. This is an older lighting technology compared to the LED and projector setups found on many newer bikes. Reflector housings work by bouncing light off a curved surface to create the beam pattern, but they’re far less efficient than projector-style housings at focusing that light onto the road.

Owners across forums describe the same experience: the headlight looks fine parked in a driveway, but once you’re actually riding at highway speed in the dark, the beam simply doesn’t illuminate far enough ahead. Several riders specifically mention feeling unsafe on unfamiliar roads at night because of how little the stock light reveals.

What Riders Are Actually Saying?

GSX-S1000 riders discussing

The GSXS1000 owner forum, with over 120,000 posts and 11,000 members, has years of recurring discussion around this exact issue. Common themes include:

“The headlight isn’t visible enough at night.” Multiple owners report that other drivers seem to have trouble spotting them, raising real safety concerns beyond just personal visibility.

Frustration with finding a proper LED replacement. Riders trying to upgrade run into connector mismatches, with some LED kits using two-prong connectors when the stock housing needs three, or physical sizing issues where the replacement bulb’s back end simply doesn’t fit the factory housing.

Misaligned headlights straight from the factory. Several owners discovered their headlights were aimed incorrectly from the start, making the already weak beam even less effective until properly adjusted.

Model-specific differences. The standard GSX-S1000 uses a single H4 dual-beam bulb, while the GSX-S1000F uses two separate H7 bulbs. Riders often buy the wrong replacement because they don’t realize their model needs a different setup entirely.

Is This a Safety Issue?

Yes, and multiple owners treat it as one. Beyond simple inconvenience, poor headlight performance limits your reaction time to hazards on unlit roads. Riders who commute at night or travel through rural areas without streetlights face a real visibility gap with the stock setup. This isn’t just about preference. It’s a genuine safety concern worth addressing properly.

What Doesn’t Fix It?

A few common attempts fall short of solving the real problem.

Simply swapping in a brighter halogen bulb. This helps marginally but doesn’t address the core limitation of the reflector housing itself. You’ll get slightly more light, not a real transformation.

Random LED bulbs without checking model-specific fitment. As forum threads confirm repeatedly, generic LED kits often don’t physically fit the housing correctly, leading to melted connectors, poor beam patterns, or bulbs that simply won’t seat properly.

Ignoring headlight alignment. Even a perfect bulb upgrade won’t help if your headlight is aimed too high or too low. Several owners found their factory alignment was off from the start.

The Real Fix: A Proper Headlight Upgrade

Rather than chasing generic bulb swaps that may or may not fit, starting with a headlight assembly built specifically for your GSX-S1000’s model year solves the fitment guesswork from the start.

 Suzuki GSX-S1000 15-18 Headlight

Aliwheels stocks the Suzuki GSX-S1000 15-18 Headlight, designed as a direct replacement for your exact model and year range. Starting with a properly fitted housing means that any bulb upgrade you add afterward, LED or otherwise, has a much better chance of seating correctly and performing as it should.

Steps to a Better Night Riding Setup

  1. Confirm which variant you own, the standard GSX-S1000 or the F model, since bulb types differ between them.
  2. Replace the headlight assembly with a properly fitted unit for your year.
  3. Choose a quality LED bulb rated specifically for motorcycle use, not automotive kits repurposed for bikes.
  4. Check the connector type before installing, since two-prong and three-prong setups aren’t interchangeable.
  5. Adjust your headlight aim after installation. Most bikes have adjustment screws or gears accessible from the front of the housing.
  6. Test ride at night before a long trip to confirm that both brightness and beam alignment feel right.

Headlight Alignment: Don’t Skip This Step

Several forum threads reveal that riders assumed their upgrade wasn’t working, when the real issue was simply a misaligned headlight. Locate your adjustment mechanism, usually either a screw-style or gear-and-notch style adjuster depending on your model year, and take the time to properly aim your beam before judging whether your upgrade actually helped.

If you’re unsure how to access the adjusters, most bikes have them positioned at the top or side of the headlight housing, reachable without removing the front fairing.

GSX-S1000 headlight alignment

Browse More Suzuki GSX-S1000 Parts

If you’re upgrading your lighting setup, it’s worth checking your other electrical components while you’re at it. Aliwheels stocks fitment-matched parts for your exact GSX-S1000 model year, helping you avoid the trial and error many riders go through sourcing parts elsewhere.

Conclusion

The GSX-S1000’s dim headlight isn’t a rare complaint. It’s a well-documented, years-long topic among owners who ride at night and want better visibility. The stock reflector housing and halogen bulb simply weren’t built for serious night riding.

Start with a properly fitted headlight assembly for your exact model, add a quality LED bulb, and take the time to align it correctly. Riders who’ve made this upgrade consistently report a night-and-day difference, literally, in how confident they feel on unlit roads.

(Commenting: OFF)

Ask any Kawasaki KLR 650 owner about their exhaust, and you’ll likely get a strong opinion. Some love the heavy factory muffler for its quiet, reliable performance. Others can’t wait to swap it for something lighter. Almost everyone has thoughts on which aftermarket option is actually worth the money.

This guide breaks down what KLR 650 owners actually say about their exhaust options, based on years of ongoing discussion across one of the largest KLR-focused communities online, so you can make the right choice for your riding style.

Why the Stock Exhaust Divide Opinion?

The factory KLR 650 muffler is big, heavy, and admittedly not much to look at. Owners often compare it to a barbecue grill or a lawnmower muffler. But it’s also quiet, reliable, and doesn’t need repacking as most aftermarket options do.

This tradeoff- weight and looks versus reliability and quiet operation is exactly why the exhaust upgrade conversation never really ends on KLR forums. With over 362,000 posts and 32,000 members in one dedicated KLR community alone, this is clearly a topic riders care deeply about.

What Riders Say About Going Aftermarket?

KLR 650 aftermarket exhaust upgrade

Weight savings is the biggest draw. Since the KLR is already a heavy bike, shedding a few pounds from the exhaust is one of the more noticeable changes riders report after swapping.

Sound level varies dramatically between brands. This is where owner experiences differ most. Some aftermarket options like the LeoVince X3 run around 94 decibels, close to stock levels, while others like certain FMF and Big Gun setups run noticeably louder, with some riders describing them as “hearing damage loud” without earplugs.

Repacking requirements catch new owners off guard. Nearly every aftermarket exhaust except a few premium options needs periodic repacking to maintain its sound and performance. Riders who skip this maintenance report their exhaust getting progressively louder over time as the packing material burns out.

Jetting and fueling matter more than expected. Multiple owners warn that installing an aftermarket exhaust without adjusting your carburetor or fuel mapping can cause performance issues, including flat spots in the power band. The stock setup runs lean from the factory, and changing the exhaust without accounting for that can do more harm than good.

Comparing the Most Discussed Options

LeoVince X3. Consistently mentioned as a top choice among owners who want quieter performance without frequent repacking. Runs around 94 decibels and holds up well over thousands of miles without significant sound increase.

Lexx. A budget-friendly alternative in a similar quiet range as the LeoVince, though it does require periodic repacking. Popular among owners who don’t mind occasional maintenance in exchange for a lower upfront cost.

FMF Q4. Slightly louder than the LeoVince and Lexx options, generally described as having a pleasant sound without being excessive, though opinions vary based on individual tolerance for noise.

Yoshimura RS-2. Praised for its lightweight and appearance, but multiple owners note it runs louder than they expected, especially at wide-open throttle.

Big Gun systems. Mixed reviews. Some owners report years of trouble-free use, while others cite customer service concerns and higher noise levels than anticipated.

Is an Aftermarket Exhaust Actually Worth It?

This depends entirely on what you’re optimizing for. If pure performance is your goal, most experienced KLR owners agree that aftermarket exhausts offer little to no real horsepower gain on their own. The main benefits are weight reduction and sound, not increased output.

Stock vs aftermarket exhaust

If you’re chasing a lighter bike and don’t mind occasional maintenance, an aftermarket option makes sense. If you prioritize a quiet, low-maintenance setup and don’t mind the extra weight, plenty of experienced owners genuinely prefer sticking with stock.

Common Mistakes to Avoid

Skipping the jetting adjustment. If you switch to a free-flowing aftermarket exhaust without adjusting your carburetor, you risk running lean, which can cause engine damage over time, not just performance issues.

Choosing based on looks alone. Several riders admit they picked an exhaust primarily for appearance, then regretted it once they realized how loud it actually was on long rides.

Ignoring local noise regulations. Some riders specifically mention needing a legally compliant, spark-arrestor-equipped exhaust for certain trails or areas. Check your local requirements before buying based on sound alone.

Not accounting for the catalytic converter. Since the KLR’s catalytic converter sits inside the factory muffler can, any aftermarket midpipe needs the correct bend and connection to work properly. Not every generic option accounts for this.

Installing Your New Exhaust

Once you’ve chosen the right option for your riding style, installation generally follows these steps:

  1. Let the bike cool completely before starting.
  2. Remove the factory muffler by disconnecting it from the header pipe and unbolting the mounting brackets.
  3. Position the new exhaust system, aligning it with the factory mounting points.
  4. Secure all connections and brackets according to the manufacturer’s torque specifications.
  5. Adjust your carburetor jetting if your new exhaust significantly changes airflow.
  6. Start the bike and listen for exhaust leaks before your first ride.

Shop Kawasaki KLR 650 Parts

If you’re upgrading your exhaust, it’s worth checking your intake and jetting components at the same time, since these work together to keep your engine running properly. Aliwheels has the Kawasaki KLR 650 Exhaust (2022-2023), built as a direct fitment option for your model year.

Kawasaki KLR 650 Exhaust 2022-2023

Conclusion 

The KLR 650 exhaust debate has been running for years, and it’s not likely to settle anytime soon. What matters most is matching your choice to your actual priorities, whether that’s weight savings, sound level, or long-term low maintenance. Do your research on decibel levels, factor in repacking requirements, and don’t skip the jetting conversation if you go aftermarket.

Whatever you choose, make an informed decision based on what actual owners have already learned through years of trial and error, rather than guessing your way through it.

(Commenting: OFF)

You’re riding your KTM 390, and suddenly your calf feels like it’s on fire. Not a metaphor. The exhaust heat is radiating straight through your riding pants and onto your skin. If this has happened to you, you’re not imagining things, and you’re definitely not alone.

This is one of the most talked-about complaints on KTM Duke and Adventure forums. Riders swap stories about burnt jeans, red marks on their legs, and long rides cut short because of the heat. Let’s break down why this happens and what actually fixes it.

Why the KTM 390 Runs So Hot Near Your Leg?

The 390’s exhaust routing sits close to the rider’s right leg by design. Compact bikes like the Duke and Adventure prioritize a tight, aggressive stance. That styling choice puts the header pipe and mid-section closer to your body than on bulkier touring bikes.

Add in KTM’s single-cylinder engine, which runs hotter than a multi-cylinder setup relative to its size, and you get a recipe for serious heat buildup right where your leg sits.

Stock heat shields on many 390 model years are thin, and they cover less surface area than riders actually need. That’s the core of the problem. The shield that ships from the factory simply isn’t built to handle sustained highway riding or hot climate conditions.

KTM 390 engine heat

Common Symptoms Riders Report

Burn marks or discoloration on riding pants. This is usually the first sign. The fabric near your calf starts showing heat damage before you even feel it directly.

Direct skin irritation on longer rides. Short trips around town rarely cause problems. It’s the 30-minute-plus highway stretches where the heat builds up enough to become painful.

Heat radiating even at a stop. Idling at a red light with your leg near the pipe feels noticeably hotter than expected, especially in summer traffic.

Worse heat in stop-and-go city riding. Without airflow to cool the exhaust down, heat builds up fast during traffic jams or slow city commutes.

Riders across multiple KTM forums describe this same pattern year after year. It’s not a one-off defect. It’s a known characteristic of how the bike is built.

Is This Actually Dangerous?

Direct burns from prolonged exposure are a real risk, not just discomfort. Riders have reported blistering after long rides in hot weather without proper protection. Beyond the physical risk of burns, the constant heat is distracting. Distraction while riding is a safety problem, especially in traffic or on unfamiliar roads.

This isn’t a “just get used to it” situation. It’s worth fixing properly.

What Doesn’t Fix It

Before we get to the real solution, let’s clear up a few things riders try that don’t actually solve the problem.

Thicker riding pants alone. This helps a little, but it treats the symptom, not the source. You’ll still feel heat on long rides, just delayed slightly.

Rerouting the exhaust yourself. Some riders attempt DIY reroutes. This is risky, can affect performance, and often voids warranty coverage. Not recommended unless you’re an experienced fabricator.

Ignoring it and hoping it improves. It won’t. Heat shields don’t get better with age. If anything, thin factory shields warp or loosen over time, making the problem worse.

The Real Fix: Upgrading Your Heat Shield

A properly fitted, higher-coverage heat shield solves this at the source. Instead of managing the heat after it reaches your leg, a good shield blocks more of it from radiating outward in the first place.

KTM 390 Adventure Exhaust Heat Shield 2020-2023

Aliwheels stocks the KTM 390 Adventure Exhaust Heat Shield (2020-2023), made from carbon fiber for better heat resistance and a lighter overall weight than stock steel shields. Carbon fiber handles sustained heat exposure better than the factory setup, and it holds its shape instead of warping under repeated heat cycles.

Installing It

Installation is straightforward for most riders comfortable with basic tools:

  1. Let the bike cool completely before starting. Never work on a hot exhaust.
  2. Remove the factory shield by unbolting the mounting brackets.
  3. Position the new shield over the same mounting points.
  4. Secure it with the provided hardware, checking that it sits flush against the exhaust without touching bodywork.
  5. Double-check clearance around your leg position before your first ride.

Most riders finish this in under an hour without needing a mechanic.

Additional Tips for Hot Weather Riding

Even with an upgraded shield, a few habits help manage heat on brutal summer days.

Wear riding gear rated for abrasion and heat resistance, not just fashion. Proper riding pants make a real difference even with a better shield installed.

Avoid prolonged idling in traffic when you can help it. Filtering through slow traffic, where it’s legal and safe, reduces the time your leg spends near a stationary hot pipe.

Check your shield periodically for loose bolts or shifting position. A shield that’s drifted out of place stops doing its job even if it’s the right part.

Hot weather riding

Browse More KTM 390 Parts

If you’re upgrading your exhaust setup, it’s worth checking your full parts fitment while you’re at it. Aliwheels carries a range of KTM parts built for your exact model and year, helping you avoid guesswork on fitment.

Conclusion

The KTM 390’s heat-near-the-leg problem is real, well-documented, and common enough that riders across forums have been discussing it for years. It’s not something you have to accept as part of owning the bike. A properly fitted carbon fiber heat shield addresses the root cause, protects your gear, and makes long rides comfortable again.

If you’ve been dealing with burnt pants or leg discomfort on your 390, this is the fix riders keep coming back to.

(Commenting: OFF)

Or login with your social account