bikerbiker Aliwheels is a leading motorcycle parts supplier offering free shipping anywhere in the world on orders above $300. Please note that all of our motorcycle parts and accessories are certified and tested. With more than 10,000* products to choose from this is your one place to get the motorcycle part you need. Browse our vast inventory of motorcycle radiators, fairings, clutch plates, headlights, chains, and sprockets. biker

Hard gear shifting when the engine is hot is one of those motorcycle problems that quietly drives riders crazy. Cold starts feel fine. The first few kilometers are smooth. Then the engine heats up, traffic builds, and suddenly shifting feels stiff, notchy, or downright stubborn. Neutral becomes hard to find. Downshifts feel forced. Upshifts lose that clean click.

Many riders assume the clutch is failing or the gearbox is worn out. In reality, most cases of hard shifting when hot are caused by setup issues, oil behavior, or heat-related tolerances rather than catastrophic damage.

This guide breaks down why gear shifting gets worse as the engine warms up and how to fix it correctly before you start replacing parts you do not need.

Why Gear Shifting Changes When the Engine Is Hot

Motorcycle engines, transmissions, and clutches share the same oil bath. As temperature rises, oil viscosity changes, metal expands, and clearances shift slightly. When everything is adjusted correctly, this is not a problem. When something is off even a little, heat exposes it fast.

Hard shifting when hot usually points to one of three areas: clutch disengagement, oil performance, or shift mechanism alignment.

Understanding which system is causing resistance is the key to fixing the issue permanently.

Clutch Cable or Hydraulic Clutch Not Fully Disengaging

This is the most common cause of hard gear shifting on a hot engine.

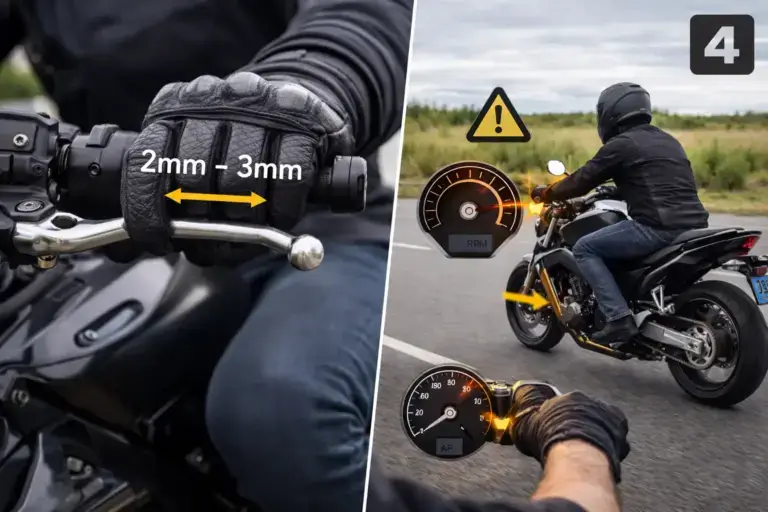
As the engine heats up, clutch components expand. If your clutch cable free play is set too tight or too loose, the clutch plates may not separate fully once the engine reaches operating temperature. When the clutch drags, gears resist engagement.

Signs this is your problem include difficulty finding neutral when hot, bike creeping forward with the clutch pulled in, and harsh downshifts at low speed.

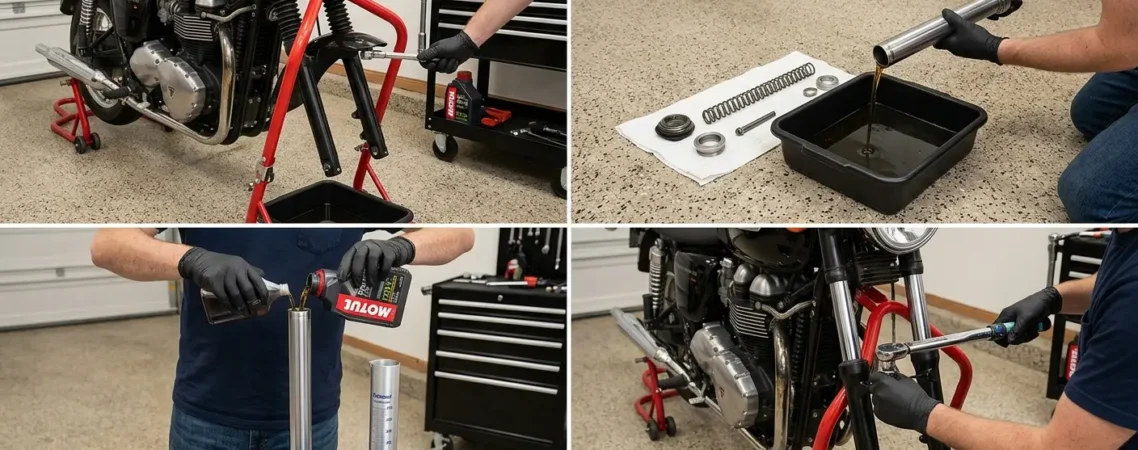
The fix is simple but must be precise. Check clutch free play at the lever when the engine is fully warm. Most bikes need a small amount of free play, usually around 2 to 3 mm at the lever. Too little free play causes slip. Too much causes drag.

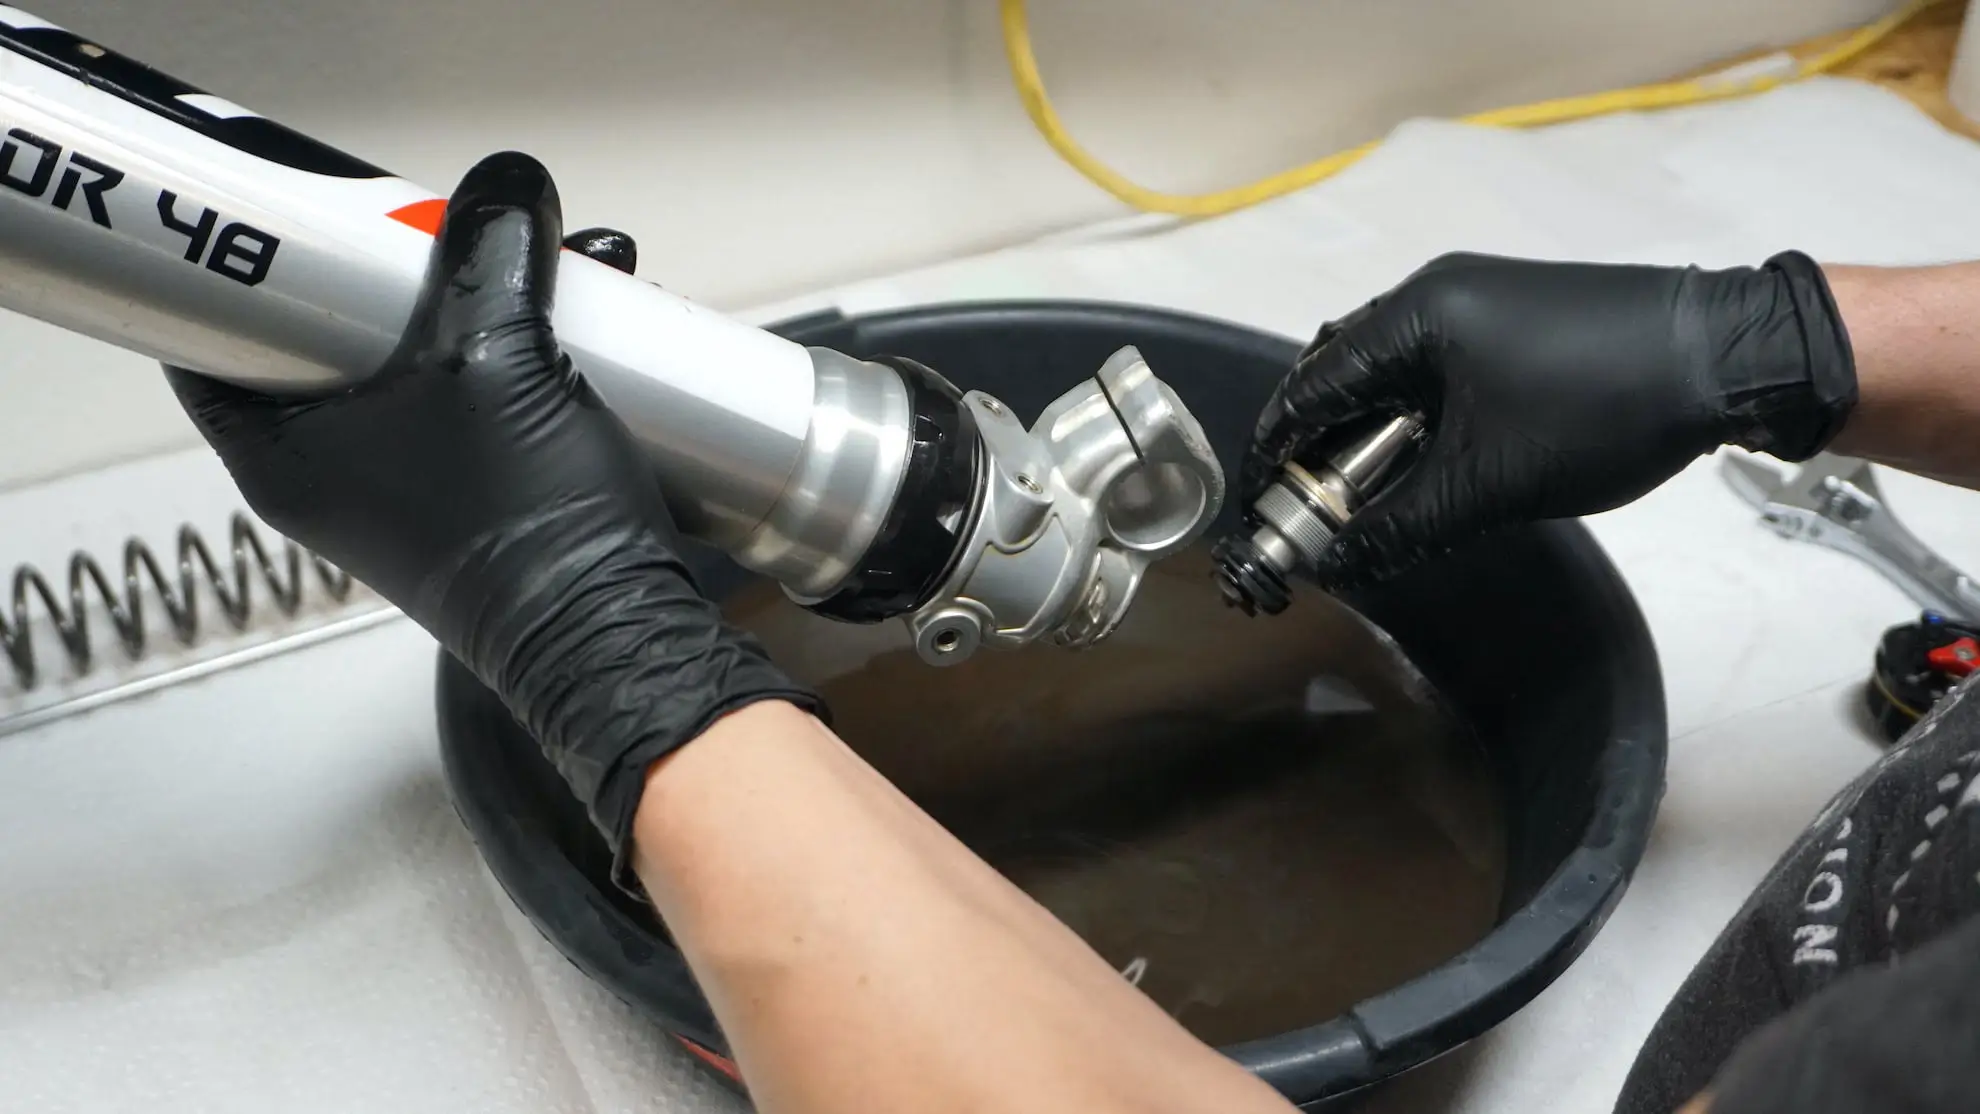
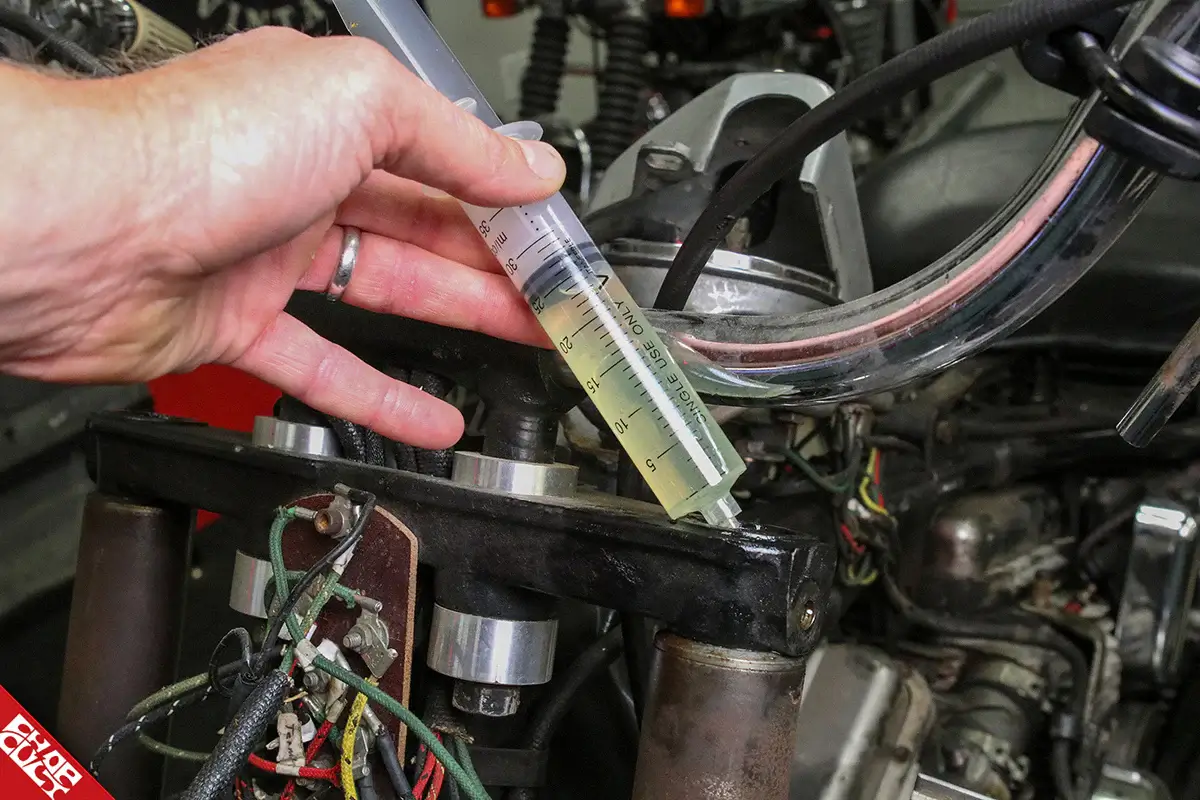
On hydraulic clutches, old fluid or air in the system can behave worse when hot. Bleeding the clutch system often restores smooth shifting instantly.

Keywords naturally aligned here: hard gear shifting motorcycle, clutch dragging when hot, motorcycle

clutch adjustment.

Clutch Cable or Hydraulic Clutch Not Fully Disengaging

Engine Oil Breakdown or Wrong Oil Grade

Oil that works fine when cold can turn into a problem once heat builds.

Using the wrong oil viscosity or a low quality oil causes thinning at high temperatures. When oil loses film strength, clutch plates stick and gearbox components lose smooth separation.

This is especially common in bikes ridden in traffic, hot climates, or aggressive stop and go riding.

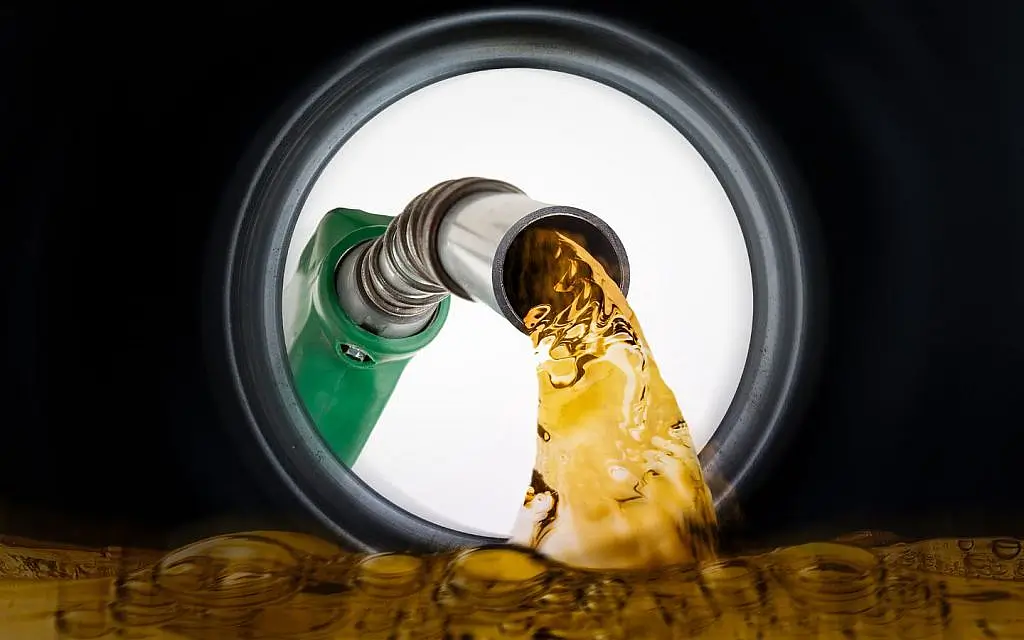
If your bike shifts worse after a long ride or during summer heat, check your oil type. Motorcycle specific oil with proper JASO MA or MA2 rating is essential. Automotive oils can cause clutch drag even if the viscosity seems correct.

Also check oil change intervals. Old oil breaks down faster and loses its ability to protect shifting components when hot.

Search intent keywords covered naturally: best oil for motorcycle gearbox, gear shifting hard when engine hot, motorcycle oil viscosity for hot weather.

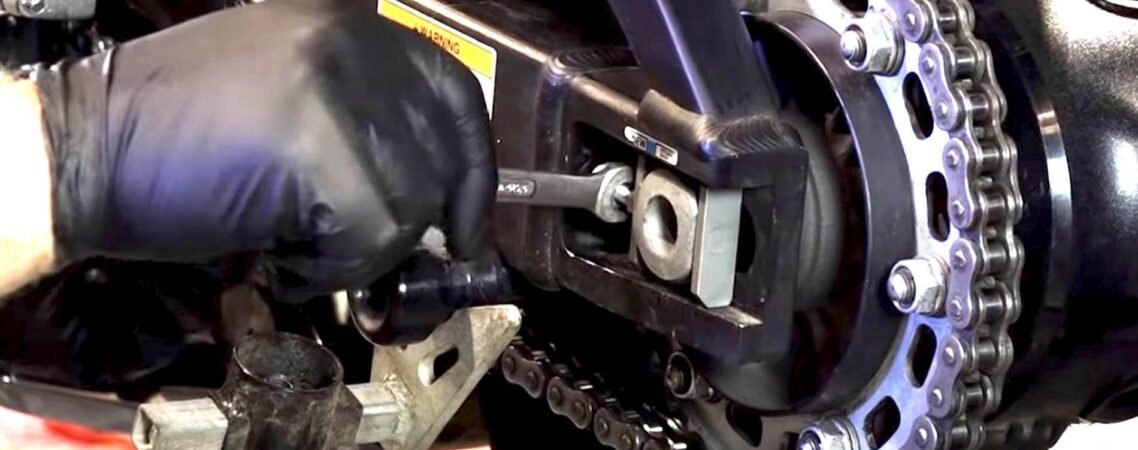
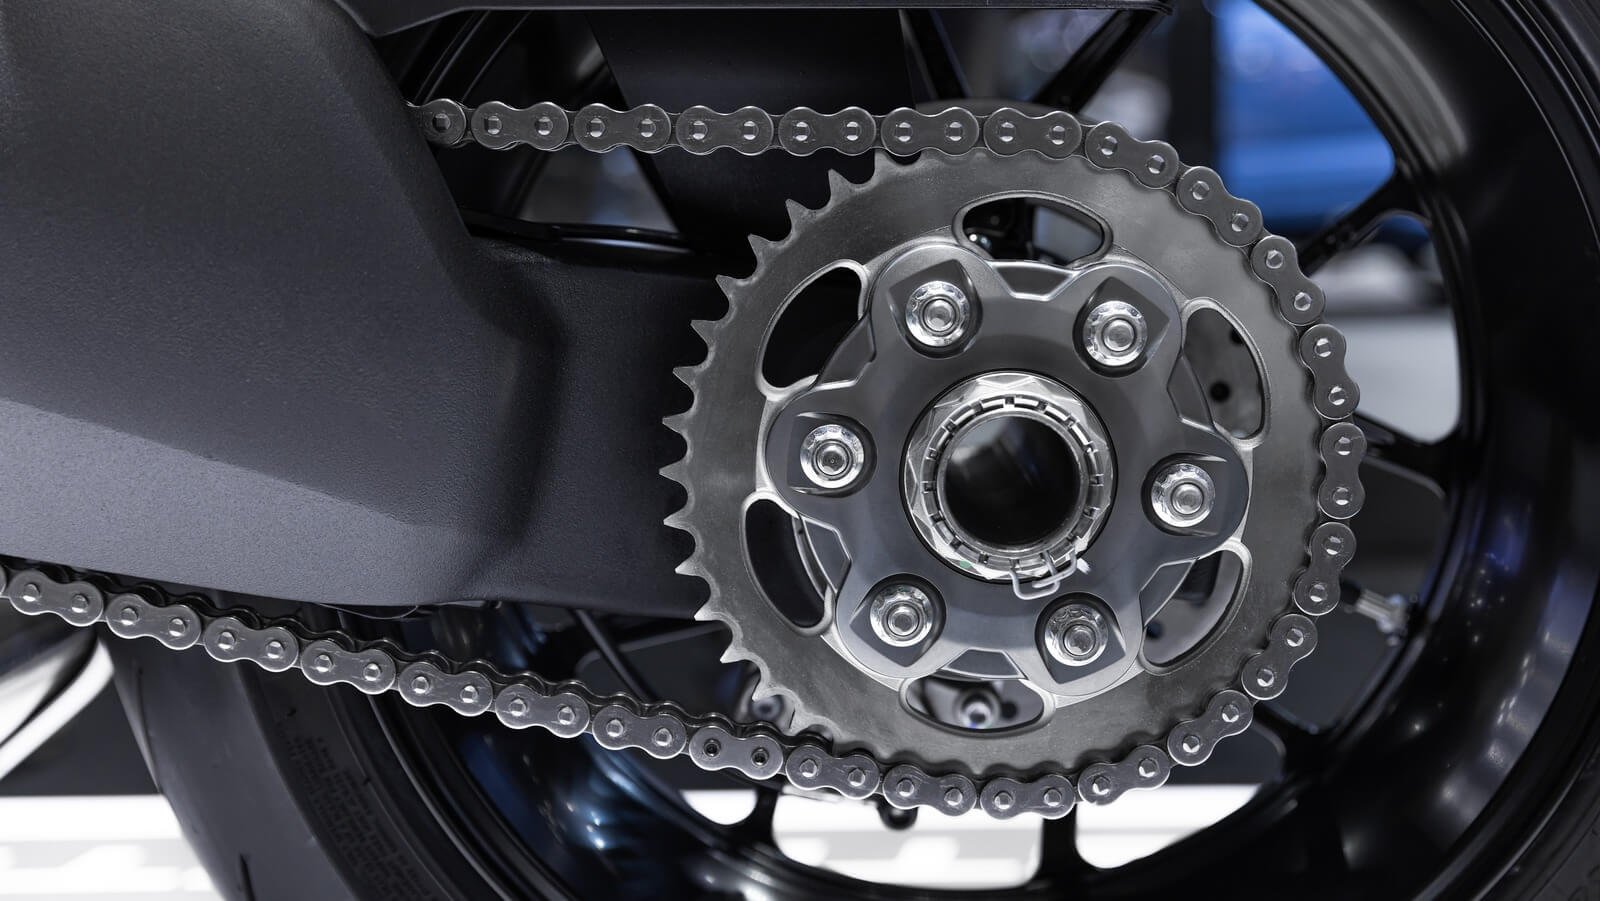
Chain Tension Too Tight When Hot

Many riders set chain slack when the bike is cold and stationary, then forget that chain tension changes as the bike heats up and the suspension moves.

A chain that is too tight places extra load on the transmission output shaft. As components heat up, resistance increases, making shifts feel heavy and mechanical.

This issue often shows up after highway riding or long urban rides. Shifting becomes stiff, especially between first and second gear.

Always adjust chain slack according to manufacturer specifications and check slack at the tightest point of chain rotation. Proper chain adjustment improves shifting feel more than most riders expect.

SEO aligned phrase used naturally: motorcycle chain too tight symptoms, hard shifting caused by chain tension.

Worn or Contaminated Clutch Plates

Even riders who shift gently can experience clutch plate issues if contamination or glazing occurs.

Over time, friction plates can glaze due to heat cycles. Steel plates can warp slightly. When hot, these imperfections become more pronounced and prevent smooth disengagement.

If clutch adjustment and oil changes do not fix the problem, inspect the clutch pack. Look for discoloration, glazing, or uneven wear.

This does not automatically mean replacement. Light glazing can sometimes be corrected by scuffing friction plates lightly and replacing worn springs.

This issue often appears on bikes with frequent traffic use, heavy clutch usage, or aftermarket levers that reduce mechanical leverage.

Shift Linkage and Lever Alignment Issues

Heat does not directly affect the shift linkage, but it amplifies existing problems.

A bent shift lever, dry pivot, or misaligned linkage rod causes poor leverage. When the engine is cold, the gearbox tolerates it. When hot, everything tightens and the margin disappears.

Check that the shift lever moves freely, returns properly, and is positioned ergonomically for your foot. Lubricate the pivot point and inspect the linkage rod for play.

This small adjustment often transforms shifting feel instantly.

Relevant long tail phrase included naturally: motorcycle gear shifter adjustment, hard shifting motorcycle fix.

Shift Linkage and Lever Alignment Issues

Internal Gearbox Wear Is Rare but Possible

Actual gearbox damage is far less common than riders think.

If the bike jumps out of gear, grinds consistently, or refuses to engage specific gears regardless of temperature, internal wear may be involved. However, if the problem only appears when hot, it is almost always external or oil related.

Rule out clutch, oil, chain, and linkage issues before assuming internal damage.

How to Prevent Hard Shifting When Hot

Preventing hot shifting issues comes down to maintenance discipline and correct setup.

Adjust the clutch with the engine warm, not cold. Use manufacturer recommended oil and change it on time. Maintain correct chain slack. Keep shift linkage clean and lubricated.

Small tolerances matter more when heat enters the equation.

Final Thoughts From a Rider’s Perspective

Hard gear shifting when the engine is hot is not a sign your bike is dying. It is a sign something small is slightly out of balance.

Most riders live with this issue for months because the bike still runs. Fixing it often takes less than an hour and restores that clean, mechanical click that makes riding satisfying.

If your bike shifts beautifully cold but fights you once warm, listen to it. Heat is exposing a setup flaw. Fix that, and the gearbox will reward you every ride.

If you want, I can next write brand specific versions for Suzuki, Kawasaki, Yamaha, or Honda, or turn this into a workshop style guide with torque specs and real world measurements.

(Commenting: OFF)

A fork oil change is one of the most overlooked motorcycle maintenance jobs, especially among new riders. Many assume suspension service is complicated, risky, or something only professionals should handle. In reality, changing fork oil at home is one of the most effective and beginner-friendly upgrades you can do, even if your bike still feels fine.

Fresh fork oil improves ride comfort, braking stability, steering control, and front-end feedback. Riders are often shocked by how much better their motorcycle feels after a simple fork oil change, even without replacing springs or seals.

Why Fork Oil Needs to Be Changed

Fork oil does more than just lubricate internal parts. It controls damping, manages heat, and keeps suspension movement smooth and predictable. Over time, fork oil breaks down due to heat, moisture, and metal particles from internal wear.

As fork oil degrades, the front suspension becomes harsh over bumps, dives excessively under braking, and feels vague during cornering. Many riders mistake these symptoms for worn tires or bad handling when the real problem is old fork oil.

For daily riders and commuters, fork oil should typically be changed every 20,000 to 30,000 kilometers, or sooner in rough riding conditions.

Is a DIY Fork Oil Change Safe for Beginners

One of the most common questions new riders ask is whether a DIY fork oil change is safe. The answer is yes, as long as you follow the basic steps and work carefully.

You do not need special tools or advanced mechanical experience for a basic fork oil service. Most beginner mistakes happen because of rushing, not a lack of skill. Taking your time and following the correct procedure is far more important than technical knowledge.

This is why a fork oil change for beginners is often recommended as a first suspension maintenance job.

Understanding Fork Oil Weight and Volume

Choosing the correct fork oil is critical. Fork oil weight affects how fast or slow the suspension moves. Thicker oil slows fork movement and reduces dive, while thinner oil allows quicker response and a softer feel.

Always start with the manufacturer-recommended fork oil weight and oil level. Many beginners make the mistake of changing oil weight to fix handling problems that are actually caused by worn oil or incorrect oil height.

Fork oil level is just as important as oil weight. Too much oil makes the fork harsh and increases pressure. Too little oil reduces damping and stability.

Preparing for a Fork Oil Change at Home

Before starting, make sure the motorcycle is stable and the front wheel is unloaded. A center stand, paddock stand, or jack can be used depending on the bike.

Cleanliness matters. Dirt entering the fork during service can damage seals and internal components. Wipe the fork tubes and the surrounding area thoroughly before opening anything.

This preparation step is often ignored but plays a major role in a successful DIY fork oil change.

Preparing for a Fork Oil Change at Home

Draining Old Fork Oil Correctly

Old fork oil must be fully drained to get accurate oil levels. Many beginners simply open the drain bolt and wait a few minutes, but this leaves a significant amount of dirty oil inside.

The correct approach is to slowly pump the fork up and down after loosening the top cap. This helps push out trapped oil and air pockets. The darker the oil that comes out, the more overdue the service is.

Fully draining the old oil is what makes the biggest difference in ride quality.

Refilling Fork Oil the Right Way

Once drained, refill the fork with the correct amount of fresh oil. Pour slowly to avoid trapping air. After refilling, pump the fork gently to release air bubbles before sealing it.

Accurate measurement is essential. Use a measuring cup or syringe to set the correct fork oil volume or oil height, depending on your bike’s design.

Rushing this step is one of the most common beginner mistakes and leads to an inconsistent suspension feel.

Common Beginner Mistakes to Avoid

Many first-time riders make small mistakes that reduce the benefits of a fork oil change. Over-tightening the fork cap, using the wrong oil type, ignoring oil height, or mixing different oil weights can all affect suspension performance.

Another mistake is assuming stiffer forks automatically mean better handling. Suspension should be controlled and balanced, not harsh.

Keeping everything stocked for your first DIY fork oil change is the smartest approach.

Common Beginner Mistakes to Avoid

What Changes After a Fork Oil Change

After replacing fork oil, most riders notice smoother front-end movement, reduced brake dive, better bump absorption, and more confidence while cornering.

Steering becomes more predictable, and the bike feels planted instead of vague. These improvements often feel dramatic because suspension performance degrades slowly over time, making riders forget how good it used to feel.

This is why fork oil service is considered one of the highest value maintenance jobs you can do.

When a Fork Oil Change Is Not Enough

While a fork oil change improves performance, it does not fix worn seals, bent fork tubes, or weak springs. If you see oil leaks, deep scratches, or excessive sag, additional suspension work may be required.

However, for most beginners and daily riders, fresh fork oil alone restores a large portion of the original suspension performance.

Final Thoughts

A DIY fork oil change for beginners is not only achievable but highly recommended. It improves safety, comfort, and control without requiring expensive tools or professional labor.

By using the correct fork oil, following proper draining and refilling techniques, and taking your time, you can transform how your motorcycle feels on the road.

Suspension is not just about performance riding. It affects every kilometer you ride. Start with fresh fork oil, and you will immediately feel the difference.

(Commenting: OFF)

Smelling fuel near the engine after a long ride can be unsettling. Many riders notice it only after parking the bike, especially when the engine is hot. There is no visible leak, the bike runs fine, and yet the smell of petrol lingers around the tank or engine area.

This is a very common motorcycle issue, and in most cases it has logical, fixable causes. A fuel smell after long rides usually means fuel vapors are escaping somewhere due to heat, pressure, or aging components. Ignoring it is risky, not just for safety, but also for long term engine health.

This guide breaks down the most common reasons for fuel smell near the engine, how to identify them, and what actually fixes the problem.

Why Fuel Smell Happens Mostly After Long Rides

Fuel systems behave differently when hot. After riding for 30 to 60 minutes, engine heat raises fuel temperature, increases vapor pressure, and expands rubber components. Problems that are invisible when cold often reveal themselves only after heat soak.

That is why many riders report fuel smell after highway rides, traffic riding, or summer commuting, but not on short trips.

This search intent aligns strongly with queries like fuel smell motorcycle when hot and petrol smell after long ride.

Loose or Aging Fuel Hoses

One of the most common causes of fuel smell near the engine is old or loose fuel hoses. Over time, rubber fuel lines harden, crack, or lose elasticity. When the engine gets hot, these hoses expand slightly and allow fuel vapors to escape.

In some cases, tiny seepage occurs but evaporates instantly on hot surfaces, leaving no visible drip. You smell fuel, but you never see it.

Check all fuel hoses running from the tank to the throttle body or carburetor. Pay special attention to hose ends and clamps. Even a slightly loose clamp can cause fuel smell under heat.

Replacing aging fuel lines is inexpensive and often completely solves the issue.

Evaporative Emission System Problems

Modern motorcycles use an evaporative emission control system, often called an EVAP or charcoal canister system. Its job is to capture fuel vapors and route them back into the engine.

When this system malfunctions, fuel vapors escape directly into the engine bay.

Common issues include saturated charcoal canisters, cracked vacuum lines, or blocked vent hoses. This is especially common in bikes frequently overfilled at the fuel station.

If the fuel smell appears after refueling and long rides, the EVAP system should be inspected first.

High intent keyword naturally covered: motorcycle fuel vapor smell.

Fuel Tank Vent or Cap Issues

A blocked or faulty fuel tank vent can cause pressure buildup inside the tank. As fuel heats up, vapor pressure increases and looks for a way out.

When the vent is clogged, vapors escape through seals around the tank cap or fuel pump flange, creating a strong fuel smell near the engine and tank area.

Listen for a loud hiss when opening the fuel cap after a long ride. This indicates improper venting.

Cleaning or replacing the fuel cap vent often resolves recurring fuel smell complaints.

Fuel Tank Vent or Cap Issues

Fuel Pump Gasket or O Ring Leaks

Many modern motorcycles have internal fuel pumps mounted under the tank. These pumps rely on rubber gaskets or O rings to seal fuel inside the tank.

As these seals age, heat causes them to harden and shrink. During long rides, fuel vapors escape around the pump housing without creating visible leaks.

This problem is commonly misdiagnosed because there is no dripping fuel, only smell.

If the smell is strongest directly under the fuel tank, especially after parking, inspect the fuel pump gasket carefully.

Carburetor Overflow or Float Issues

On carbureted motorcycles, fuel smell after riding is often caused by float valve wear or incorrect float height. Heat causes fuel expansion, and if the float system does not shut off fuel properly, excess fuel vents through overflow hoses.

Sometimes the overflow hose is routed near the engine, intensifying the smell.

Check for fuel residue near carb bowls or overflow lines. Even minor seepage can create strong fuel odors when hot.

Long tail keyword covered naturally: carburetor fuel smell after ride.

Fuel Injectors or Rail Seepage

Fuel injected bikes can develop injector seal leaks over time. Injector O rings harden with heat cycles and allow vapor seepage at operating temperature.

This is not always a visible leak. Instead, fuel evaporates immediately on the hot engine surface, leaving only smell behind.

If your bike has high mileage and still runs smoothly but smells of fuel after riding, injector seals should be checked.

Overfilling the Fuel Tank

Overfilling is one of the most overlooked causes of fuel smell after long rides.

When fuel expands due to heat, excess fuel enters vent lines or EVAP systems. This creates vapor buildup and strong fuel odor around the engine and tank.

Always leave expansion space when refueling, especially in hot weather.

Search aligned phrase included naturally: fuel smell after refuelling motorcycle.

Overfilling the Fuel Tank

Is Fuel Smell Dangerous

A persistent fuel smell should never be ignored. While many causes are minor, fuel vapors are flammable and can ignite under the right conditions.

Any smell accompanied by rough running, visible leaks, or fuel dripping requires immediate attention. Even vapor leaks reduce fuel efficiency and damage rubber components over time.

Addressing the issue early prevents expensive repairs later.

How to Diagnose Fuel Smell Step by Step

Start by inspecting fuel hoses and clamps. Next, check the fuel cap vent and listen for pressure release. Inspect under the tank for fuel pump or injector seal seepage. On carb bikes, check overflow hoses and float operation.

Do these checks after a long ride when the engine is hot, not when cold.

This approach aligns with common user intent searches like how to fix fuel smell on motorcycle.

Final Thoughts From Real Riding Experience

Fuel smell near the engine after long rides is rarely random. Heat exposes weaknesses in hoses, seals, and venting systems. Most fixes are straightforward once the real cause is identified.

Treat fuel smell as a warning, not an annoyance. A properly sealed fuel system should never smell strongly of petrol, no matter how long you ride.

(Commenting: OFF)

If your motorcycle chain keeps loosening every week, you are not alone. This is one of the most common drivetrain complaints among daily riders, commuters, and even weekend bikers. You tighten the chain properly, torque everything down, ride for a few days, and suddenly the slack is back. Sometimes it is worse than before.

Many riders assume this is normal chain behavior. Others blame poor quality chains or think they made a mistake during adjustment. The truth is simpler and more frustrating. A motorcycle chain that loosens repeatedly is almost always telling you that something in the drivetrain system is worn, incorrectly adjusted, or overlooked.

This guide explains the real reasons your motorcycle chain keeps going loose and how to fix the root cause permanently.

Chain Stretch Is Real, but It Is Not the Whole Story

Chains do stretch over time, but not in the way most riders imagine. The metal itself does not stretch like rubber. What actually happens is wear at the pins and bushings. As those wear points increase clearance, the chain becomes longer.

A brand new chain will settle slightly during the first few hundred kilometers. That is normal. However, if your chain needs adjustment every week, this is not normal wear.

Excessive chain stretch usually indicates one of three things: poor lubrication, aggressive riding habits, or a chain that is already near the end of its service life.

If the adjusters are moving back rapidly with every adjustment, check the chain wear using the pull test on the rear sprocket. If you can pull the chain far enough to expose half a tooth or more, the chain is worn out regardless of mileage.

Keywords naturally covered here include motorcycle chain stretch symptoms and how often the motorcycle chain needs adjustment.

Worn Sprockets Are the Silent Chain Killer

One of the biggest reasons a motorcycle chain keeps loosening is worn sprockets. Riders often replace the chain but keep old sprockets to save money. This creates uneven load distribution.

Hooked or shark tooth-shaped sprockets prevent the chain from seating evenly. As you ride, the chain constantly repositions itself on the sprocket teeth, creating the illusion that it is loosening.

In reality, the chain is fighting mismatched wear patterns.

If your chain loosens every week, inspect both front and rear sprockets closely. Look for pointed teeth, uneven wear, or polished edges. Chains and sprockets are a matched set. Replacing one without the other almost guarantees recurring slack issues.

This is a high-impact but low competition topic in motorcycle maintenance search intent.

Rear Axle Not Properly Torqued

This one is more common than riders want to admit.

If the rear axle nut is not torqued to specification, the axle can shift slightly under acceleration and braking. Even a tiny movement will increase chain slack over time.

This often happens when riders tighten the axle by feel instead of using a torque wrench. It also happens when the bike is adjusted on a stand but not rechecked on the ground.

Always torque the rear axle to the manufacturer’s specification. After the first ride, recheck torque. If the axle moves, the chain will loosen no matter how well you adjusted it.

Search aligned phrase used naturally: motorcycle chain keeps loosening after adjustment.

Chain Adjuster Bolts Slipping or Misaligned

Chain adjuster bolts are simple but critical. If one side moves more than the other, the wheel goes out of alignment and chain tension becomes inconsistent.

Some adjuster blocks are poorly designed or worn. Others are damaged by overtightening. When adjusters slip, the wheel creeps forward under load.

Check that both adjuster bolts are evenly set and firmly seated against the adjuster blocks. Make sure the lock nuts are tight. Do not rely only on the swingarm markings. Measure alignment manually if possible.

Uneven adjustment causes the chain to feel tight in one rotation and loose in another, leading riders to constantly readjust it.

Chain Adjuster Bolts Slipping or Misaligned

Chain Adjusted Too Tight to Begin With

This is a classic mistake and a major cause of recurring slack issues.

When a chain is adjusted too tightly, it experiences excessive stress during suspension movement. Every bump forces the chain to absorb loads it was never designed to handle. This accelerates pin and bushing wear dramatically.

As a result, the chain appears to loosen quickly because wear is happening faster than normal.

Always adjust chain slack according to the manufacturer’s recommended range. Check slack at the tightest point of chain rotation. A slightly loose chain is far safer than a tight one.

This is one of the most misunderstood aspects of motorcycle chain maintenance.

Dry or Poorly Lubricated Chain

dry chain wears faster. Period.

Without proper lubrication, friction increases at the internal moving parts of the chain. Heat builds. Metal wears. Slack increases.

If your chain loosens every week and looks dry, rusty, or dusty, lubrication is part of the problem.

Use a quality motorcycle chain lube and apply it after riding when the chain is warm. This allows the lubricant to penetrate the rollers more effectively. Wipe off excess to prevent dirt buildup.

Long tail keyword naturally integrated: motorcycle chain lubrication frequency.

Riding Conditions and Load Matter More Than You Think

Stop and go traffic, aggressive acceleration, heavy loads, and riding with a passenger all increase stress on the chain.

If you ride daily in traffic or frequently carry extra weight, your chain will wear faster. This does not mean something is wrong, but it does mean maintenance intervals must be shorter.

Many riders follow mileage-based adjustment schedules without considering riding style. Chains do not wear evenly across riding conditions.

How to Fix a Chain That Keeps Loosening Permanently

If your motorcycle chain keeps loosening every week, follow this order:

First, inspect the chain and sprocket wear as a complete set. Second, verify correct chain slack at the tightest point. Third, torque the rear axle properly. Fourth, confirm adjuster bolts are secure, and wheel alignment is correct. Finally, improve lubrication habits.

If all these are addressed and the problem continues, the chain is likely past its usable life, even if it looks acceptable.

How to Fix a Chain That Keeps Loosening Permanently

Final Thoughts From Experience

A motorcycle chain does not loosen repeatedly without a reason. not bad luck. It is not normal behavior. It is feedback.

Chains are simple components, but they demand precision. When something is off, they respond fast.

Fix the cause instead of chasing the slack every week, and your bike will feel smoother, quieter, and more confident on every ride.

If you want, I can write a follow up on how to measure chain wear accurately, brand-specific chain adjustment guides for Suzuki, Yamaha, Honda, Kawasaki, or a beginner-friendly chain replacement walkthrough.

(Commenting: OFF)

Or login with your social account