A fork oil change is one of the most overlooked motorcycle maintenance jobs, especially among new riders. Many assume suspension service is complicated, risky, or something only professionals should handle. In reality, changing fork oil at home is one of the most effective and beginner-friendly upgrades you can do, even if your bike still feels fine.
Fresh fork oil improves ride comfort, braking stability, steering control, and front-end feedback. Riders are often shocked by how much better their motorcycle feels after a simple fork oil change, even without replacing springs or seals.
Why Fork Oil Needs to Be Changed
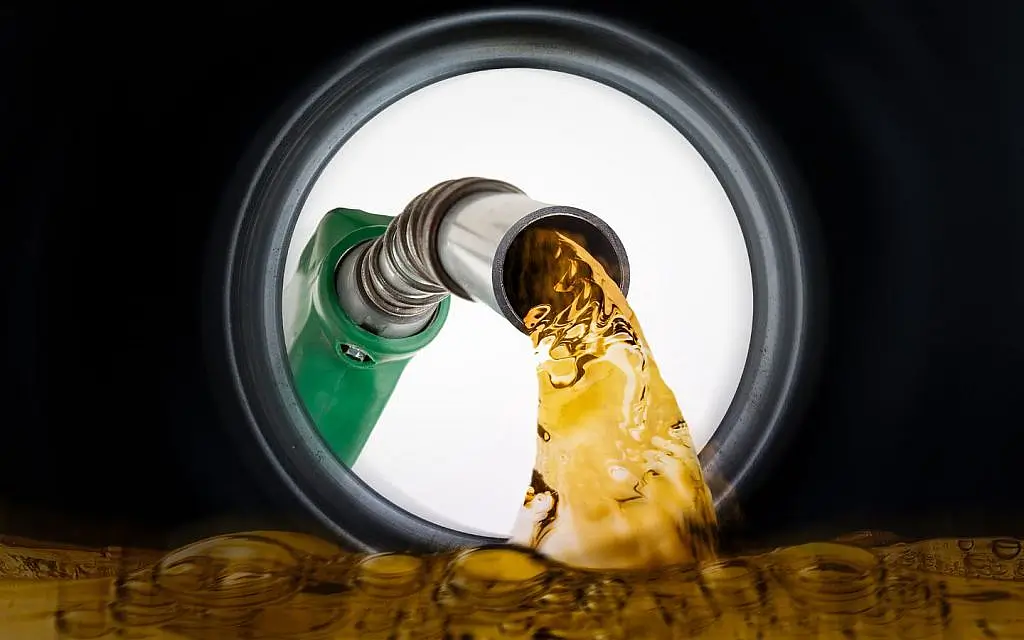
Fork oil does more than just lubricate internal parts. It controls damping, manages heat, and keeps suspension movement smooth and predictable. Over time, fork oil breaks down due to heat, moisture, and metal particles from internal wear.
As fork oil degrades, the front suspension becomes harsh over bumps, dives excessively under braking, and feels vague during cornering. Many riders mistake these symptoms for worn tires or bad handling when the real problem is old fork oil.
For daily riders and commuters, fork oil should typically be changed every 20,000 to 30,000 kilometers, or sooner in rough riding conditions.
Is a DIY Fork Oil Change Safe for Beginners
One of the most common questions new riders ask is whether a DIY fork oil change is safe. The answer is yes, as long as you follow the basic steps and work carefully.
You do not need special tools or advanced mechanical experience for a basic fork oil service. Most beginner mistakes happen because of rushing, not a lack of skill. Taking your time and following the correct procedure is far more important than technical knowledge.
This is why a fork oil change for beginners is often recommended as a first suspension maintenance job.
Understanding Fork Oil Weight and Volume
Choosing the correct fork oil is critical. Fork oil weight affects how fast or slow the suspension moves. Thicker oil slows fork movement and reduces dive, while thinner oil allows quicker response and a softer feel.
Always start with the manufacturer-recommended fork oil weight and oil level. Many beginners make the mistake of changing oil weight to fix handling problems that are actually caused by worn oil or incorrect oil height.
Fork oil level is just as important as oil weight. Too much oil makes the fork harsh and increases pressure. Too little oil reduces damping and stability.
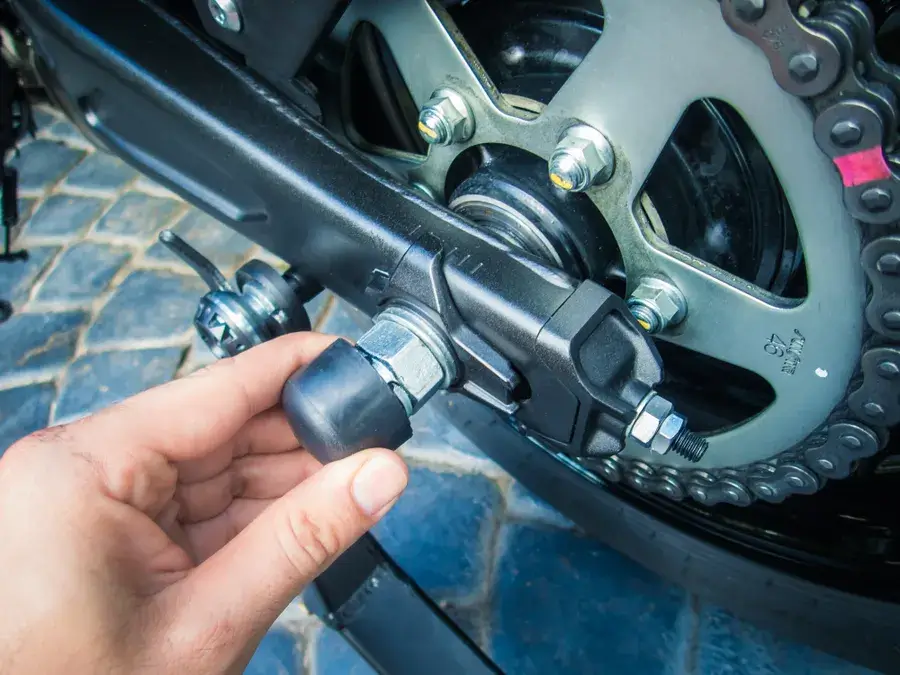
Preparing for a Fork Oil Change at Home
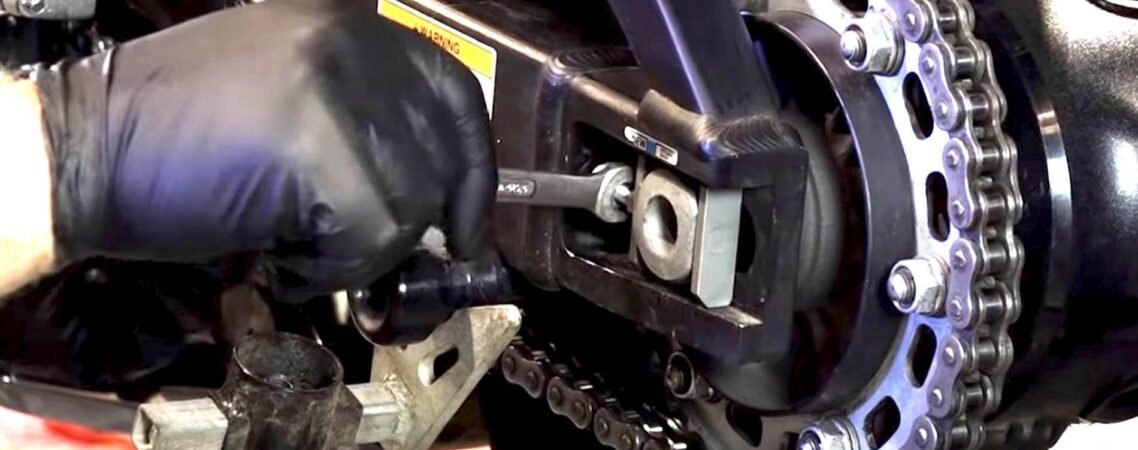
Before starting, make sure the motorcycle is stable and the front wheel is unloaded. A center stand, paddock stand, or jack can be used depending on the bike.
Cleanliness matters. Dirt entering the fork during service can damage seals and internal components. Wipe the fork tubes and the surrounding area thoroughly before opening anything.
This preparation step is often ignored but plays a major role in a successful DIY fork oil change.
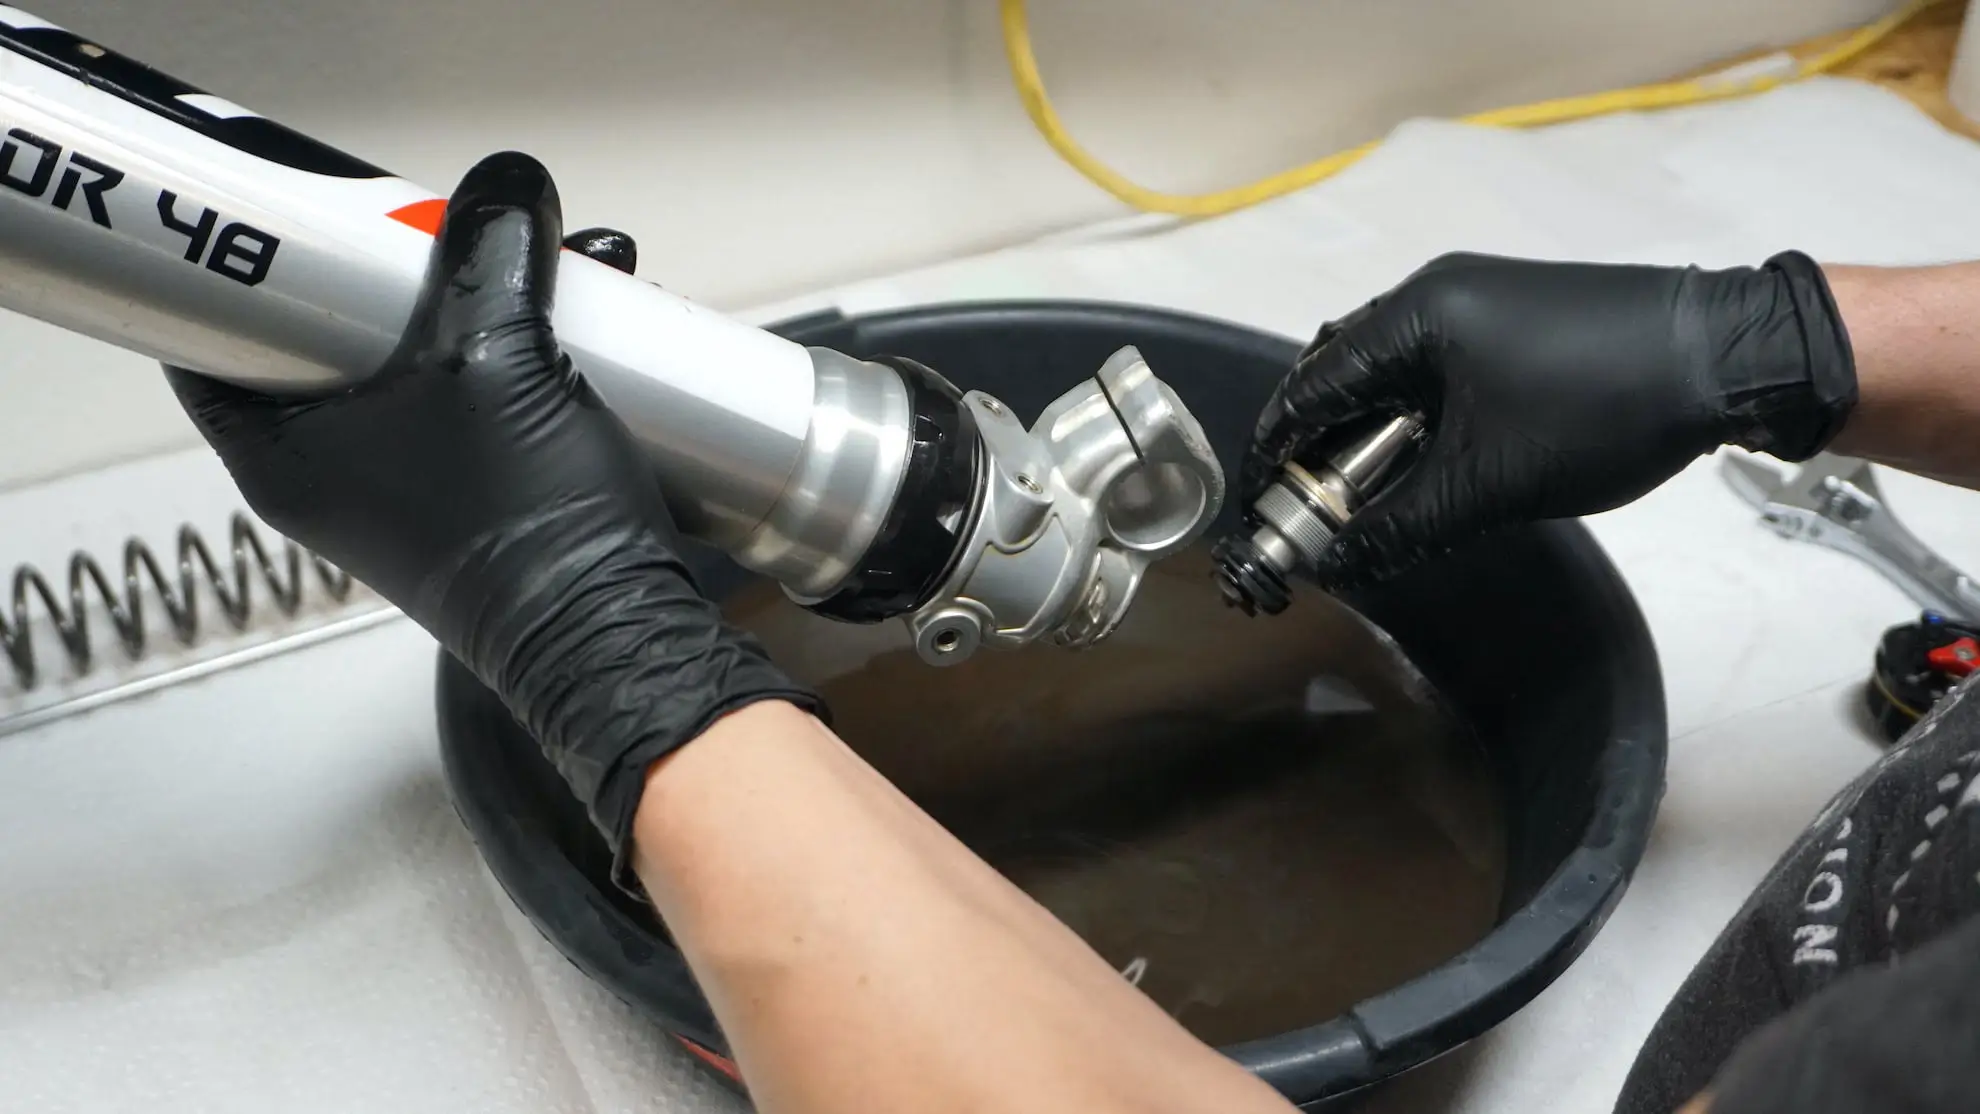
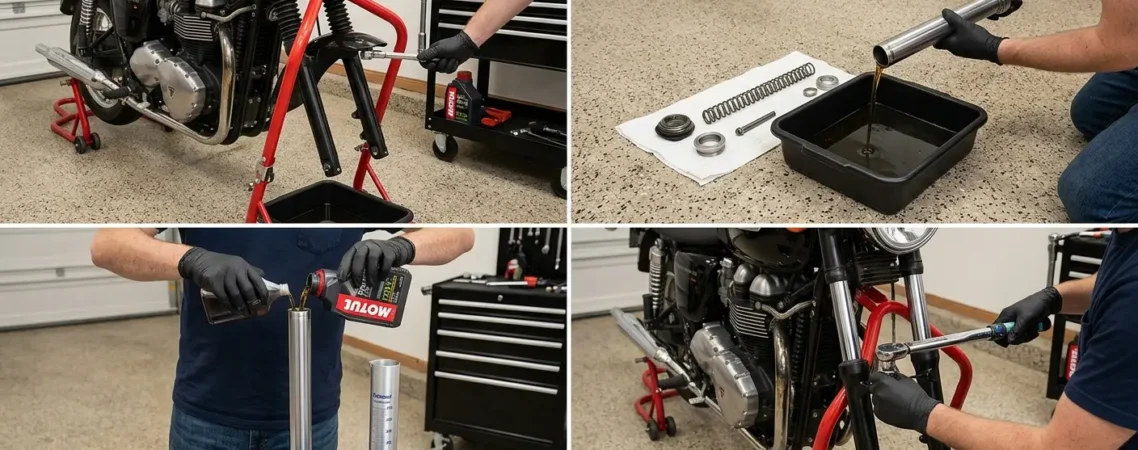
Draining Old Fork Oil Correctly
Old fork oil must be fully drained to get accurate oil levels. Many beginners simply open the drain bolt and wait a few minutes, but this leaves a significant amount of dirty oil inside.
The correct approach is to slowly pump the fork up and down after loosening the top cap. This helps push out trapped oil and air pockets. The darker the oil that comes out, the more overdue the service is.
Fully draining the old oil is what makes the biggest difference in ride quality.
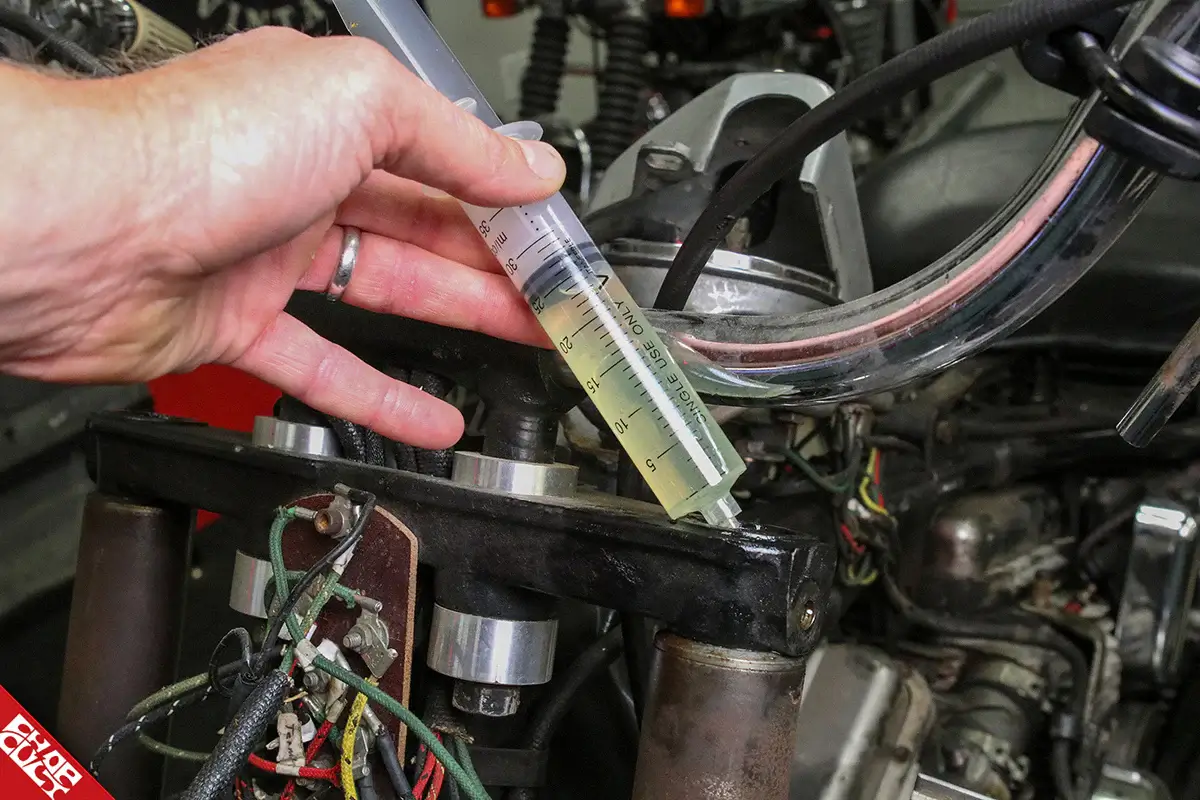
Refilling Fork Oil the Right Way
Once drained, refill the fork with the correct amount of fresh oil. Pour slowly to avoid trapping air. After refilling, pump the fork gently to release air bubbles before sealing it.
Accurate measurement is essential. Use a measuring cup or syringe to set the correct fork oil volume or oil height, depending on your bike’s design.
Rushing this step is one of the most common beginner mistakes and leads to an inconsistent suspension feel.
Common Beginner Mistakes to Avoid
Many first-time riders make small mistakes that reduce the benefits of a fork oil change. Over-tightening the fork cap, using the wrong oil type, ignoring oil height, or mixing different oil weights can all affect suspension performance.
Another mistake is assuming stiffer forks automatically mean better handling. Suspension should be controlled and balanced, not harsh.
Keeping everything stocked for your first DIY fork oil change is the smartest approach.
What Changes After a Fork Oil Change
After replacing fork oil, most riders notice smoother front-end movement, reduced brake dive, better bump absorption, and more confidence while cornering.
Steering becomes more predictable, and the bike feels planted instead of vague. These improvements often feel dramatic because suspension performance degrades slowly over time, making riders forget how good it used to feel.
This is why fork oil service is considered one of the highest value maintenance jobs you can do.
When a Fork Oil Change Is Not Enough
While a fork oil change improves performance, it does not fix worn seals, bent fork tubes, or weak springs. If you see oil leaks, deep scratches, or excessive sag, additional suspension work may be required.
However, for most beginners and daily riders, fresh fork oil alone restores a large portion of the original suspension performance.
Final Thoughts
A DIY fork oil change for beginners is not only achievable but highly recommended. It improves safety, comfort, and control without requiring expensive tools or professional labor.
By using the correct fork oil, following proper draining and refilling techniques, and taking your time, you can transform how your motorcycle feels on the road.
Suspension is not just about performance riding. It affects every kilometer you ride. Start with fresh fork oil, and you will immediately feel the difference.