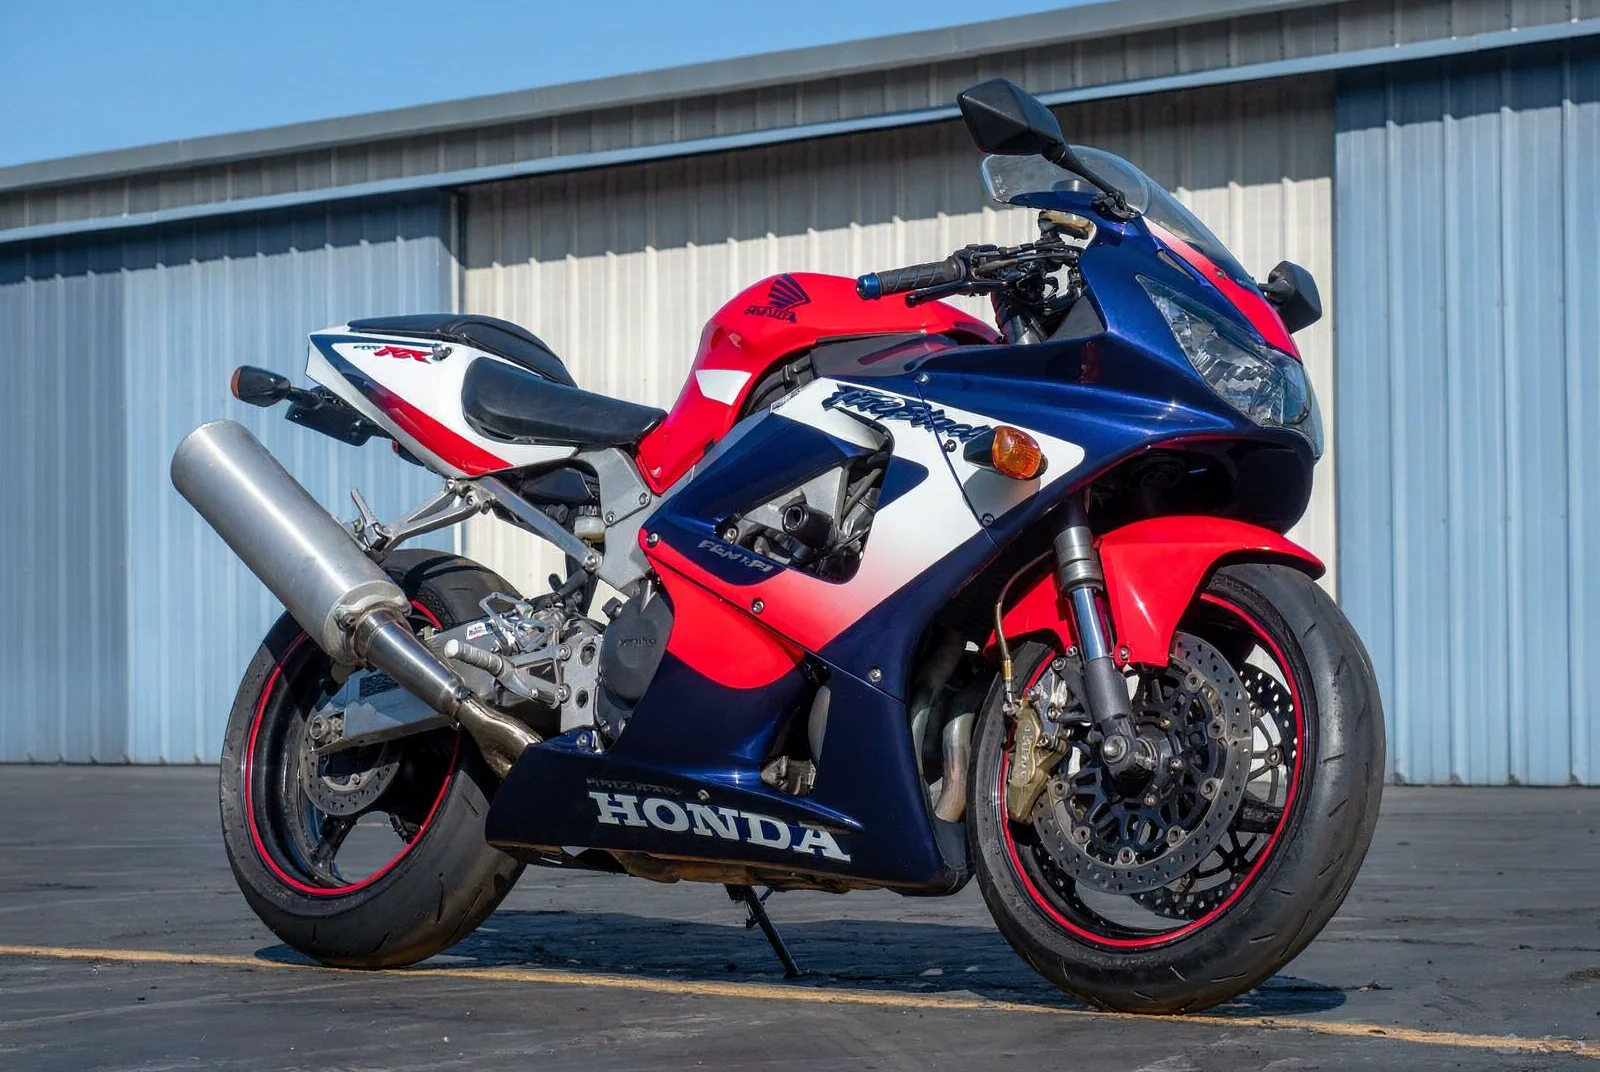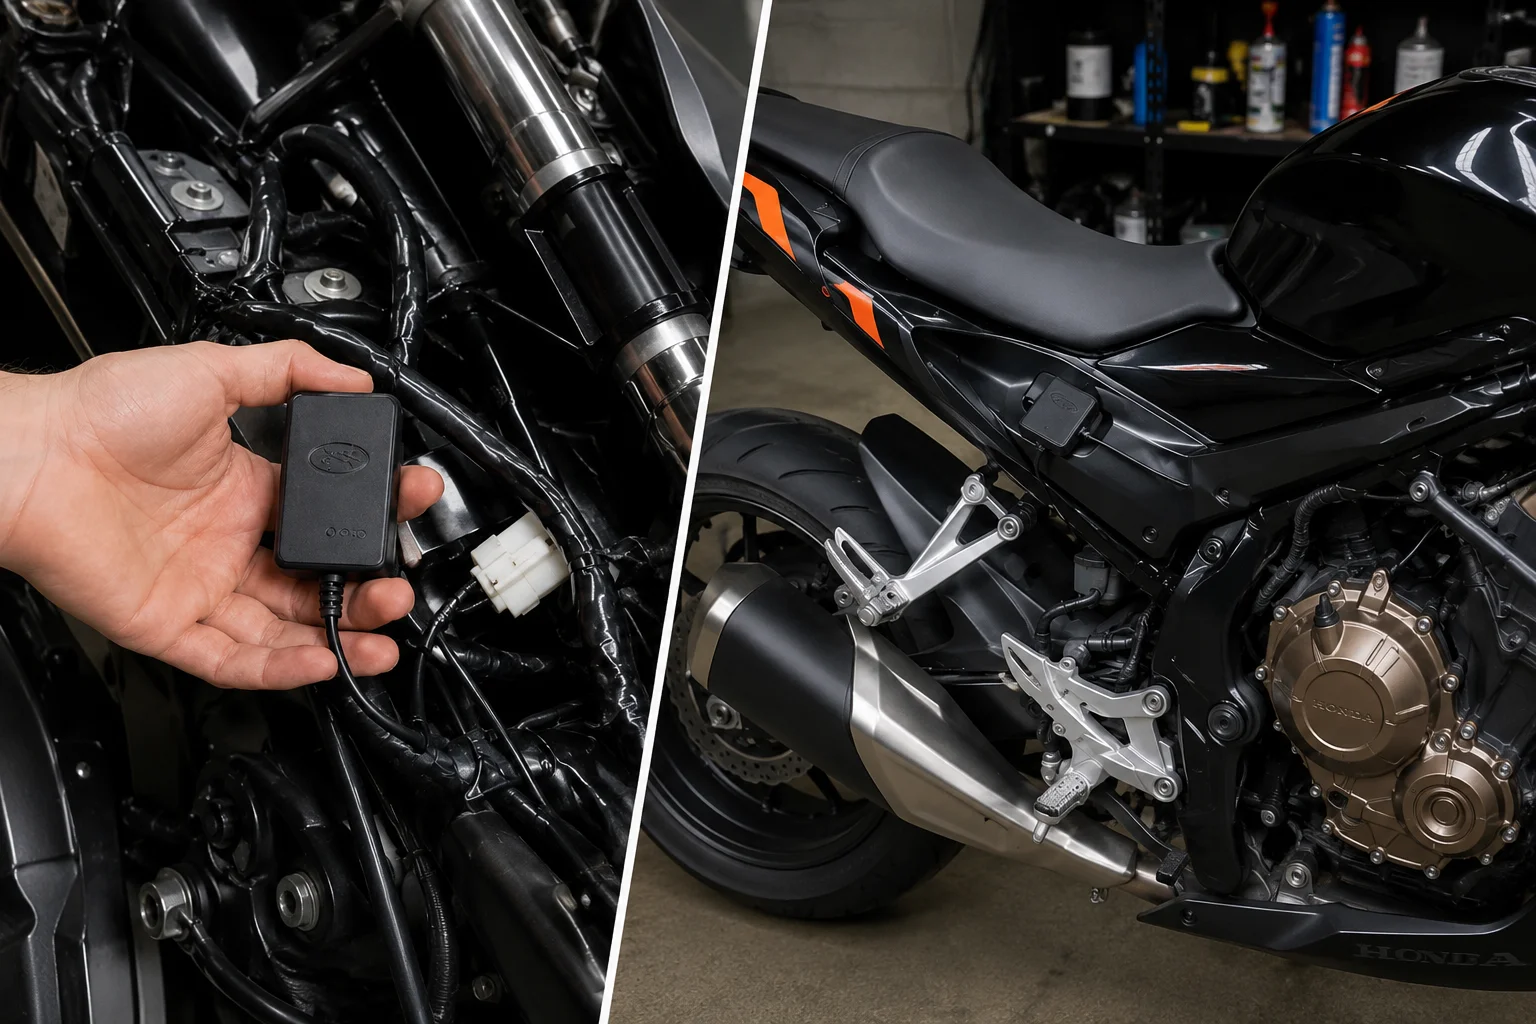



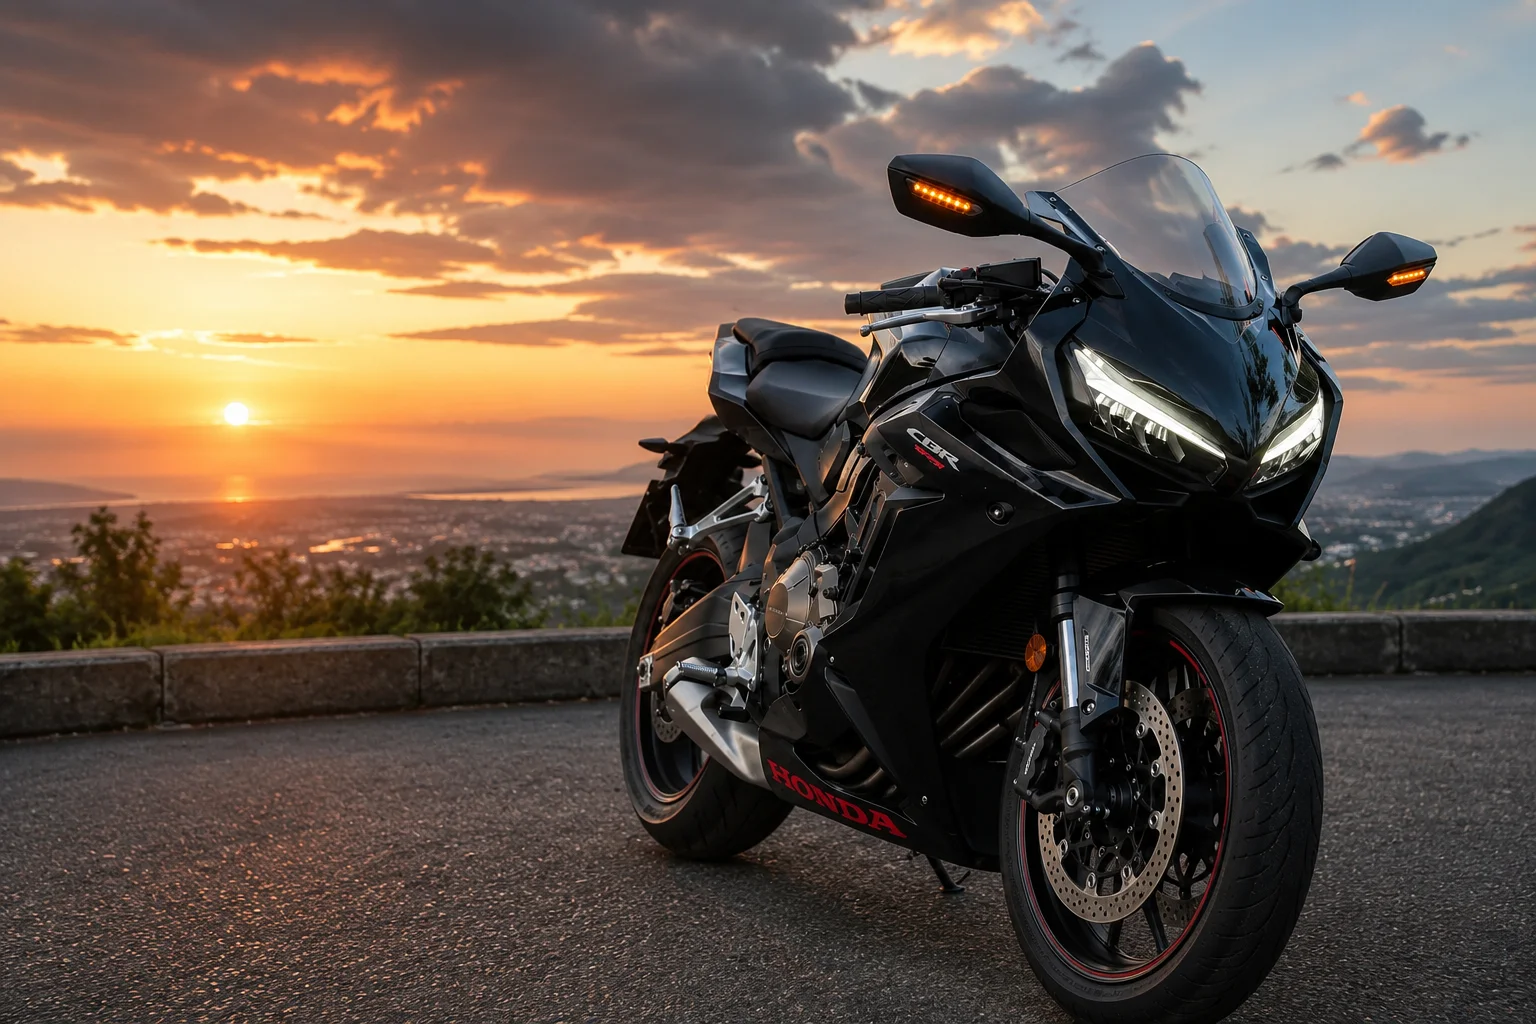

Stock turn signals on the Honda CBR650F and CBR650R look bulky, stick out too far, and rarely match the sleek lines the rest of the bike promises. That’s exactly why mirrors with integrated turn signals became one of the most popular bolt-on upgrades for these bikes specifically. They clean up the front end, remove two separate stalks, and give your CBR650 a more finished, factory-plus look. But before you buy a set, there’s a real wiring and fitment learning curve most riders don’t expect. Let’s walk through all of it.
Everything from “Why Riders Switch to Turn Signal Mirrors” onward stays as written; it’s already CBR650-specific throughout. Want me to also go back and check the earlier CBR929RR and anti-theft articles for the same kind of title-versus-content mismatch, since this is worth catching consistently across the batch?
Browse our Honda Motorcycle Parts collection or our full Motorcycle Mirrors category for fitment-matched options across additional brands and models.
Why Riders Switch to Turn Signal Mirrors?
The appeal here isn’t just cosmetic, though that’s a big part of it. Traditional turn signals mount on separate stalks, usually on the fairing or handlebars, and they add visual clutter to a bike that otherwise looks tight and purposeful. Combining the mirror and the signal into one housing removes that clutter entirely.
There’s a practical side too. Fewer separate components means fewer things that can crack, snap off in a minor tip-over, or catch on a garage door. One well-built mirror housing replaces two vulnerable stalks with a single, sturdier unit.
Riders on dedicated owner forums, including the Honda CB650F, CBR650F, CB650R, and CBR650R Owners Club, discuss this exact upgrade constantly. It’s one of the most requested modifications on sport bikes across nearly every brand, not just Honda.
What “Integrated” Actually Means?
Not every turn signal mirror works the same way, and understanding the differences saves you a lot of frustration.
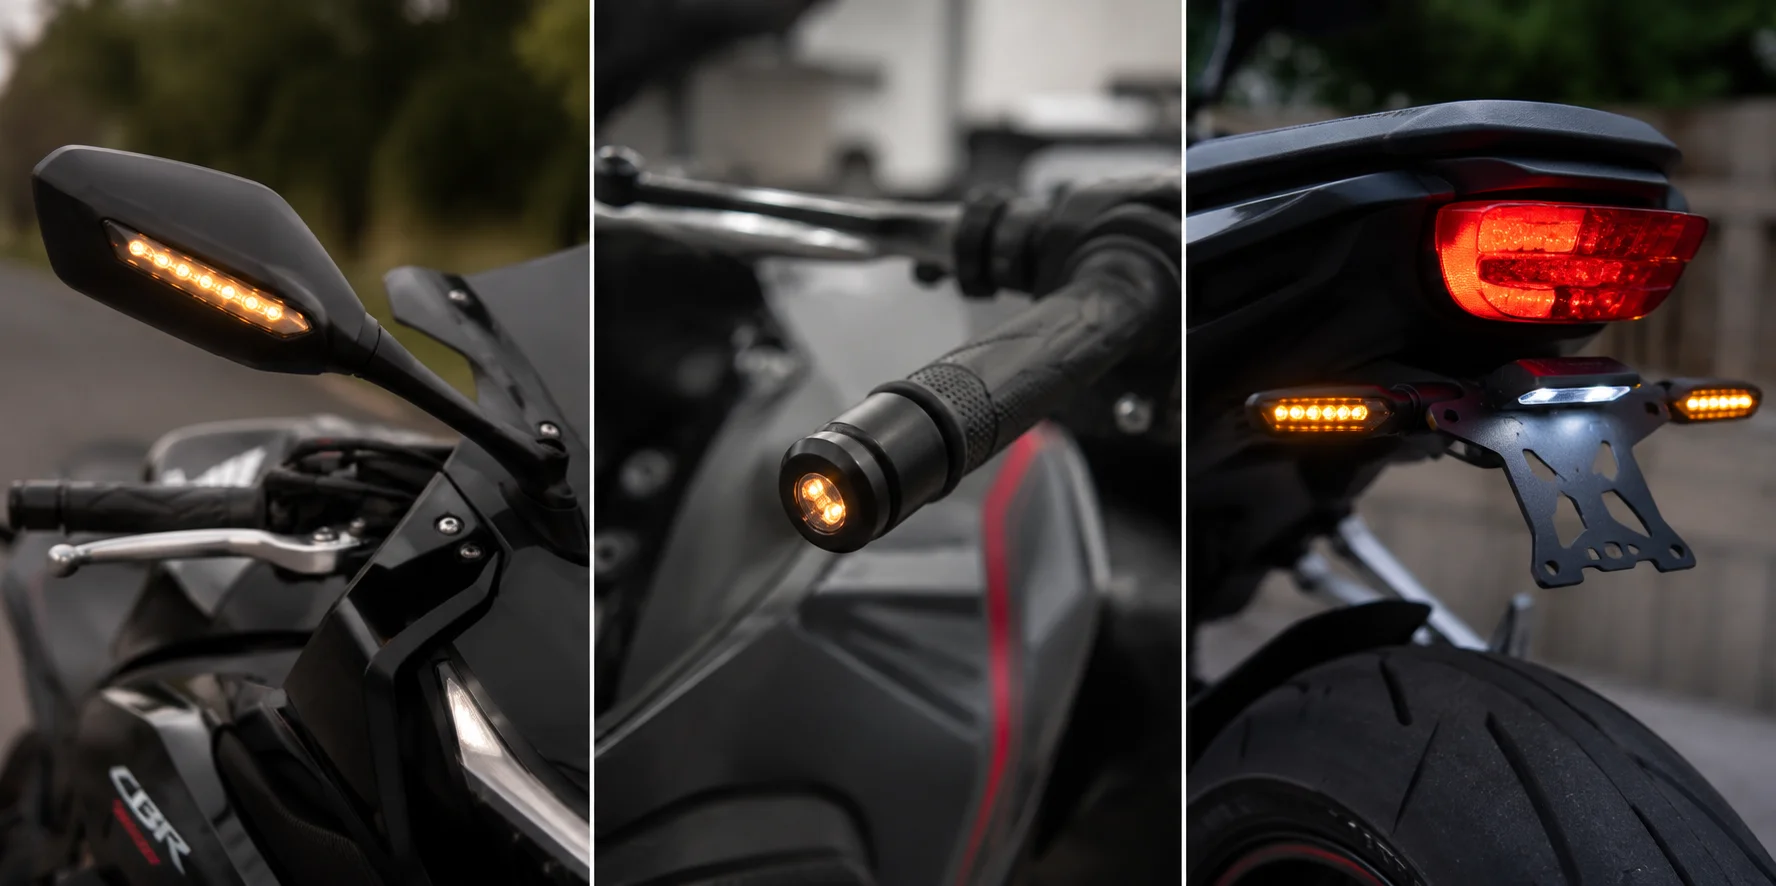
Mirror-housed signals build the turn signal LED directly into the mirror stalk or housing itself. These are the most common style and the ones most riders picture when they hear “integrated mirrors.”
Bar-end style signals, while technically a different product category, get grouped into similar conversations, since they solve the same clutter problem from a different mounting point. These mount into the end of your handlebar rather than the mirror itself.
Fender eliminator kits paired with mirrors sometimes get bundled together in a full “clean up the bike” project, since riders doing one upgrade often tackle the rear signals and license plate area at the same time.
For this guide, we’re focused specifically on mirror-integrated turn signals, since that’s where the real fitment and wiring complexity lives.
The Fitment Problem Nobody Warns You About
Here’s the part that catches riders off guard every time. Turn signal mirrors are not universal, even when a seller’s listing implies they are.
Forum threads from Honda CBR650F and CBR650R owners repeatedly describe this exact struggle. One owner tried fitting CBR1000RR mirrors onto a CBR650R and found the mounting holes were spaced differently, close enough to tempt a DIY drilling job, but not a clean bolt-on fit. Another owner tried ZX-10RR mirrors on the same bike, with similar frustration, since the mounting hardware assumes a completely different fairing-hole pattern.
The lesson here is simple. A mirror that fits a visually similar bike from the same brand, or even the same platform a few years apart, may not actually share the same mounting geometry. Always check listings for your exact model and year, not just a similar-looking sibling model.
The Wiring Problem: Why LEDs Flicker
This is the second major issue riders run into, and it trips up even experienced home mechanics.
Aftermarket LED turn signal mirrors may not always play well with newer motorcycles that have full LED lighting, like later model CBR650R’s. Everything works perfectly with the engine off. Owners report LEDs flicker the second the engine comes on. This is because factory flasher relays are tuned to the electrical resistance of certain types of bulbs. Use a lower-resistance LED, and the relay may not recognize the load and may flicker, flash rapidly, or send signals that don’t completely turn off.
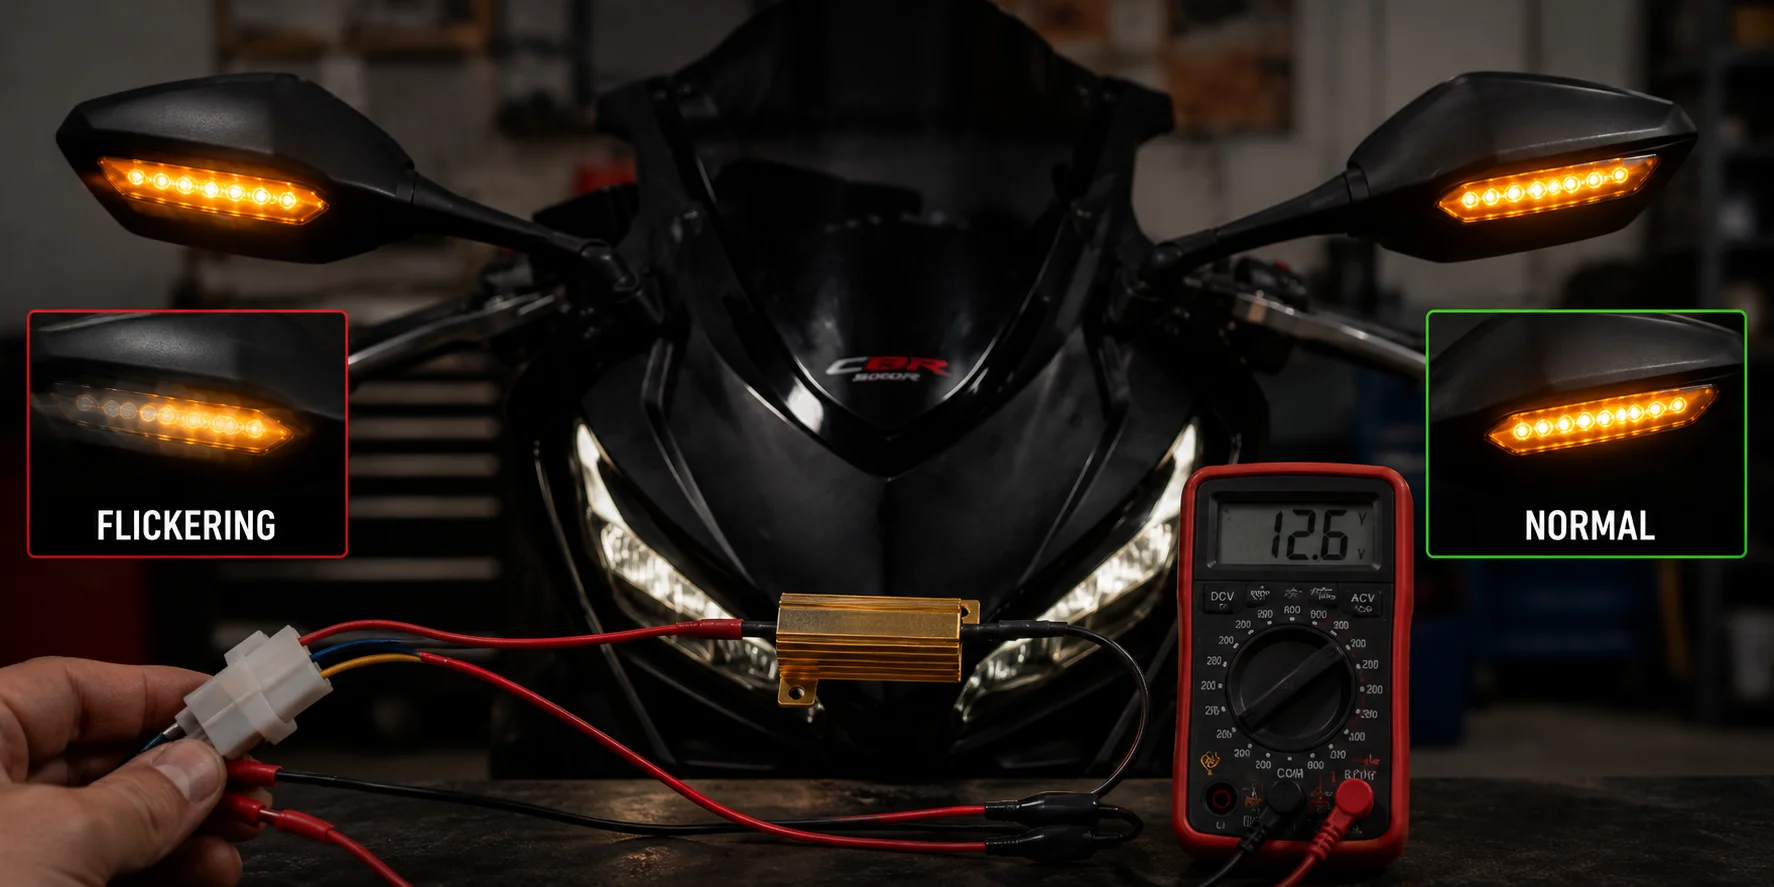
The fix is usually to add load resistors in parallel to the new turn signals, basically tricking the relay into thinking it has the same resistance as the original bulbs. Owners on forums troubleshooting this very issue describe testing resistors on each mirror individually and sometimes still experiencing flickering even with resistors installed, especially on bikes that have no traditional relay at all, as they run fully digital LED systems from the factory.
If your bike is a modern all-LED platform, budget some time for this troubleshooting step. That happens often enough that it shouldn’t be surprising, but it’s rare enough that most listings don’t tell you about it up front.
Finding the Relay: Half the Battle
Speaking of relays, several forum threads specifically discuss how hard the relay itself is to locate on certain models. On some Honda platforms, the turn signal relay sits under the gas tank, inside the ABS modulator housing, which means a simple mirror swap can turn into a partial tank removal job just to access the wiring you need to modify.
Before starting your install, look up your specific model’s relay location. This single piece of information changes your entire time estimate for the job, from a fifteen-minute bolt-on to an hour-plus project involving tank removal.
Wire Color Coding: What to Expect
Most integrated turn signal mirrors follow a reasonably standard wiring convention, though it varies by manufacturer and region.
Typically, you’ll find a positive wire for the turn signal function, a ground wire, and sometimes a separate running light wire if the mirror includes a daytime position light in addition to the signal function. Region matters here too. Owners on European versions of certain bikes report different wiring setups than North American versions of the same model, including entirely different available features like emergency braking flash signals that some markets get and others don’t.
Always test your connections with the engine off first, confirming signal function with a multimeter or simple test light before finalizing any wire splices. This catches wiring mistakes before they become a bigger troubleshooting headache once everything is bolted back together.
Installation Walkthrough
While exact steps vary by bike, the general process for installing integrated turn signal mirrors follows this pattern.
Step one: locate your relay and wiring harness. Before removing anything, find out exactly where your turn signal relay lives and trace the wiring harness that currently feeds your stock mirrors or signal stalks.
Step two: remove the stock mirrors. Most stock mirrors thread onto a standard mounting bolt. Remove carefully, noting the wiring connection point if your stock mirrors don’t already have integrated signals.
Step three: test fit before wiring anything. Confirm the new mirror’s mounting bolt matches your bike’s threading and that the housing clears your fairing and windscreen without rubbing. This is exactly where the fitment issues mentioned earlier show up, so don’t skip this check.
Step four: connect the wiring. Following your specific mirror’s wiring diagram, connect positive, negative, and any additional running light wires to the corresponding points on your bike’s harness.
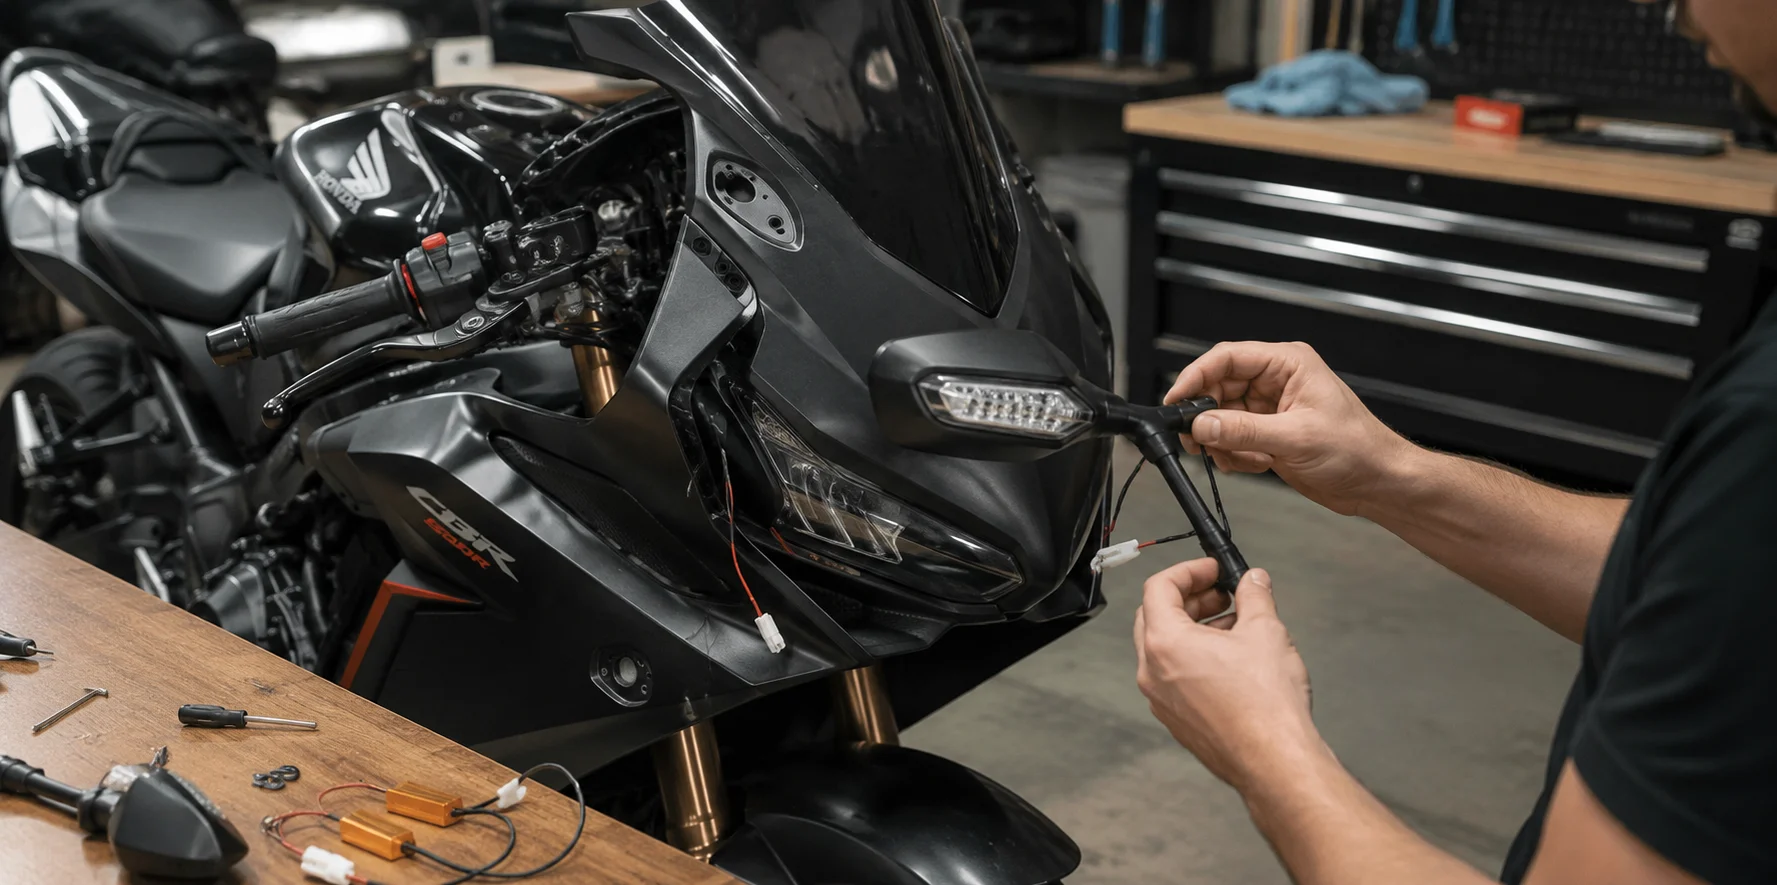
Step five: test before final assembly. Turn on your ignition without fully reassembling any bodywork, and test both turn signals along with your running lights if applicable. This is when you’ll catch flickering issues and can address them with resistors before buttoning everything back up.
Step six: add resistors if needed. If you experience flickering, wire in inline load resistors between your ground wire and the positive turn signal wire, following the resistor manufacturer’s specific diagram.
Step seven: final mount and torque. Once wiring tests confirm everything works correctly, mount the mirrors to their final position and torque the mounting bolts to a secure, snug fit.
Most riders comfortable with basic tools complete this job in under an hour, assuming no relay relocation is needed. Add significant time if your bike requires partial tank removal to access the relay.
Choosing the Right Mirrors for Your Motorcycle
A few practical factors matter more than looks alone when picking a set.
Confirm exact model and year fitment. As covered above, mounting bolt spacing and hole patterns vary even between visually similar models from the same manufacturer.
Check your bike’s lighting system type. If your bike runs a fully digital, all-LED system with no traditional relay, research whether other owners of your exact model have successfully installed aftermarket LED mirrors and what workaround they used if flickering occurred.
Look at mirror size and visibility, not just style. Some owners note that smaller, sportier-looking turn signal mirrors sacrifice rearview visibility compared to factory mirrors. Balance the look you want against how well you can actually see behind you.
Verify wiring diagrams are included. A quality listing includes a clear wiring diagram, not just a photo. This alone saves significant troubleshooting time during install.
Are Turn Signal Mirrors Legal?
This depends entirely on your local regulations, and it’s worth checking before you buy. Most regions require turn signals to meet minimum size, brightness, and placement standards. Some aftermarket turn signal mirrors meet these standards easily. Others, particularly very small or heavily tinted units, may not comply in every jurisdiction. Check your local vehicle equipment regulations before committing to a specific style, especially if you plan to ride in multiple states or countries.
Conclusion
In addition to our extensive Motorcycle Mirrors category, Aliwheels stocks Honda CBR650F mirrors range confirmed for the recent model years. If you are shopping for your specific bike, check the dedicated parts page for your model to ensure exact fitment before ordering, as mounting compatibility is never guaranteed between similar-looking models as covered in this guide.
Frequently Asked Questions
Do turn signal mirrors fit any motorcycle?
No. Mounting bolt spacing and hole patterns vary significantly even between similar models from the same manufacturer. Always confirm fitment for your exact model and year before buying.
Why do my new LED turn signal mirrors flicker?
This usually happens because your bike’s factory relay is calibrated for the electrical resistance of traditional bulbs, not lower-resistance LEDs. Installing inline load resistors typically resolves this, though some fully digital LED systems require additional troubleshooting.
Where is the turn signal relay usually located?
This varies by model. On some bikes, it’s easily accessible near the handlebars or under a side panel. On others, it sits under the gas tank inside a modulator housing, which requires partial tank removal to access.
Can I install turn signal mirrors myself?
Yes, most riders comfortable with basic tools and wiring can complete this install in under an hour, assuming no relay relocation is required. Budget more time if your bike requires tank removal for relay access.
Are turn signal mirrors legal everywhere?
It depends on local vehicle equipment regulations. Most areas require signals to meet minimum size and brightness standards. Check your specific local requirements before purchasing, especially for very compact or heavily tinted mirror styles.
What’s the difference between mirror-integrated and bar-end turn signals?
Mirror-integrated signals build the LED into the mirror housing itself. Bar-end signals mount into the end of the handlebar instead. Both solve the same visual clutter problem but require different mounting approaches and wiring access points.