


Aliwheels is a leading motorcycle parts supplier offering free shipping anywhere in the world on orders above $300. Please note that all of our motorcycle parts and accessories are certified and tested. With more than 10,000* products to choose from this is your one place to get the motorcycle part you need. Browse our vast inventory of motorcycle radiators, fairings, clutch plates, headlights, chains, and sprockets.

Free Shipping over $300

Support 24/7

Secure Payments

Hot Offers

The Honda CBR929RR only stayed in production for two years, 2000 and 2001, before Honda replaced it with the CBR954RR. That short production run created a real headache for owners today. Parts are harder to find than for bikes Honda built for a decade. If you own one of these bikes or you’re thinking about buying one, this guide walks through exactly what breaks, what to budget for, and how to source parts without getting stuck.

Why Is the CBR929RR Still a Choice of Enthusiasts?

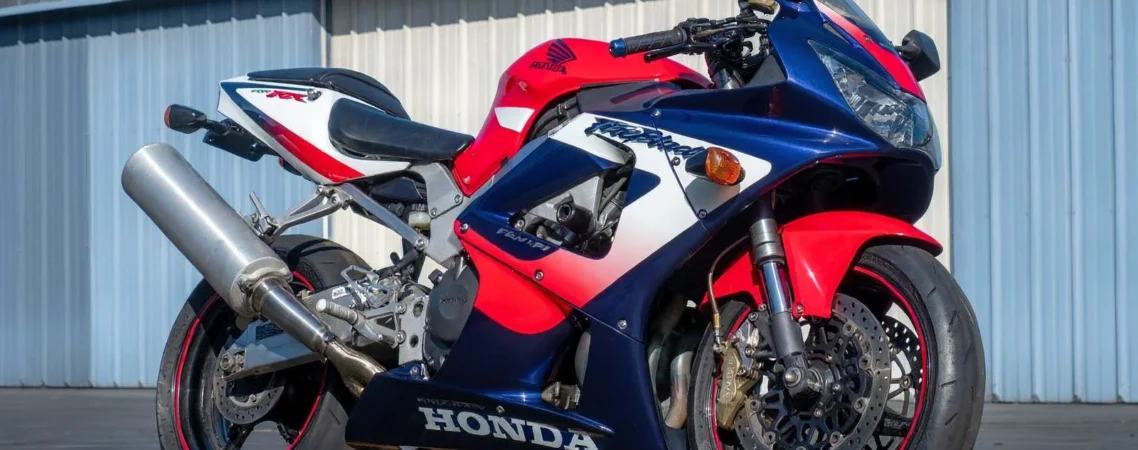
Honda introduced the CBR929RR as the direct successor to the CBR900RR, and it represented a real leap forward. The 929cc inline-four engine produced around 152 horsepower, a genuine jump over its predecessor, wrapped in a lighter, more rigid frame with upgraded suspension and larger brakes. The redesigned fairing also improved aerodynamics, reducing wind resistance compared with the outgoing model.
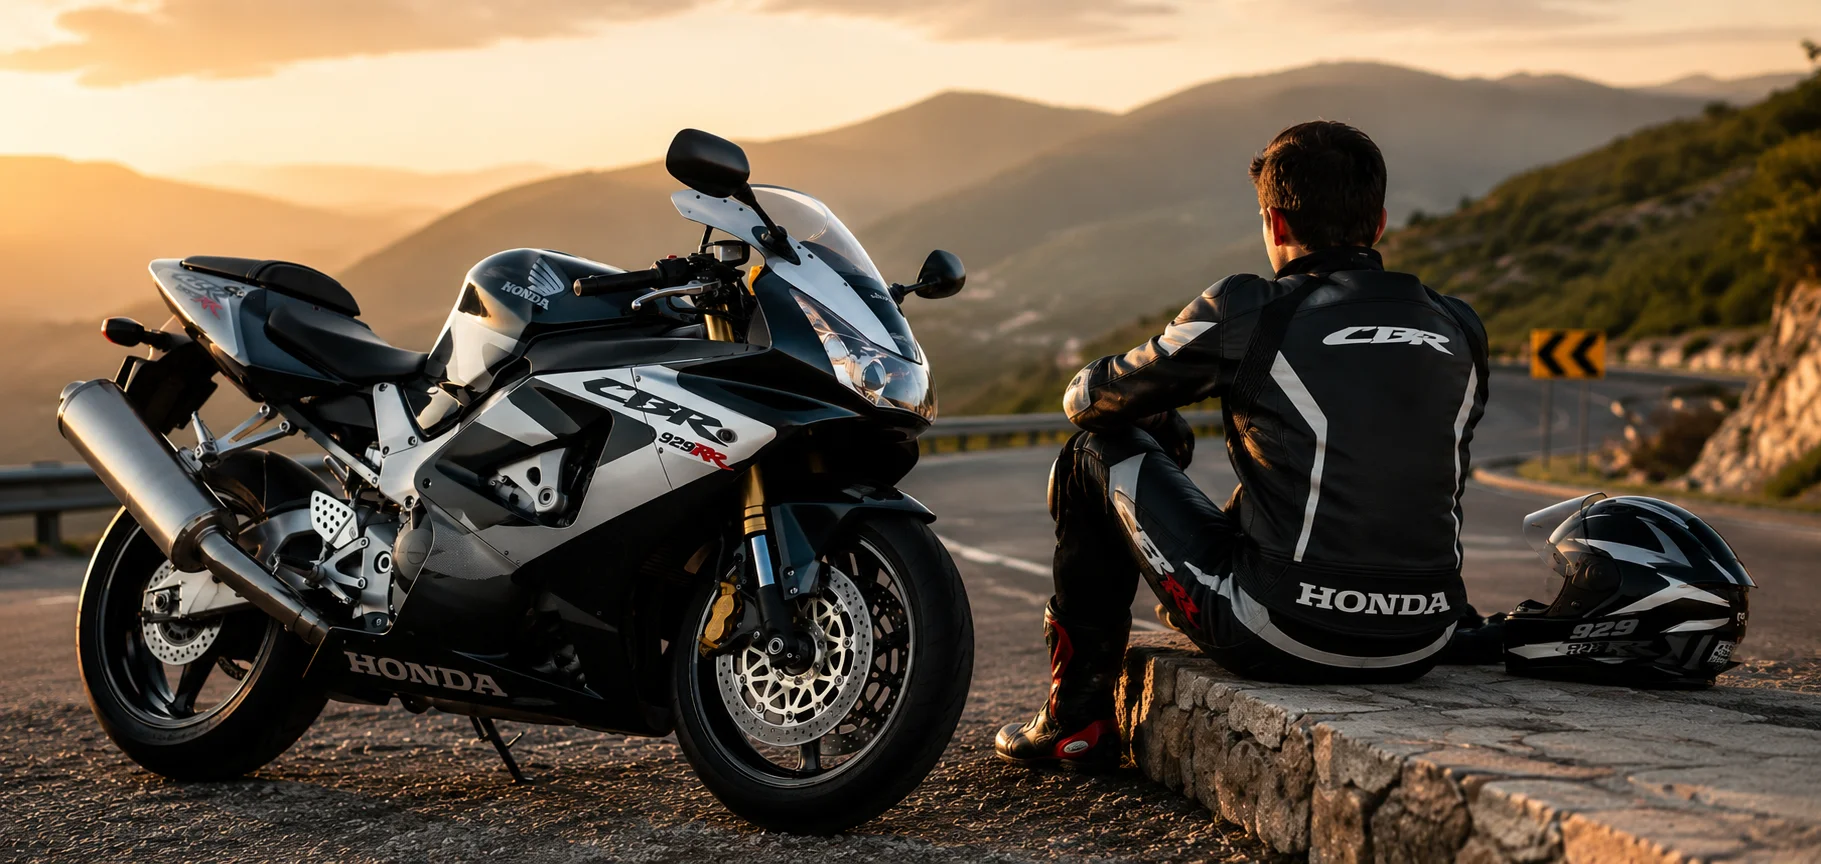
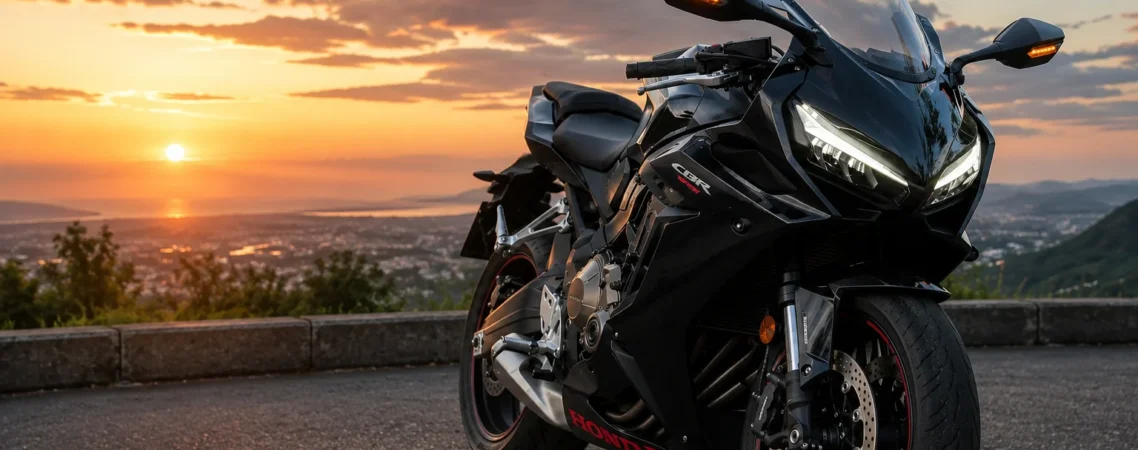
Honda CBR929RR rider at sunset

That combination of power, handling, and limited production run is why the CBR929RR is still so sought after by collectors today and why parts availability is such a frequent frustration.

What Commonly Fails on the CBR929RR

Before getting into where to buy parts, it helps to know what you’re likely to need. Owner forums for Honda sportbike owners show the same handful of issues coming up again and again.

The stator and regulator/rectifier combination

This is the single most commonly mentioned failure point across every forum thread on the topic. As these bikes age past 20,000 to 30,000 miles, the stator starts to weaken, and the regulator/rectifier that manages the electrical output often fails alongside it. Owners describe the warning signs clearly: your battery starts losing charge even though you just replaced it, and eventually the bike won’t hold a charge at all.

Cracked and hard-to-source fairings 

These bikes are old enough now that plastic fatigue is a real issue, and a lot of used examples on the market have already been dropped at least once. Original Honda fairings are increasingly difficult to find in good condition, and buyers researching the CBR929RR consistently mention this as one of their biggest headaches.

Weeping fork seals 

At this bike’s age, if the fork seals haven’t been replaced at least once, they’re probably starting to leak. This is standard wear for any 20-plus-year-old sportbike, but worth budgeting for it specifically if you’re buying used and the seller can’t confirm recent suspension work.

Swingarm and linkage bearing wear

Neglected examples develop play or roughness in the swingarm pivot and rear linkage bearings. It’s a labor-intensive repair, and it’s exactly the kind of thing a casual buyer walks right past during a test ride, since the symptoms only show up under load or in a proper inspection.

Chain and countershaft sprocket wear

One detail worth knowing specifically about this bike: the front countershaft sprocket often shows hooked teeth before the rear sprocket does. A worn countershaft sprocket will chew through a brand new chain fast if you replace the chain without addressing it.

New, Used, or Aftermarket: What’s Best For CBR929RR?
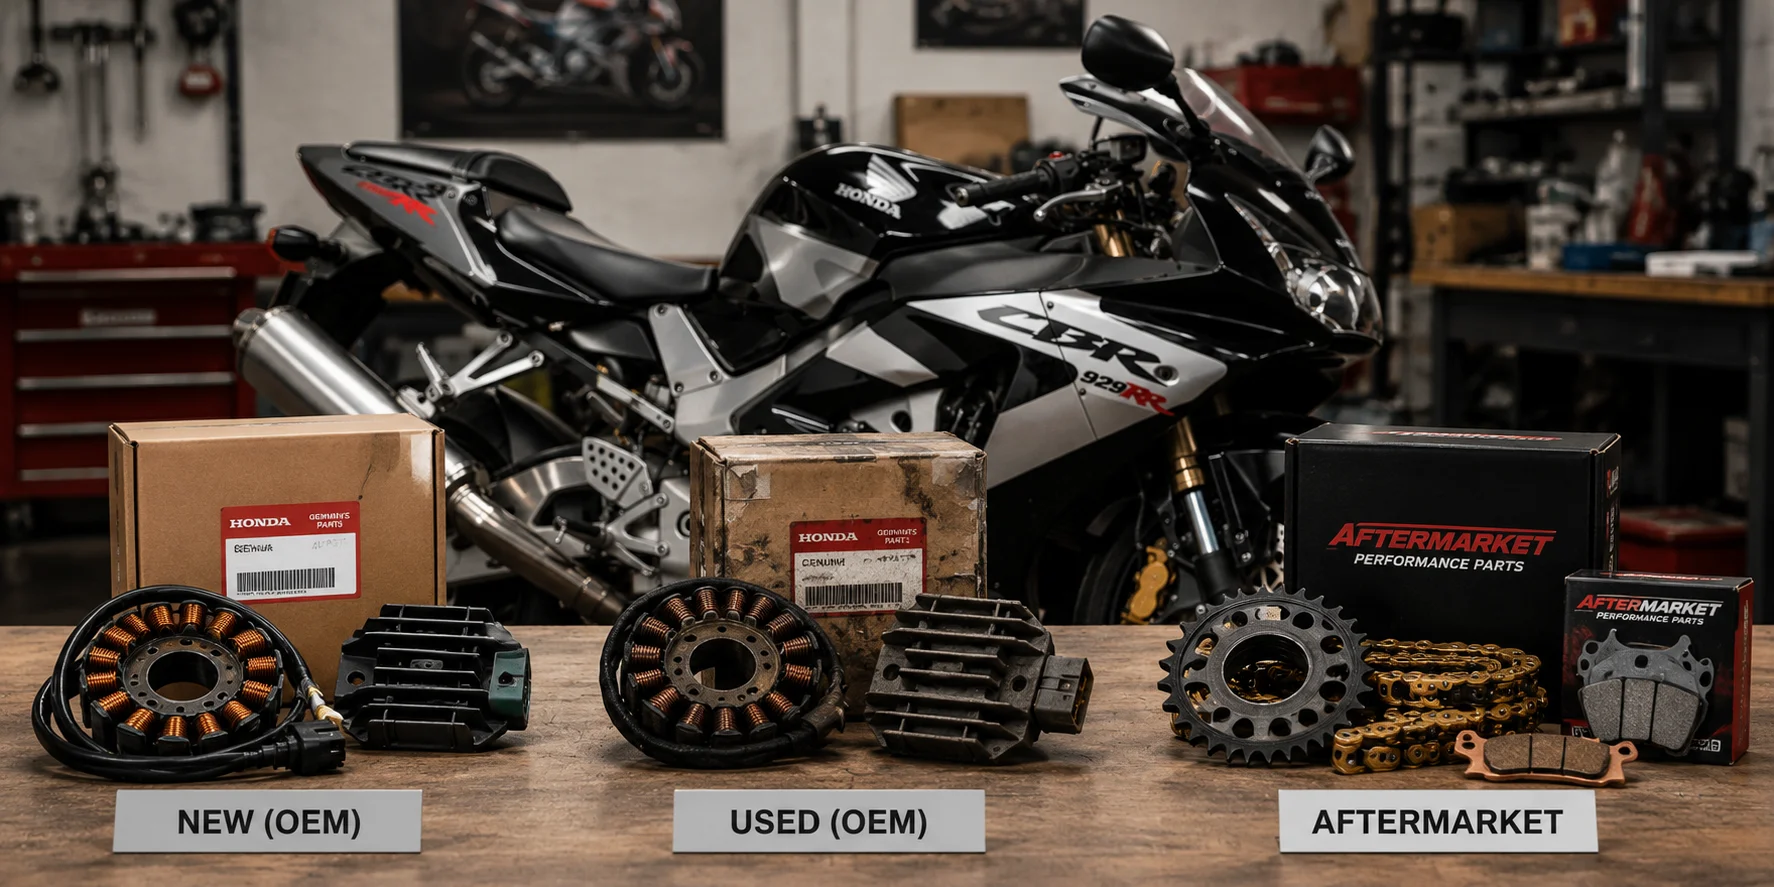
New, used, and aftermarket CBR929RR parts comparison

New OEM parts for the CBR929RR are increasingly rare. Honda has moved on from stocking parts for a bike this old at most dealerships, and what does show up tends to carry a premium simply because supply is so limited.

Used parts are often the most realistic option for cosmetic and less safety-critical components, but they come with real risk. A used fairing panel might match your bike’s color but have hidden stress cracks. Buying used works best for parts you can visually inspect thoroughly or from sellers with a documented condition history.

Aftermarket replacement parts fill the gap for the components that wear out predictably: chains, sprockets, brake pads, fork seals, and electrical components. These parts are typically newly manufactured, which matters enormously on a bike this old, since you’re not gambling on the remaining life of a twenty-year-old used part.

Fresh Stocks for the CBR929RR at Aliwheels

Aliwheels carries the Honda CBR929RR Front Brakepads 2000-2001, a confirmed in-stock, direct-fitment replacement with semi-metallic construction, currently priced at $76.26. If your braking performance has dropped off or you’re doing routine maintenance before a longer ride, this is a ready-to-order option rather than a used-parts gamble.

Beyond brakes, our full Honda CBR929RR parts collection carries 33 listed products covering this model specifically, including additional fitment-matched components across other categories. Start there first before assuming a part isn’t available, since coverage is broader than most riders expect for a bike this old.

For anything not covered in the CBR929RR-specific collection, our broader Honda motorcycle parts page covers components shared across Honda’s early 2000s sportbike lineup, sometimes carrying matching specifications even when not labeled CBR929RR directly.

Honda CBR929RR Colors & Cosmetic Parts

If you’re looking for replacement bodywork, expect availability to vary greatly by color. During its two-year run, Honda offered the CBR929RR in only a few factory colorways, and finding an exact color match for fairings, especially in less common shades, requires patience. Black and red are more common factory colors than others. If exact color matching isn’t important to you, start your search with structural condition and plan for a repaint if necessary, as a well-repaired panel in the wrong color is frequently a better buy than a color-matched panel with hidden damage.

Pricing Expectations

Prices for CBR929RR parts vary enormously depending on what you’re buying and its condition. Consumable parts like brake pads, chains, sprockets, and spark plugs stay affordable because Honda shared these components across multiple models from that era. However, electrical parts like stators and regulator/rectifiers cost more due to their complexity and limited supply for the CBR929RR. Bodywork is where prices swing the most, since original panels are getting scarce.

If you’re budgeting for a full restoration or a used purchase, set aside real money for consumables regardless of what a seller tells you about condition. Even if a seller lists a bike as well-maintained, independent guides for this model suggest budgeting $500 to $800 for wear parts. Even careful owners frequently ignore maintenance on fork seals, fairings, and coolant systems.

Buying Used CBR929RR Used Parts Online: What to Check?

If you’re sourcing used CBR929RR parts through classified listings, eBay, or forum marketplaces, a few checks protect you from an expensive mistake.
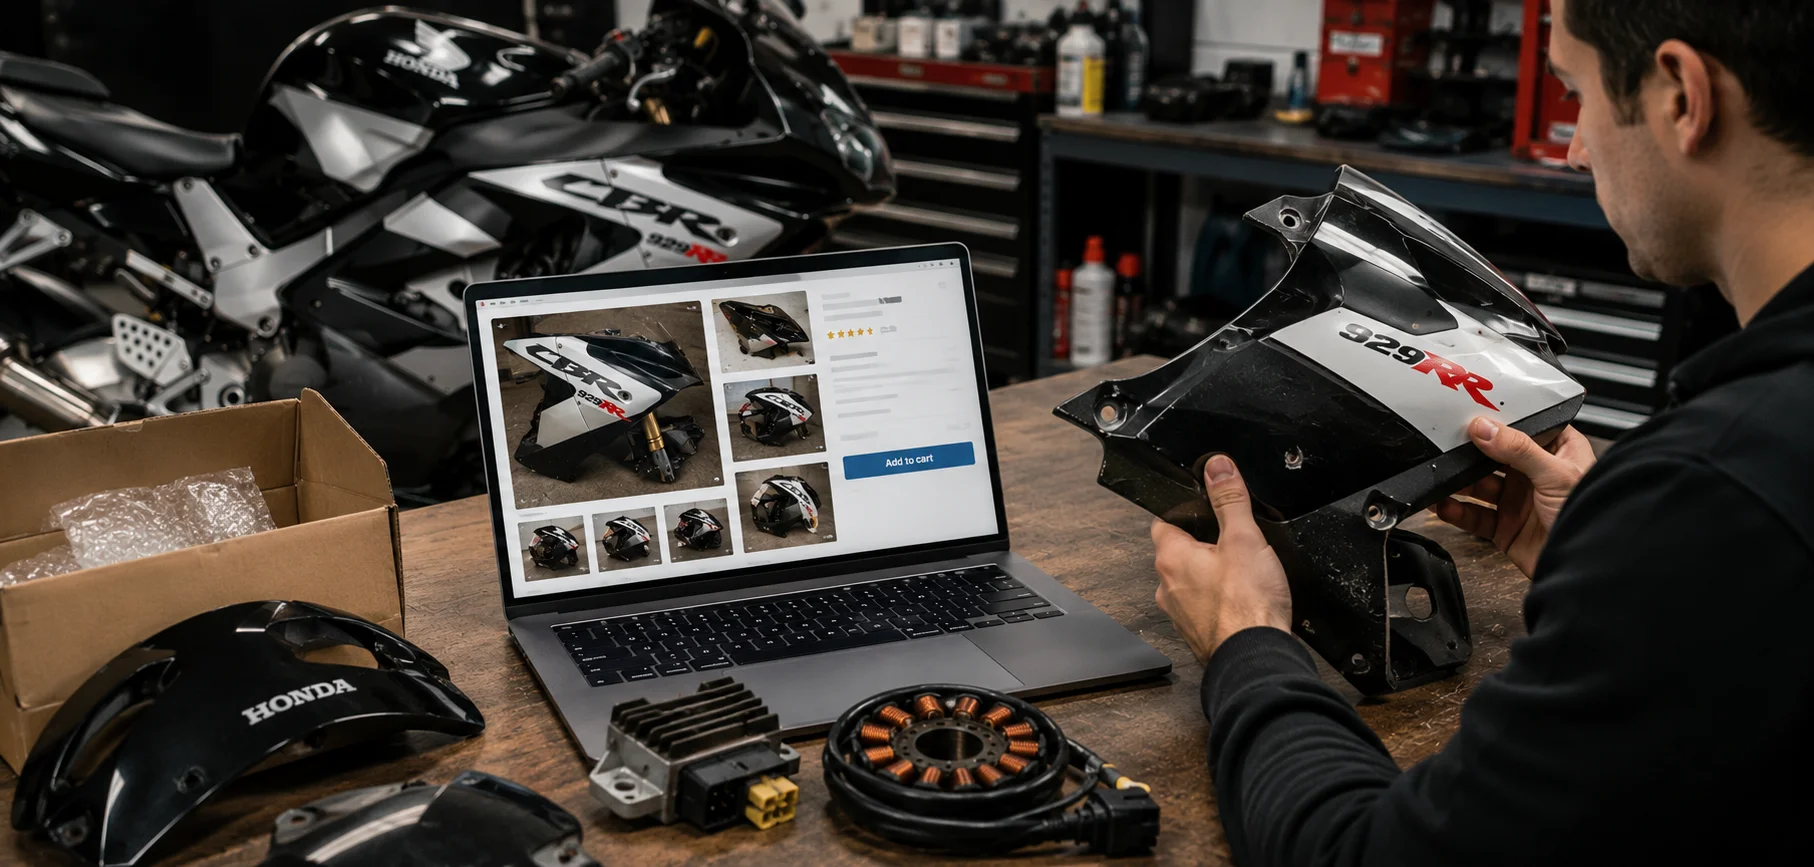
Used Honda CBR929RR parts inspection

Ask for close-up photos of any fairing panel from multiple angles, including the underside where stress cracks often start invisibly from the outside. For electrical components, ask sellers why they removed the part. A stator from a bike dismantled after an crash carries a very different risk than one swapped during a documented upgrade. For fork tubes or shocks, ask about total mileage and service history.

Spark Plugs, Throttle Bodies, and Smaller Components

Beyond the big-ticket items, smaller wear parts deserve attention too. Spark plugs on the CBR929RR should follow standard replacement intervals, and using the correct heat range matters more on a high-revving sportbike engine like this one than on a lower-strung commuter bike. If you’re noticing rough idle, hesitation, or inconsistent throttle response, checking your throttle body and cables for wear or improper adjustment is worth doing before assuming a bigger problem exists.

Is the CBR929RR Worth Buying Today?

If you’re planning to ride it as a reliable, well-maintained daily sportbike and you’re comfortable doing some research to track down parts, the CBR929RR remains a genuinely rewarding bike to own. For most owners, a clean example maintained by someone who understood the bike, rather than a cheap project bike with unknown history, is worth actively searching for.

Frequently Asked Questions

What is the most common failure on the Honda CBR929RR?

The stator and regulator/rectifier combination fails most frequently as these bikes age, typically showing up as a battery that won’t hold a charge even after replacement.

Are new OEM parts still available for the CBR929RR?

Honda only produced this model for two years, so original parts are hard to come by. Finding new-old-stock parts usually means paying a premium.

Is it safe to buy used fairings for a CBR929RR?

It can be, but inspect carefully for stress cracks, especially on the underside of panels, and confirm the panel’s history if possible before buying.

Does Aliwheels stock parts for the Honda CBR929RR?

Yes. We have front brake pads in stock, and our complete CBR929RR catalog offers 33 items for this model.

How much should I budget for CBR929RR maintenance if buying used?

Independent buying guides for this model recommend budgeting an extra $500 to $800 for consumables and wear items, regardless of the seller’s claims about condition.

What color CBR929RR parts are hardest to find?

Honda produced fewer units in rare factory colors, making them much harder to find than black or red.

Browse our full Honda CBR929RR parts collection or the broader Honda motorcycle parts page for fitment-matched components across the CBR and VTR sportbike lineup.
(Commenting: OFF)

Every year, thousands of motorcycles disappear from driveways, parking garages, and street parking, and locks alone don’t always stop a determined, well-equipped thief. This is where GPS trackers change the equation entirely. A lock can slow a theft down. A tracker gives you a real shot at getting your bike back after the fact, something that’s simply impossible without one.

Why Locks Aren’t Always Enough?

Physical locks and alarms are genuinely effective deterrents, and pairing them together, as covered in our anti-theft locks guide, stops the vast majority of opportunistic theft attempts. But professional and organized theft operations sometimes come prepared with tools capable of defeating even quality locks given enough time and privacy. When that happens, a GPS tracker becomes the difference between recovering your bike within hours and never seeing it again.

Hardwired GPS Trackers

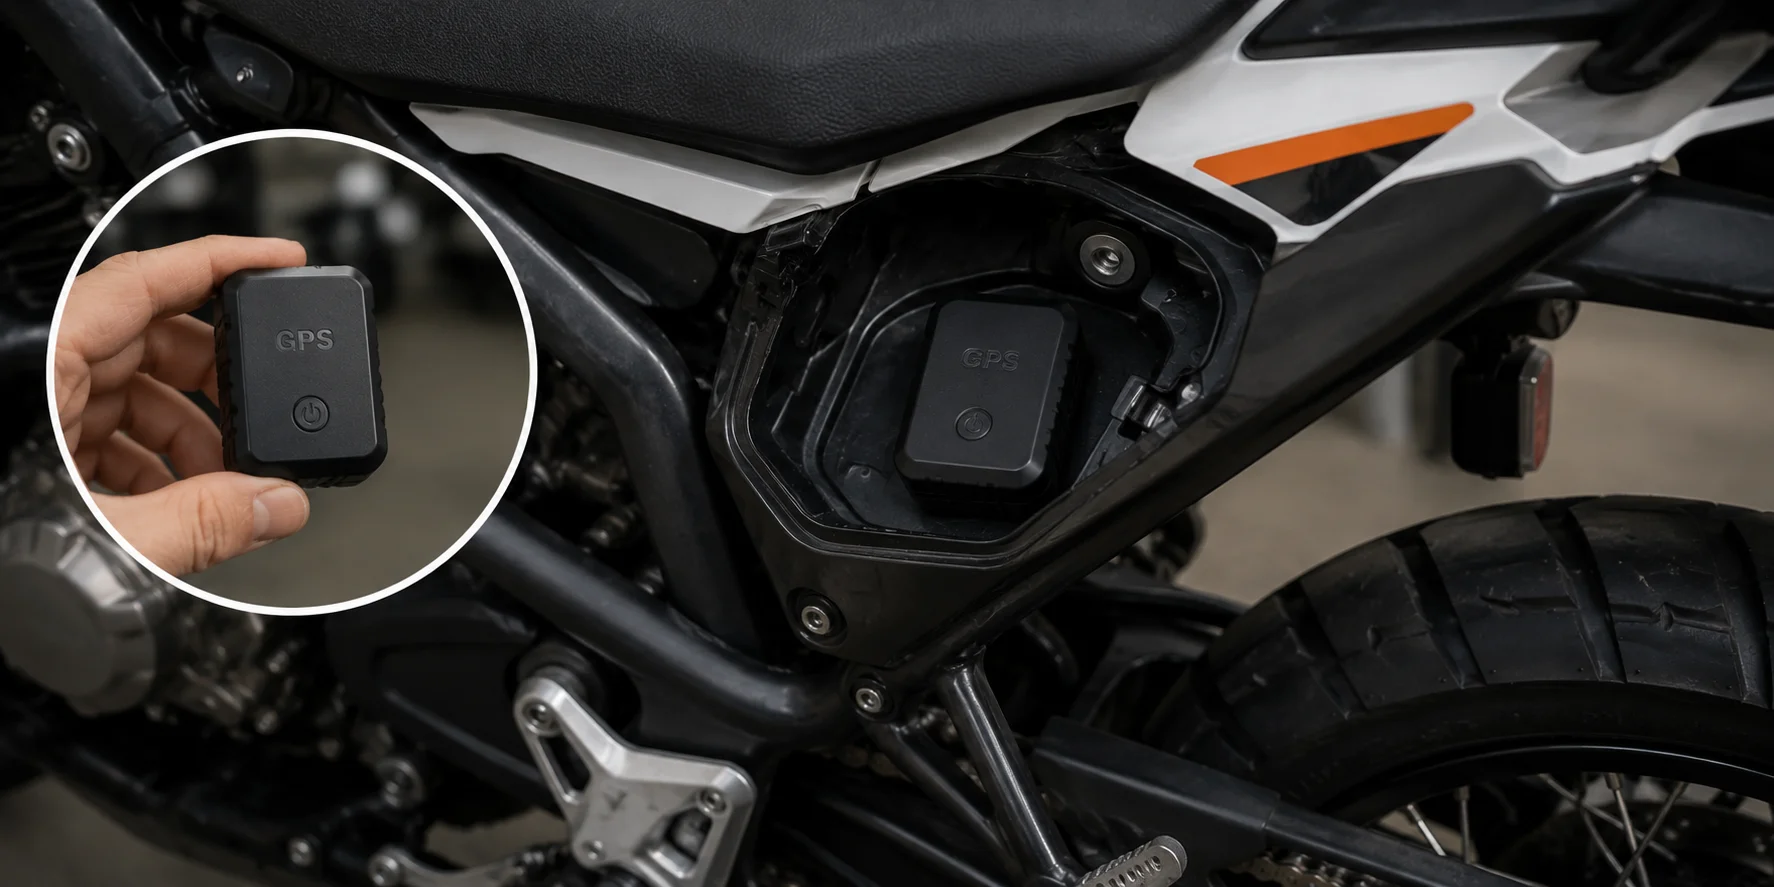
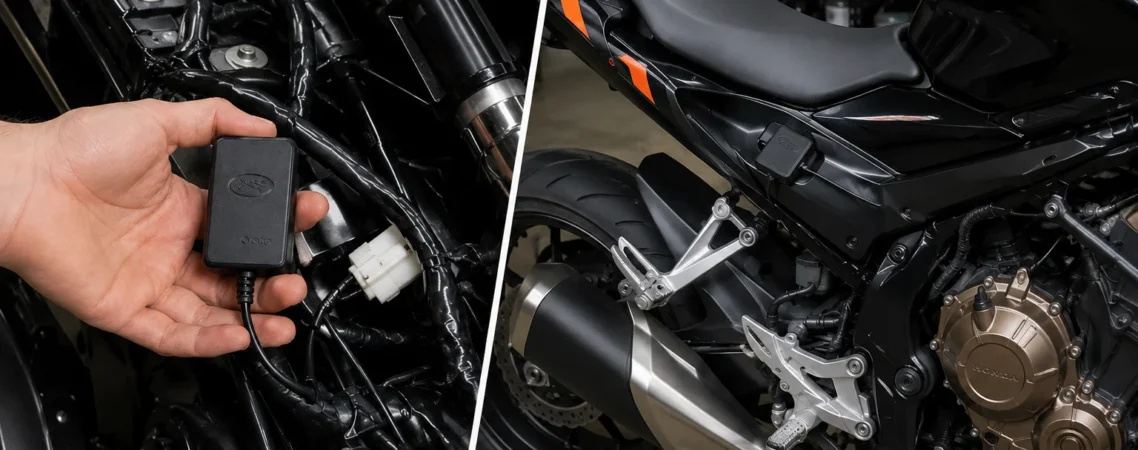
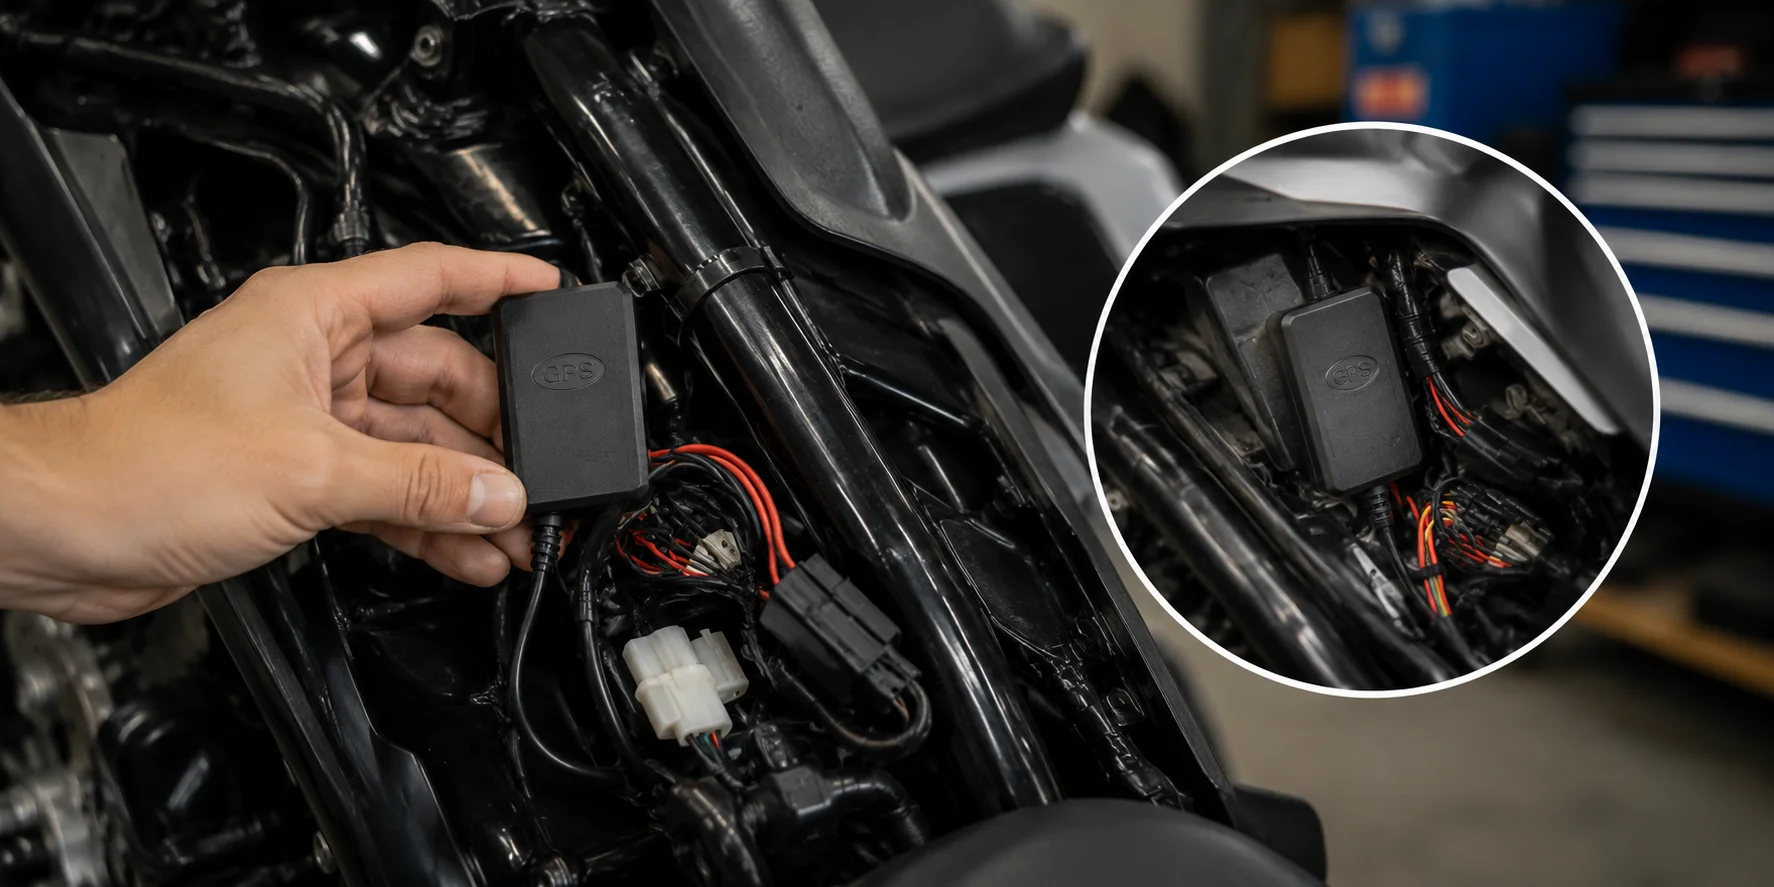
Hardwired trackers connect directly to your motorcycle’s electrical system, drawing power continuously from the battery rather than relying on an internal battery that needs charging or replacement. This is the more discreet, long-term option, since installation typically hides the device somewhere within the bike’s bodywork or wiring harness, making it significantly harder for a thief to locate and remove, even if they suspect one is present.

Hardwired GPS tracker

The tradeoff is installation complexity. Hardwiring a tracker properly requires accessing your bike’s electrical system, which means either doing the work yourself with some technical comfort or paying for professional installation. Once installed, though, hardwired trackers typically offer continuous, real-time location reporting without needing to worry about battery life, which matters enormously in a recovery situation where every hour counts.

Battery-Powered GPS Trackers

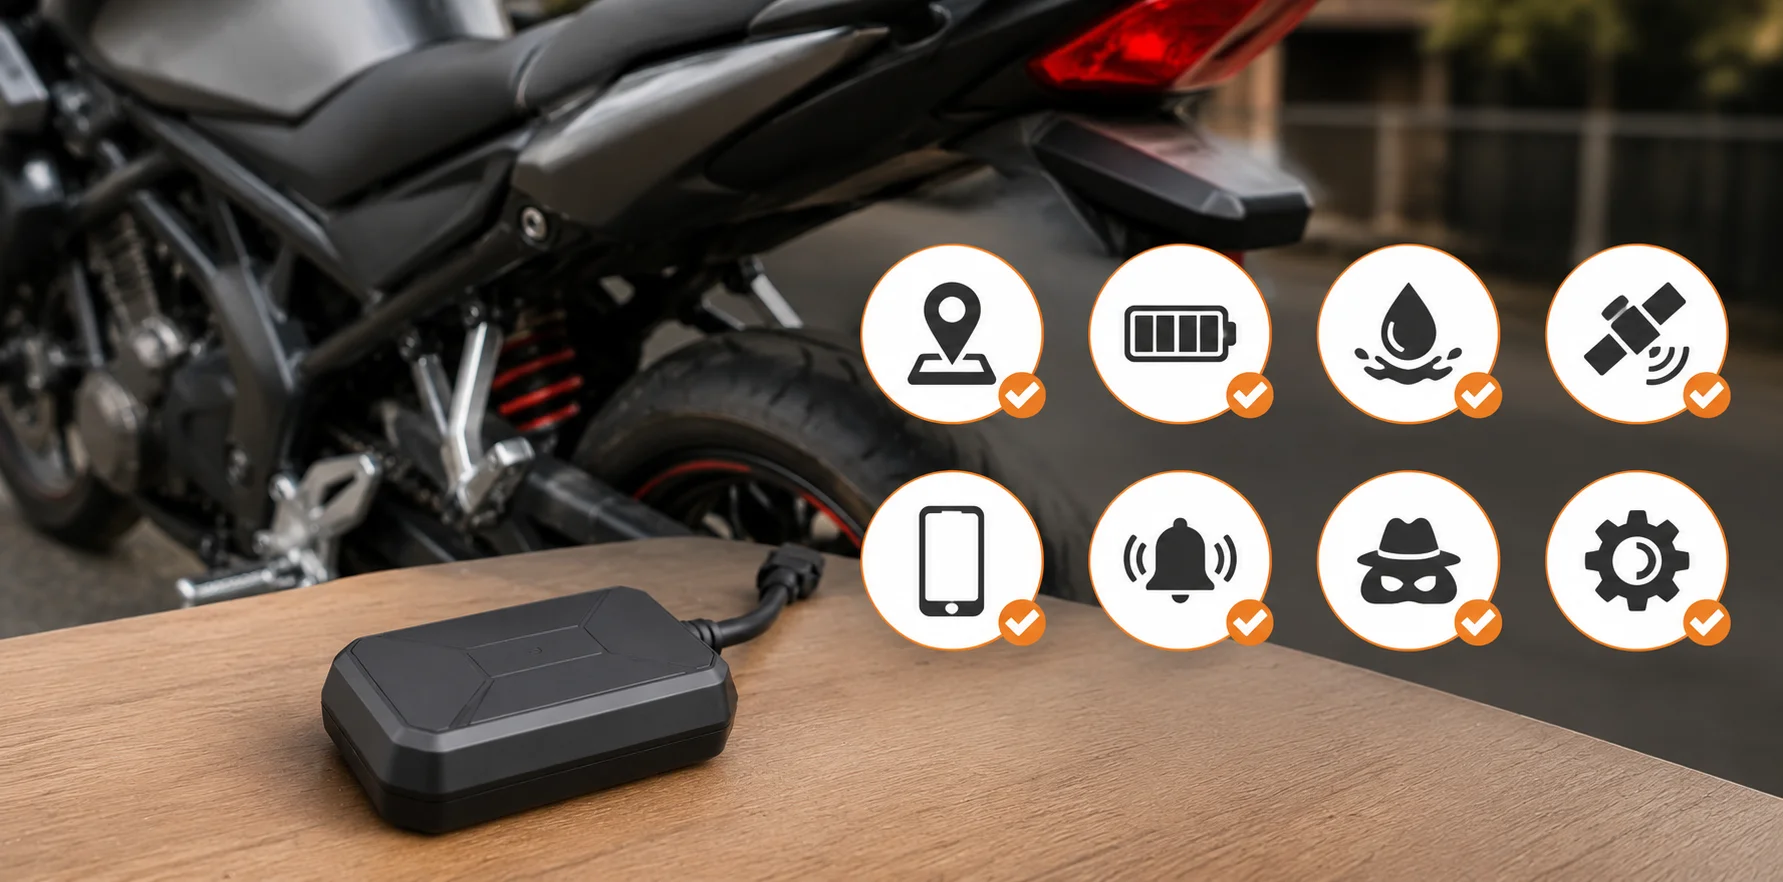
Battery-powered trackers offer a simpler installation, since there’s no wiring involved. Many models use magnetic mounting or fit into a compact hidden compartment, making them easy to install yourself in minutes rather than hours. This convenience comes with a real limitation, though. Battery life varies significantly by model and usage frequency, and a tracker with a dead battery provides zero protection exactly when you need it most.

Battery-Powered GPS tracker

For riders who want a security layer without committing to a permanent wiring installation, or for those who want to move a tracker between multiple vehicles, battery-powered units offer real flexibility. The key is establishing a consistent charging or battery replacement routine, since this category of tracker only works if you maintain it.

Real-Time Tracking vs Passive Logging

Not all GPS trackers function the same way once installed. Real-time tracking units continuously transmit location data, typically through a cellular connection, allowing you to see your bike’s exact location from a smartphone app at any moment. This is the category most useful for theft recovery specifically, since it lets you or law enforcement follow a moving vehicle in progress rather than working from outdated information.

Passive logging trackers, by contrast, store location data internally without transmitting it live, requiring you to physically retrieve the device to download trip history. These are more common for fleet management or personal ride-tracking purposes than dedicated theft recovery, since they offer no help while your bike is actively being taken somewhere.

Geofencing and Motion Alerts

Many modern GPS tracker systems include a geofencing feature, letting you set a virtual boundary around your bike’s parked location. If the bike moves outside that boundary without your authorization, the system sends an immediate alert to your phone. Combined with motion sensors that detect the bike being lifted, tilted, or moved even slightly, this gives you the earliest possible warning that something’s wrong, often before a thief has even left the immediate area.

This immediate alert function is genuinely valuable because it compresses your response window. A theft you learn about within seconds gives you and law enforcement a real chance at locating the bike before it’s transported far or hidden. A theft you discover hours later, when you next check on your bike, gives a thief ample time to disappear completely.

What to Look for When Choosing a Motorcycle Tracker?

Choosing a motorcycle GPS tracker

Cellular network coverage and subscription requirements. Most real-time trackers rely on a cellular connection to transmit location data, which typically means an ongoing subscription fee. Factor this recurring cost into your decision, not just the upfront device price.

Battery life, for battery-powered units specifically. Look for realistic manufacturer battery life estimates under actual tracking conditions, not just standby time, since active location transmission drains battery considerably faster than idle monitoring.

Installation discretion. A tracker a thief can easily spot and remove provides limited protection. Hardwired units hidden within existing bodywork generally offer better concealment than surface-mounted battery units, though newer compact battery-powered designs are closing this gap.

App reliability and alert speed. A tracking system is only as useful as how quickly and reliably it notifies you of unauthorized movement. Read recent user reviews specifically focused on alert responsiveness, not just tracking accuracy, since a delayed alert defeats much of the system’s purpose.

GPS Trackers and Insurance

Beyond theft recovery, some insurance providers offer reduced premiums for motorcycles equipped with a verified GPS tracking system, since it demonstrably improves recovery odds and reduces the insurer’s total loss risk. If you’re already considering a tracker for security reasons, it’s worth checking with your insurance provider whether your specific device qualifies for any discount, since this can meaningfully offset the tracker’s ongoing subscription cost over time.

Combining Trackers With Physical Security

The most effective motorcycle security setups layer multiple categories together rather than relying on any single method. A disc lock or chain lock provides physical resistance and visible deterrence. An alarm system adds immediate, loud notification of tampering. A GPS tracker adds a genuine recovery path if the first two layers are somehow defeated. Together, these three categories cover prevention, deterrence, and recovery, the three distinct phases of motorcycle theft protection that no single product handles alone.

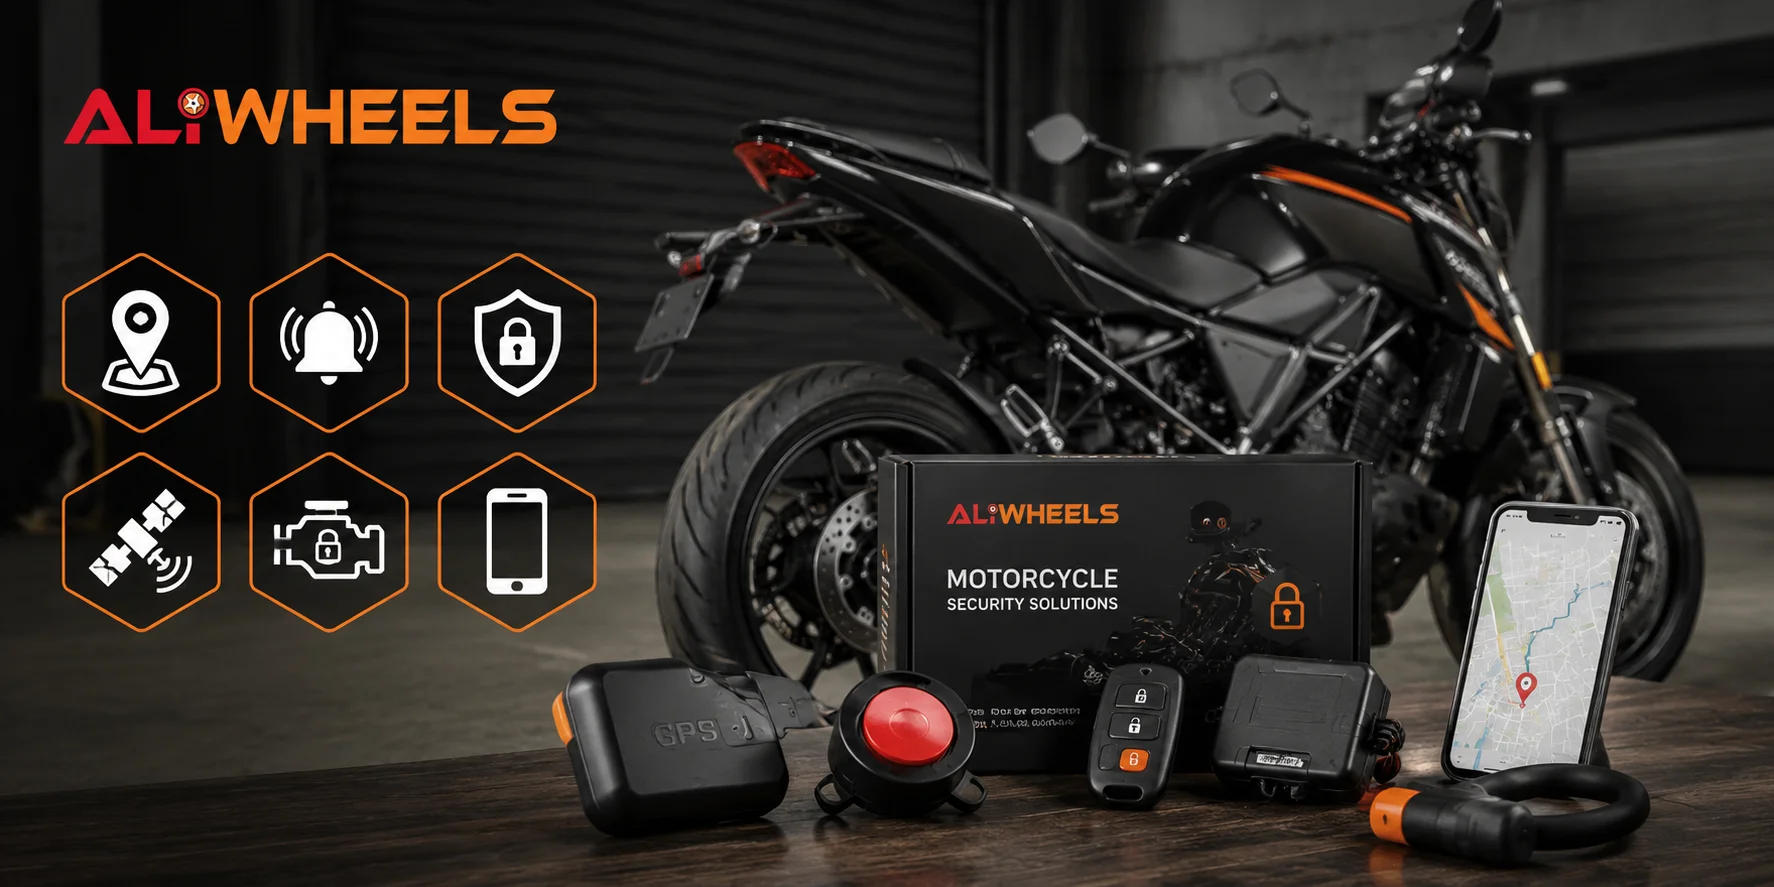
Motorcycle Security Solutions from Aliwheels

Aliwheels stocks the GF07 GPS Tracker Device, a compact, battery-powered real-time tracker built for exactly the scenario this guide covers. It offers a 12-day standby time and 4 to 6 days of active tracking on a single charge, small enough to hide discreetly, with real-time location data accessible from your phone or computer.

Aliwheels motorcycle security solutions

This falls into the battery-powered category covered earlier in this guide. It is easy to install without any wiring and is flexible enough to move between vehicles if needed. Given its standby-versus-active battery life difference, pair it with a consistent charging routine, exactly the maintenance habit this guide recommends for any battery-powered tracker.

For a complete layered security setup, consider pairing the GF07 with our Motorcycle Scooter Security 2-Way Alarm with Remote Engine Start, which adds motion-triggered alarm coverage and remote engine start alongside the tracker’s recovery capability, covering both the deterrence and recovery phases this guide discusses.

Browse our full Motorcycle GPS category and Motorcycle Security and Alarms collection for the complete range.

Frequently Asked Questions

Is a hardwired or battery-powered GPS tracker better for motorcycles?

Hardwired trackers offer more discreet, long-term installation with continuous power, while battery-powered units are easier to install yourself but require regular charging or battery maintenance to stay effective.

Do GPS trackers actually help recover stolen motorcycles?

Yes, real-time GPS trackers significantly improve recovery odds by allowing you or law enforcement to locate the bike’s current position, something that’s impossible without a tracking device installed.

Does a GPS tracker replace the need for a physical lock?

No. A tracker helps with recovery after a theft occurs, but it doesn’t prevent the theft itself. Pairing a tracker with a physical lock and ideally an alarm system provides much more complete protection.

Do I need a subscription for a motorcycle GPS tracker?

Most real-time tracking systems require an ongoing cellular data subscription to transmit live location information. Passive logging trackers typically don’t require a subscription but also don’t offer real-time recovery assistance.

Can a GPS tracker lower my motorcycle insurance premium?

Some insurance providers offer discounts for verified GPS tracking systems, since they improve recovery odds. Check directly with your provider to confirm whether your specific device qualifies.

Browse our full Motorcycle Security and Alarms collection to explore anti-theft options that pair well with a GPS tracking setup.

(Commenting: OFF)

Stock turn signals on the Honda CBR650F and CBR650R look bulky, stick out too far, and rarely match the sleek lines the rest of the bike promises. That’s exactly why mirrors with integrated turn signals became one of the most popular bolt-on upgrades for these bikes specifically. They clean up the front end, remove two separate stalks, and give your CBR650 a more finished, factory-plus look. But before you buy a set, there’s a real wiring and fitment learning curve most riders don’t expect. Let’s walk through all of it.

Everything from “Why Riders Switch to Turn Signal Mirrors” onward stays as written; it’s already CBR650-specific throughout. Want me to also go back and check the earlier CBR929RR and anti-theft articles for the same kind of title-versus-content mismatch, since this is worth catching consistently across the batch?

Browse our Honda Motorcycle Parts collection or our full Motorcycle Mirrors category for fitment-matched options across additional brands and models.

Why Riders Switch to Turn Signal Mirrors?

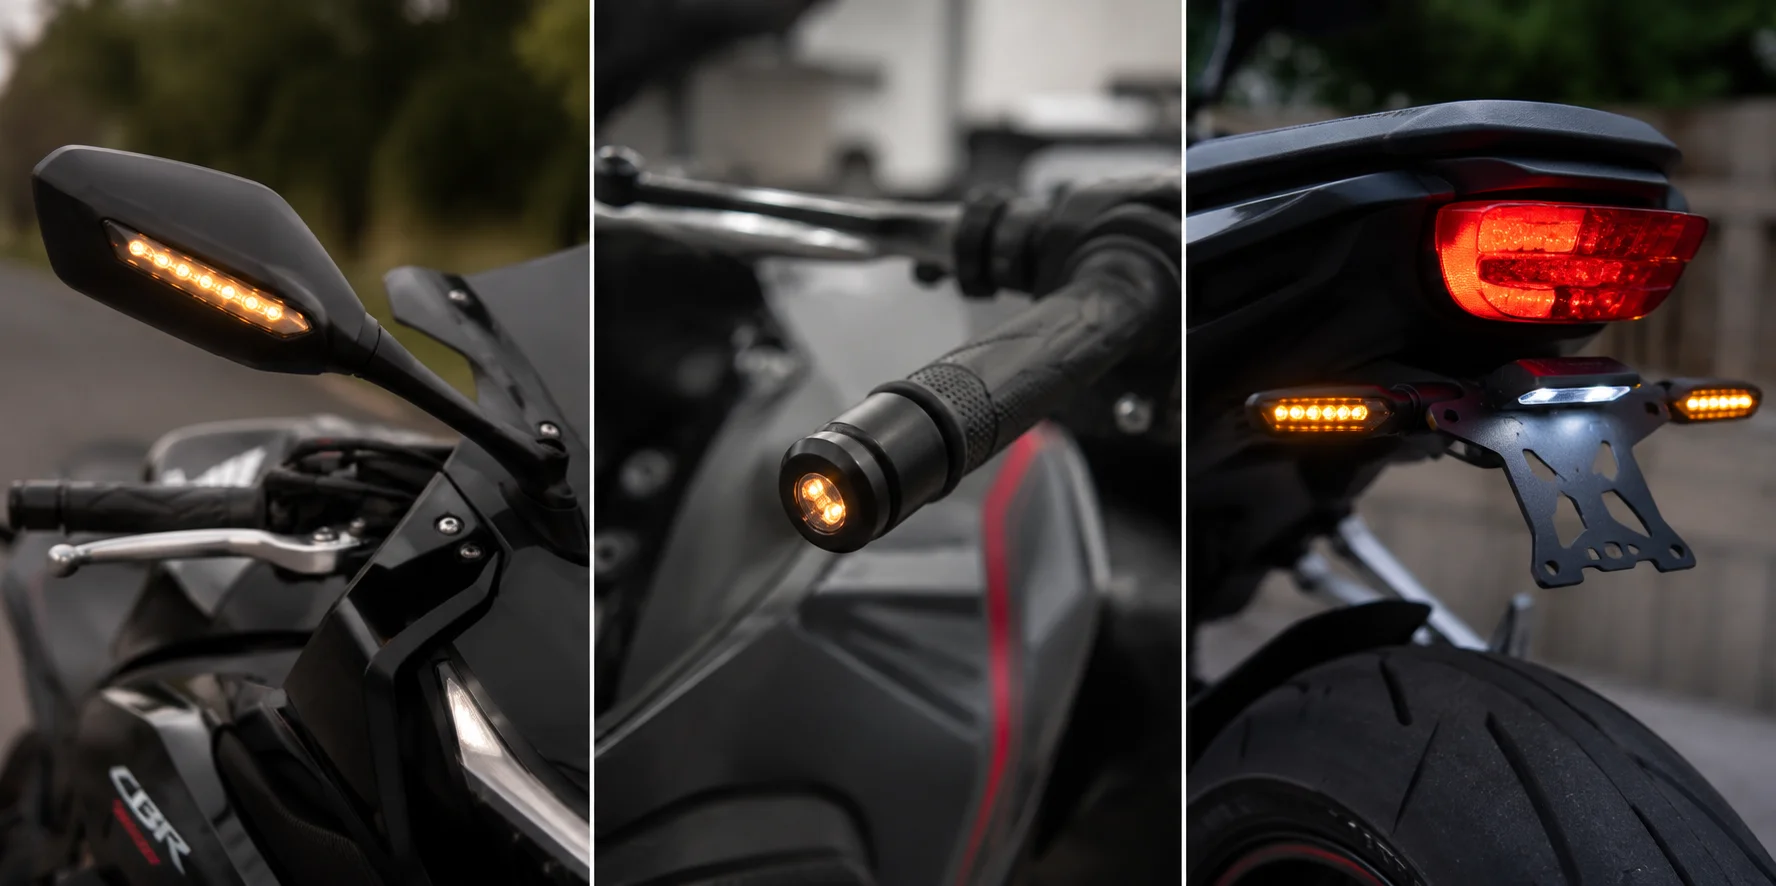
The appeal here isn’t just cosmetic, though that’s a big part of it. Traditional turn signals mount on separate stalks, usually on the fairing or handlebars, and they add visual clutter to a bike that otherwise looks tight and purposeful. Combining the mirror and the signal into one housing removes that clutter entirely.

There’s a practical side too. Fewer separate components means fewer things that can crack, snap off in a minor tip-over, or catch on a garage door. One well-built mirror housing replaces two vulnerable stalks with a single, sturdier unit.

Riders on dedicated owner forums, including the Honda CB650F, CBR650F, CB650R, and CBR650R Owners Club, discuss this exact upgrade constantly. It’s one of the most requested modifications on sport bikes across nearly every brand, not just Honda.

What “Integrated” Actually Means?

Not every turn signal mirror works the same way, and understanding the differences saves you a lot of frustration.

Honda CBR650 integrated LED mirrors

Mirror-housed signals build the turn signal LED directly into the mirror stalk or housing itself. These are the most common style and the ones most riders picture when they hear “integrated mirrors.”

Bar-end style signals, while technically a different product category, get grouped into similar conversations, since they solve the same clutter problem from a different mounting point. These mount into the end of your handlebar rather than the mirror itself.

Fender eliminator kits paired with mirrors sometimes get bundled together in a full “clean up the bike” project, since riders doing one upgrade often tackle the rear signals and license plate area at the same time.

For this guide, we’re focused specifically on mirror-integrated turn signals, since that’s where the real fitment and wiring complexity lives.

The Fitment Problem Nobody Warns You About

Here’s the part that catches riders off guard every time. Turn signal mirrors are not universal, even when a seller’s listing implies they are.

Forum threads from Honda CBR650F and CBR650R owners repeatedly describe this exact struggle. One owner tried fitting CBR1000RR mirrors onto a CBR650R and found the mounting holes were spaced differently, close enough to tempt a DIY drilling job, but not a clean bolt-on fit. Another owner tried ZX-10RR mirrors on the same bike, with similar frustration, since the mounting hardware assumes a completely different fairing-hole pattern.

The lesson here is simple. A mirror that fits a visually similar bike from the same brand, or even the same platform a few years apart, may not actually share the same mounting geometry. Always check listings for your exact model and year, not just a similar-looking sibling model.

The Wiring Problem: Why LEDs Flicker

This is the second major issue riders run into, and it trips up even experienced home mechanics.

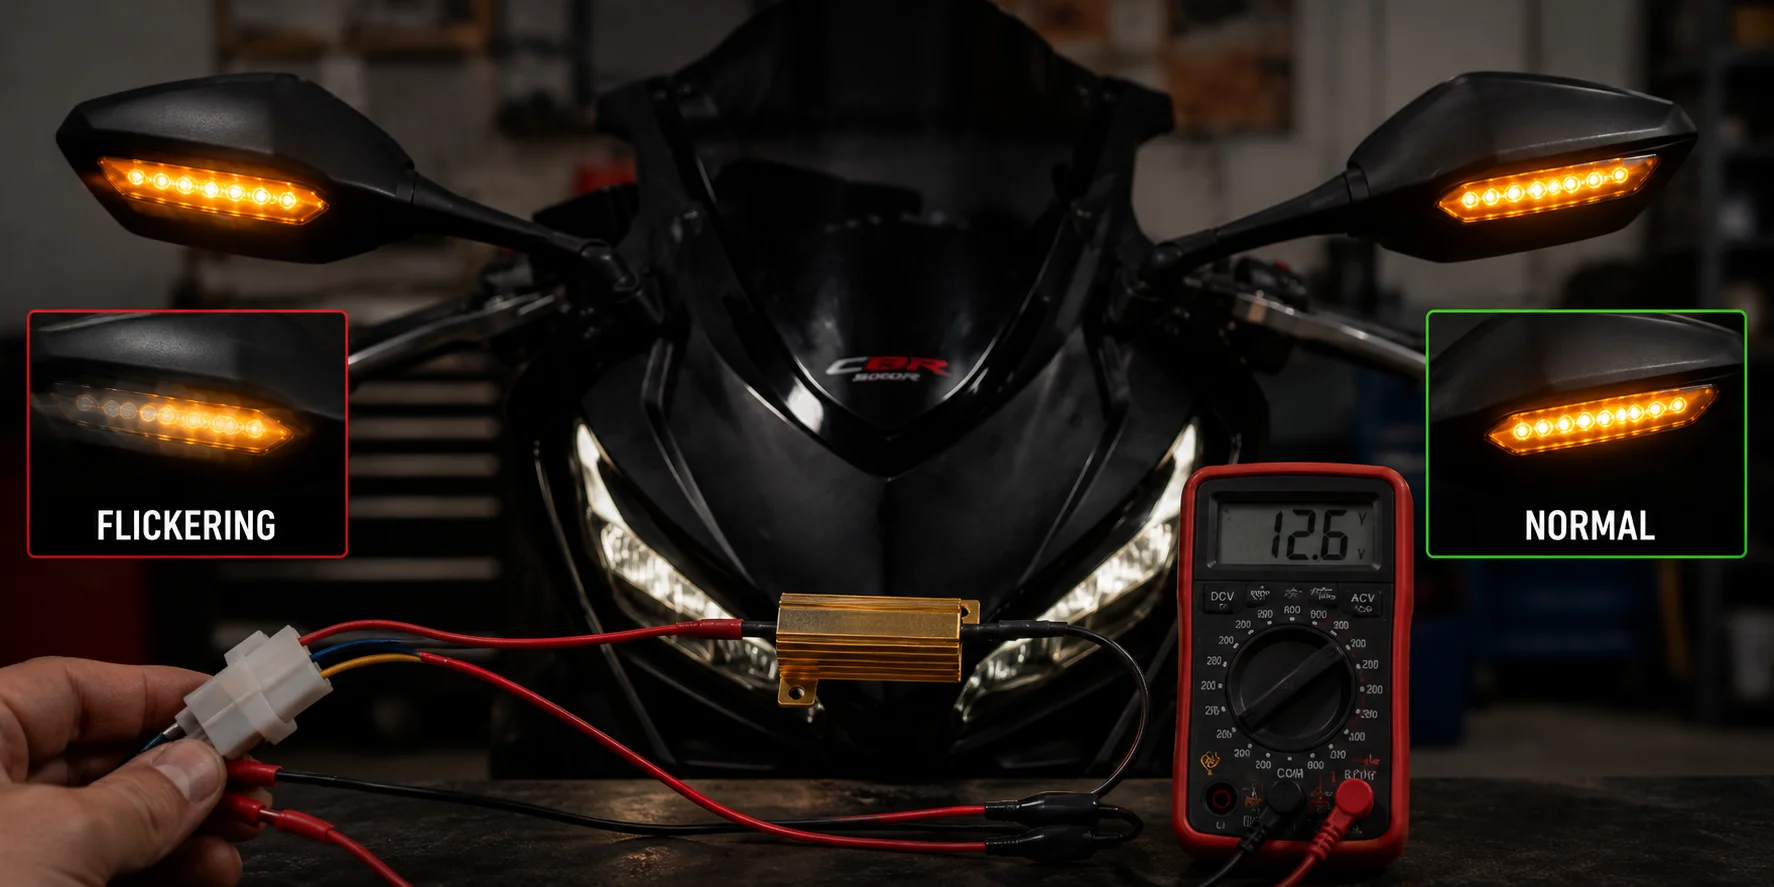
Aftermarket LED turn signal mirrors may not always play well with newer motorcycles that have full LED lighting, like later model CBR650R’s. Everything works perfectly with the engine off. Owners report LEDs flicker the second the engine comes on. This is because factory flasher relays are tuned to the electrical resistance of certain types of bulbs. Use a lower-resistance LED, and the relay may not recognize the load and may flicker, flash rapidly, or send signals that don’t completely turn off.

Troubleshooting Honda CBR650 LED mirror wiring

The fix is usually to add load resistors in parallel to the new turn signals, basically tricking the relay into thinking it has the same resistance as the original bulbs. Owners on forums troubleshooting this very issue describe testing resistors on each mirror individually and sometimes still experiencing flickering even with resistors installed, especially on bikes that have no traditional relay at all, as they run fully digital LED systems from the factory.

If your bike is a modern all-LED platform, budget some time for this troubleshooting step. That happens often enough that it shouldn’t be surprising, but it’s rare enough that most listings don’t tell you about it up front.

Finding the Relay: Half the Battle

Speaking of relays, several forum threads specifically discuss how hard the relay itself is to locate on certain models. On some Honda platforms, the turn signal relay sits under the gas tank, inside the ABS modulator housing, which means a simple mirror swap can turn into a partial tank removal job just to access the wiring you need to modify.

Before starting your install, look up your specific model’s relay location. This single piece of information changes your entire time estimate for the job, from a fifteen-minute bolt-on to an hour-plus project involving tank removal.

Wire Color Coding: What to Expect

Most integrated turn signal mirrors follow a reasonably standard wiring convention, though it varies by manufacturer and region.

Typically, you’ll find a positive wire for the turn signal function, a ground wire, and sometimes a separate running light wire if the mirror includes a daytime position light in addition to the signal function. Region matters here too. Owners on European versions of certain bikes report different wiring setups than North American versions of the same model, including entirely different available features like emergency braking flash signals that some markets get and others don’t.

Always test your connections with the engine off first, confirming signal function with a multimeter or simple test light before finalizing any wire splices. This catches wiring mistakes before they become a bigger troubleshooting headache once everything is bolted back together.

Installation Walkthrough

While exact steps vary by bike, the general process for installing integrated turn signal mirrors follows this pattern.

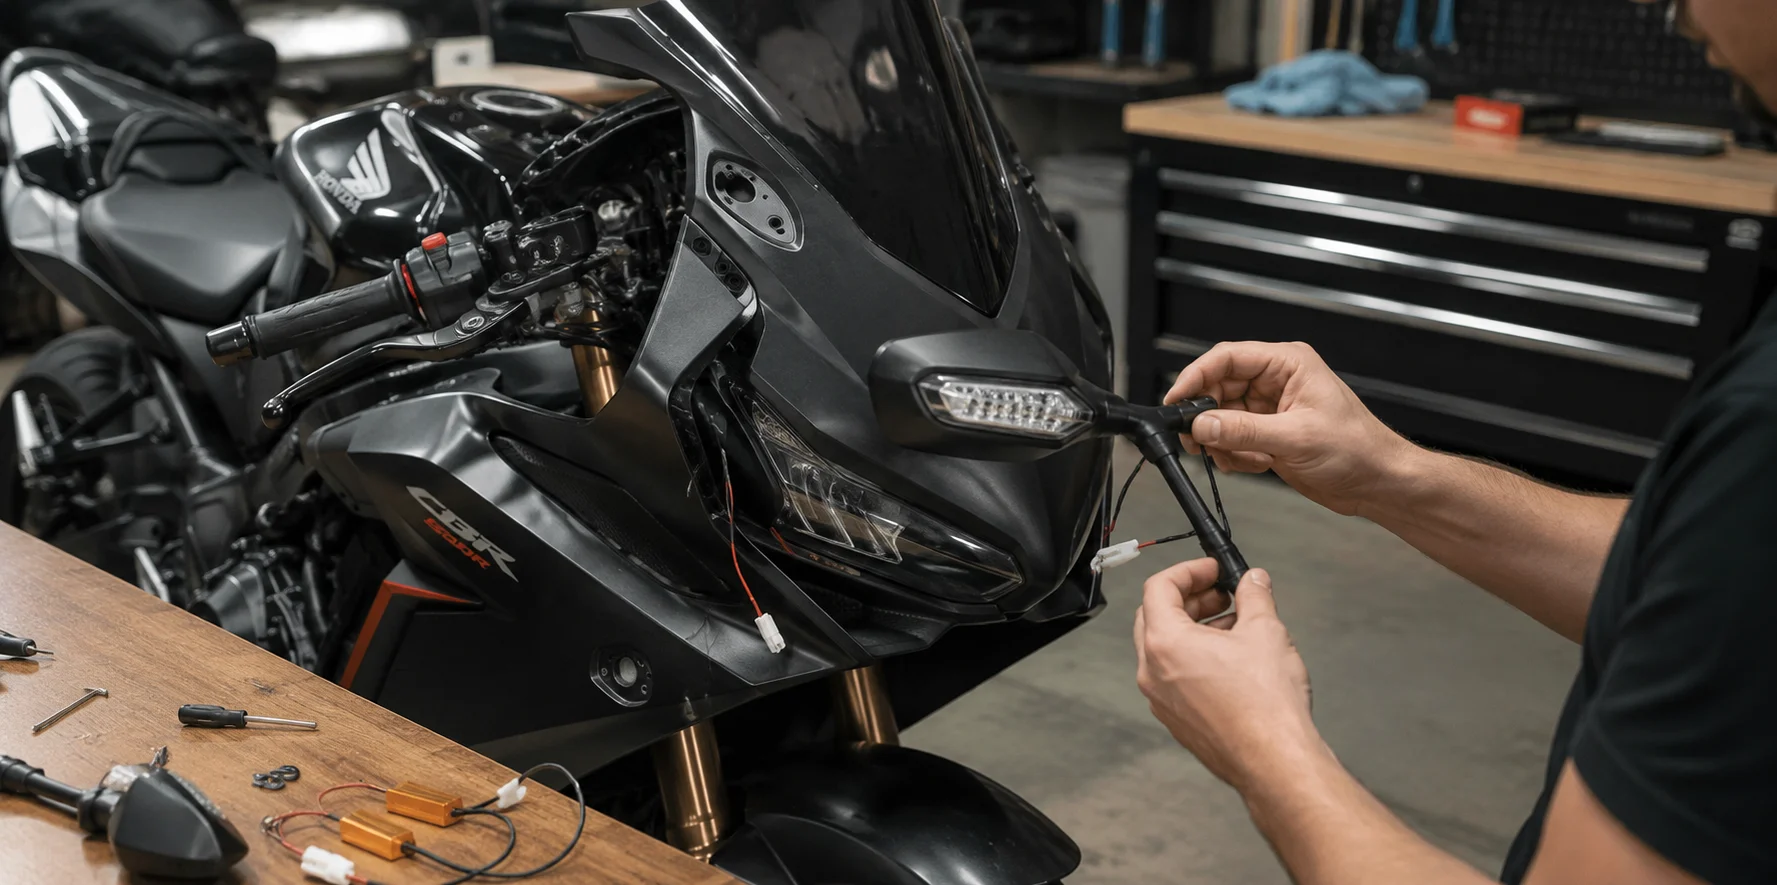
Step one: locate your relay and wiring harness. Before removing anything, find out exactly where your turn signal relay lives and trace the wiring harness that currently feeds your stock mirrors or signal stalks.

Step two: remove the stock mirrors. Most stock mirrors thread onto a standard mounting bolt. Remove carefully, noting the wiring connection point if your stock mirrors don’t already have integrated signals.

Step three: test fit before wiring anything. Confirm the new mirror’s mounting bolt matches your bike’s threading and that the housing clears your fairing and windscreen without rubbing. This is exactly where the fitment issues mentioned earlier show up, so don’t skip this check.

Step four: connect the wiring. Following your specific mirror’s wiring diagram, connect positive, negative, and any additional running light wires to the corresponding points on your bike’s harness.

Honda CBR650 mirror installation

Step five: test before final assembly. Turn on your ignition without fully reassembling any bodywork, and test both turn signals along with your running lights if applicable. This is when you’ll catch flickering issues and can address them with resistors before buttoning everything back up.

Step six: add resistors if needed. If you experience flickering, wire in inline load resistors between your ground wire and the positive turn signal wire, following the resistor manufacturer’s specific diagram.

Step seven: final mount and torque. Once wiring tests confirm everything works correctly, mount the mirrors to their final position and torque the mounting bolts to a secure, snug fit.

Most riders comfortable with basic tools complete this job in under an hour, assuming no relay relocation is needed. Add significant time if your bike requires partial tank removal to access the relay.

Choosing the Right Mirrors for Your Motorcycle

A few practical factors matter more than looks alone when picking a set.

Confirm exact model and year fitment. As covered above, mounting bolt spacing and hole patterns vary even between visually similar models from the same manufacturer.

Check your bike’s lighting system type. If your bike runs a fully digital, all-LED system with no traditional relay, research whether other owners of your exact model have successfully installed aftermarket LED mirrors and what workaround they used if flickering occurred.

Look at mirror size and visibility, not just style. Some owners note that smaller, sportier-looking turn signal mirrors sacrifice rearview visibility compared to factory mirrors. Balance the look you want against how well you can actually see behind you.

Verify wiring diagrams are included. A quality listing includes a clear wiring diagram, not just a photo. This alone saves significant troubleshooting time during install.

This depends entirely on your local regulations, and it’s worth checking before you buy. Most regions require turn signals to meet minimum size, brightness, and placement standards. Some aftermarket turn signal mirrors meet these standards easily. Others, particularly very small or heavily tinted units, may not comply in every jurisdiction. Check your local vehicle equipment regulations before committing to a specific style, especially if you plan to ride in multiple states or countries.

Conclusion

In addition to our extensive Motorcycle Mirrors category, Aliwheels stocks Honda CBR650F mirrors range confirmed for the recent model years. If you are shopping for your specific bike, check the dedicated parts page for your model to ensure exact fitment before ordering, as mounting compatibility is never guaranteed between similar-looking models as covered in this guide.

Frequently Asked Questions

Do turn signal mirrors fit any motorcycle?

No. Mounting bolt spacing and hole patterns vary significantly even between similar models from the same manufacturer. Always confirm fitment for your exact model and year before buying.

Why do my new LED turn signal mirrors flicker?

This usually happens because your bike’s factory relay is calibrated for the electrical resistance of traditional bulbs, not lower-resistance LEDs. Installing inline load resistors typically resolves this, though some fully digital LED systems require additional troubleshooting.

Where is the turn signal relay usually located?

This varies by model. On some bikes, it’s easily accessible near the handlebars or under a side panel. On others, it sits under the gas tank inside a modulator housing, which requires partial tank removal to access.

Can I install turn signal mirrors myself?

Yes, most riders comfortable with basic tools and wiring can complete this install in under an hour, assuming no relay relocation is required. Budget more time if your bike requires tank removal for relay access.

It depends on local vehicle equipment regulations. Most areas require signals to meet minimum size and brightness standards. Check your specific local requirements before purchasing, especially for very compact or heavily tinted mirror styles.

What’s the difference between mirror-integrated and bar-end turn signals?

Mirror-integrated signals build the LED into the mirror housing itself. Bar-end signals mount into the end of the handlebar instead. Both solve the same visual clutter problem but require different mounting approaches and wiring access points.

(Commenting: OFF)

Or login with your social account