")


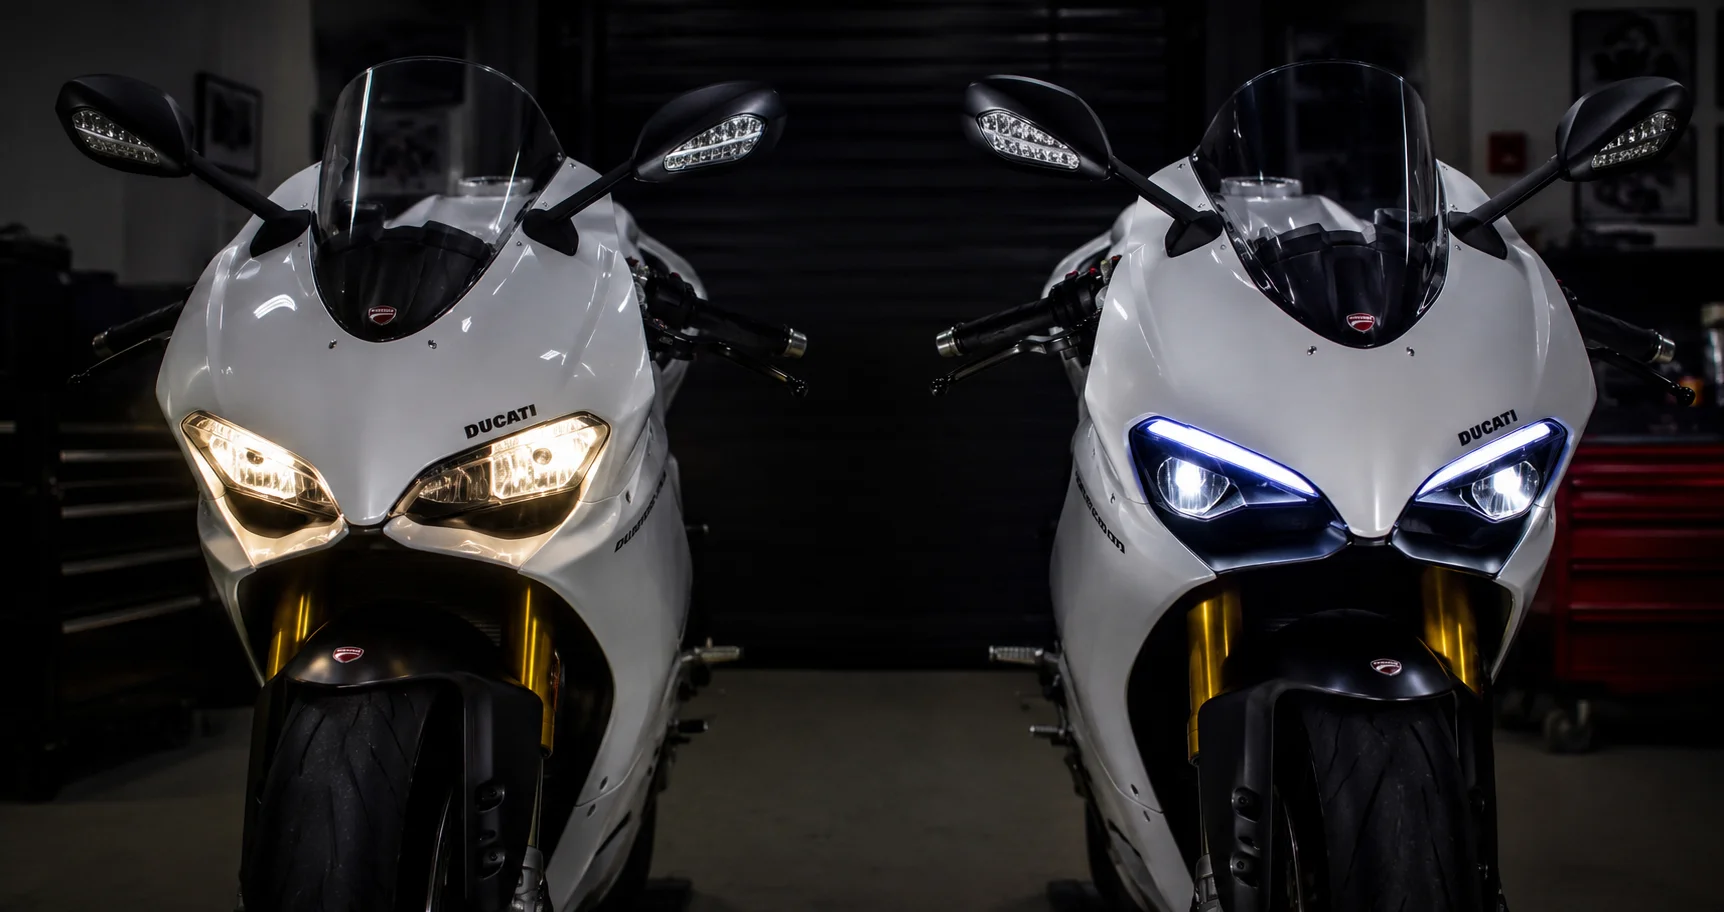
You dropped your Panigale V2, or maybe you were just doing routine maintenance, and now your headlight bracket is cracked or snapped clean off. Before you panic and call your dealer, let’s talk about what this part actually does, why it’s harder to replace than you’d expect, and what your real options are.
This guide covers everything owners of the 2020-2023 Panigale V2 need to know about the headlight bracket, also called the fairing stay, including where to find one and how much you should expect to pay.
What Is the Role of the Headlight Bracket?
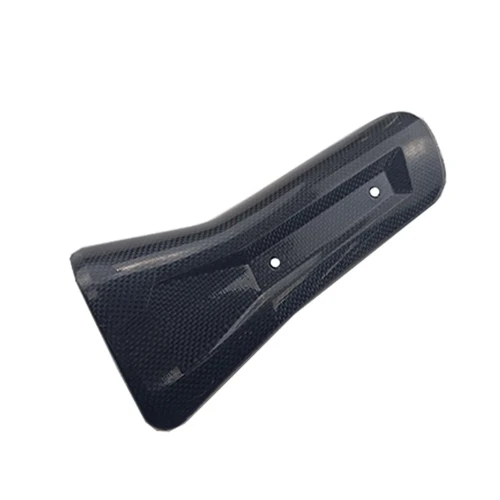
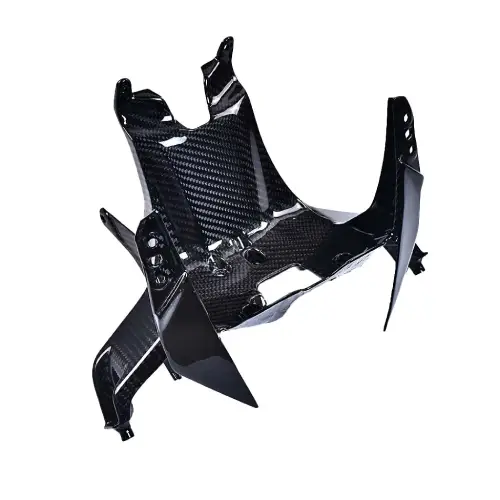
The headlight bracket, sometimes called the fairing stay, is the structural piece that holds your front fairing, headlight assembly, and windscreen together. It bolts directly to your frame and takes on a lot of stress every time you ride. Vibration, road impacts, and even minor tip-overs put constant pressure on this part.
When it cracks or breaks, your fairing loses its main support. That means your headlight can shift out of position, your windscreen can rattle loose, and in worse cases, your whole front fairing assembly becomes unstable at speed. This isn’t a cosmetic part you can ignore.
Why Do Panigale V2 Owners Struggle to Replace Headlights?
Here’s where things get frustrating. Unlike common wear parts such as brake pads or oil filters, the headlight bracket isn’t something most riders keep in stock or even think about until it breaks.
Ducati owners on forums report a specific problem: the V2’s bracket looks similar to the V4’s bracket, but the two don’t interchange. The mounting points and product codes differ between models, even though the shape looks nearly identical at a glance. This means you can’t just grab whatever bracket someone’s selling secondhand and expect it to bolt right on.
On top of that, OEM replacement brackets through a dealership run around $300. For a support bracket, that’s a steep price, and many owners find themselves searching for alternatives before committing to that cost.
OEM vs. Aftermarket Headlights: What’s the Real Difference?
OEM brackets guarantee exact fitment since they come from Ducati directly. You know it’ll bolt up without modification, and it matches your bike’s original specifications. The downside is price and availability. Dealers don’t always keep this part in stock, which means waiting on backorder while your bike sits unrideable.
Aftermarket brackets available at Aliwheels offer a more affordable path without sacrificing fitment accuracy when they’re built specifically for your model and year. The key is making sure the aftermarket part is designed for the V2 specifically, not a generic or V4-labeled part that only looks similar.
Some riders on Ducati forums mention finding carbon fiber aftermarket options priced similarly to OEM, while others prefer aluminum alloy versions from brands like Motoholders for better durability if the bike goes down again. Whichever route you choose, confirm the product listing specifies 2020-2023 V2 fitment before you buy.
4 Signs Your Headlight Bracket Needs Replacing
You don’t always need a dramatic crash to damage this part. Watch for these signs:
Visible cracks near the mounting points. Even hairline cracks weaken the bracket’s ability to hold weight securely.
The fairing or windscreen feels loose at speed. If your front end starts vibrating or shifting slightly during highway riding, a compromised bracket could be the cause.
The headlight sits crooked or misaligned. A cracked bracket can’t hold your headlight assembly in its proper position, leading to visible misalignment.
Recent drop or tip-over. Even a low-speed parking lot tip-over can crack this part without leaving obvious external damage. If your bike went down recently, inspect the bracket closely.
How to Check Your Bracket Before Buying a Replacement?
Before ordering a new bracket, take ten minutes to properly inspect the current one.
Remove your side fairings to get a clear view of the bracket’s full structure. Small cracks often hide near bolt holes, where stress concentrates most.
Check for any flex or movement when you gently push on the fairing near the headlight. A healthy bracket won’t give at all. Any noticeable flex means it’s compromised.
Look at the mounting bolts themselves. Stripped or loose bolt holes in the bracket material, not just the bolts, often mean the bracket needs full replacement rather than a simple bolt tightening.
Installing a Replacement Bracket
Once you’ve confirmed you need a Ducati Panigale V2 headlight bracket, the installation process follows a similar pattern whether you go OEM or a properly fitted aftermarket option.
- Let your bike cool completely and set it on a stable stand.
- Remove the front fairing panels to access the bracket.
- Disconnect any wiring routed near the headlight assembly, noting the connection points.
- Unbolt the damaged bracket from the frame.
- Position the new bracket, aligning it with the factory mounting points.
- Secure it with the provided hardware, torquing bolts to spec.
- Reattach your headlight, wiring, and fairing panels.
- Double-check headlight alignment before your next ride.
This job typically takes an experienced rider one to two hours. If you’re not comfortable with fairing removal, a local mechanic can usually handle it quickly since the part itself is a direct bolt-in.
Preventing Future Bracket Damage
A few habits reduce your risk of dealing with this problem again.
Park your bike on stable, level ground whenever possible. Uneven surfaces increase tip-over risk, which is one of the most common causes of bracket damage.
Consider frame sliders or crash protection if you ride aggressively or track your bike. These absorb impact before it reaches structural parts like your fairing stay.
Inspect your fairing mounting points during regular maintenance checks, not just after an incident. Catching a hairline crack early saves you from a full failure down the road.

Shop Ducati Panigale V2 Parts
If you’re already replacing your headlight bracket, it’s worth checking the rest of your fairing hardware for wear at the same time. Aliwheels carries fitment-matched parts for your model in the Ducati motorcycle parts category, helping you avoid the guesswork that comes with sourcing V2-specific components.
Conclusion
A broken headlight bracket on your Panigale V2 isn’t just a cosmetic annoyance. It affects the structural stability of your entire front fairing assembly. Between the confusing V2 versus V4 compatibility issue and the steep OEM pricing, it’s easy to feel stuck. But once you know what to look for and where to source a properly fitted replacement, this fix is straightforward.
Inspect your bracket, confirm your fitment before buying, and get it replaced before a small crack turns into a bigger problem on the road.