")


Upgrading motorcycle indicators is one of the most common mods riders make. Smaller signals clean up the look. Brighter LEDs improve visibility. Sequential indicators add a modern touch. But many riders hesitate for one reason they do not want to cut factory wiring.
That hesitation is justified. Cutting wires can lead to electrical issues, voided warranties, poor connections, and hours of troubleshooting later. The good news is that installing aftermarket indicators without cutting a single factory wire is not only possible, it is often the smarter long-term approach.
This guide breaks down how riders actually do it, what parts matter, and where most people go wrong.
Why cutting wires causes problems later
Factory wiring looms are designed to be sealed, strain-relieved, and weather resistant. Once you cut into them, several things change.
First, you introduce potential failure points. Crimp connectors, cheap solder jobs, or exposed joints do not age well under vibration and moisture. Second, resale value drops. Many buyers and dealers spot modified wiring instantly. Third, troubleshooting becomes harder. Electrical issues become guesswork once the original harness is altered.
Riders who regret indicator installs almost always regret the wiring, not the indicators themselves.
The key principle: adapt the indicator, not the bike
The cleanest installs follow one simple rule. Never modify the motorcycle harness. Modify the accessory side instead.
Modern motorcycles use standardized connectors more often than riders realize. Manufacturers may change pin layouts, but the connectors themselves are often shared across model years and even brands.
That is where plug-and-play solutions come in.
Use model-specific indicator adapters
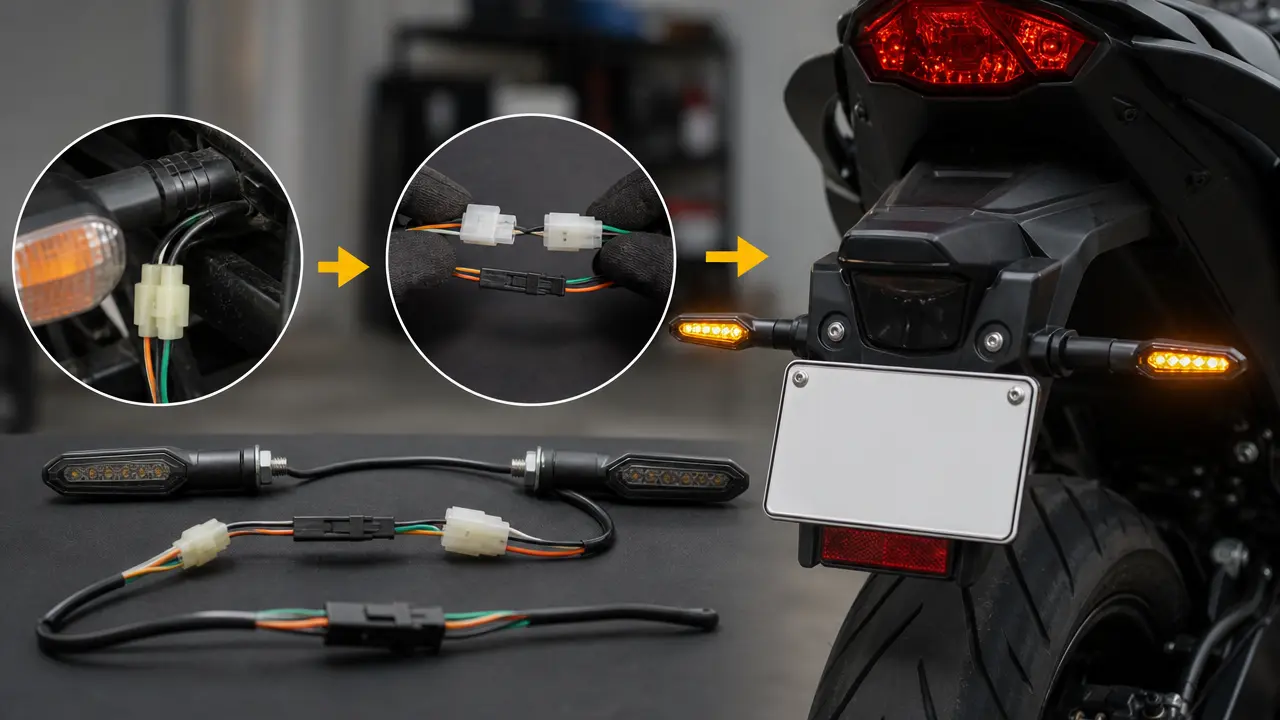
The easiest and safest way to install aftermarket indicators without cutting wires is to use indicator adapter cables.
These short harnesses plug directly into the factory indicator connector on one end and provide bare leads or standardized bullet connectors on the other. You connect your new indicators to the adapter, not the bike.
If you ever want to return to stock, you simply unplug the adapter.
Many riders search for indicator wiring adapters by brand and model because fitment matters. A Honda adapter will not necessarily fit a Yamaha or KTM. Using the correct adapter preserves factory polarity, connector seals, and wire routing.
LED indicators and resistor confusion
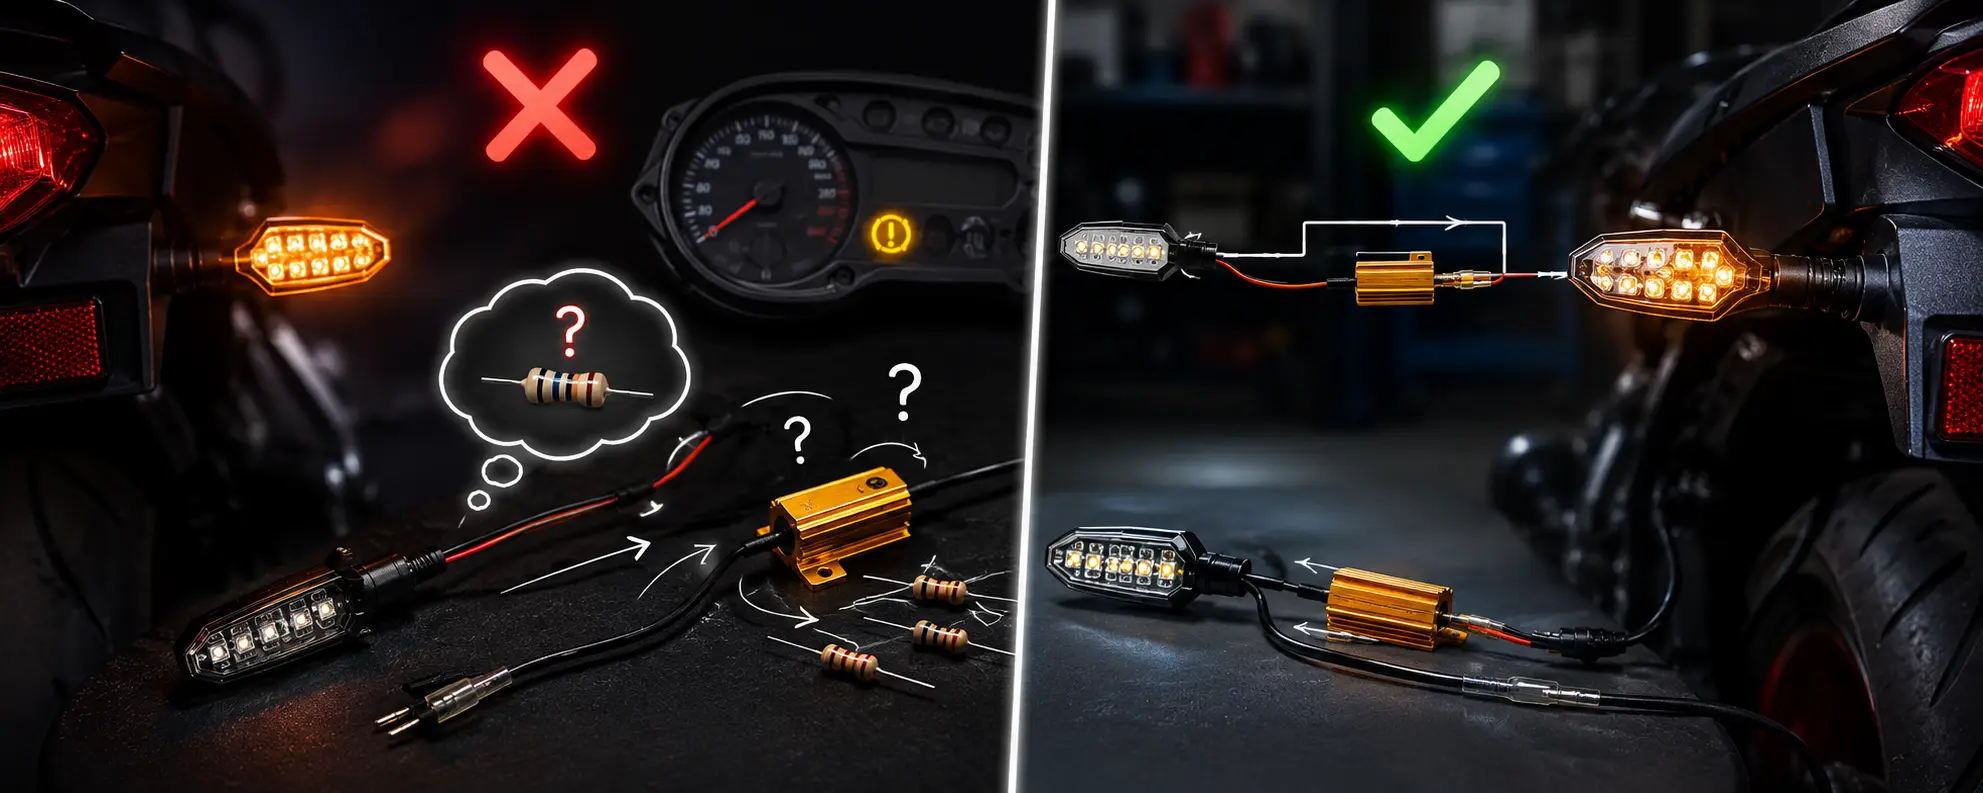
One of the biggest issues riders run into after installing aftermarket indicators is fast blinking, often called hyperflash.
This happens because LED indicators draw far less current than incandescent bulbs. The bike thinks a bulb has failed and speeds up the flash rate.
The mistake many riders make is splicing resistors directly into the factory wiring. That defeats the entire goal of a clean install.
Instead, resistors should be installed inline on the adapter harness or mounted using dedicated resistor plug kits. Some modern bikes allow indicator settings to be adjusted electronically, eliminating the need for resistors entirely.
If your bike supports ECU-based indicator configuration, that is always the cleanest solution.
OEM-style connectors are worth it
Cheap aftermarket indicators often come with bare wires only. That does not mean you have to cut factory wiring to use them.
OEM-style connectors are widely available and can be crimped onto the indicator leads. Once installed, your aftermarket indicators plug in exactly like factory parts.
This approach takes slightly more time, but the result looks factory-correct and holds up better long term. Riders who care about reliability almost always choose proper connectors over quick splices.
Polarity matters more than riders think
Unlike incandescent bulbs, LEDs are polarity-sensitive. If your indicator does not light up, it is usually not defective. The polarity is reversed.
Adapter harnesses prevent this issue because they are wired correctly for your bike. When riders skip adapters and guess polarity, they often end up swapping wires repeatedly or cutting into the loom out of frustration.
Getting polarity right from the start saves time and avoids unnecessary damage.
Weatherproofing is non-negotiable
Motorcycle indicators live in one of the harshest environments on the bike. Rain, heat, vibration, and road grime are constant.
Any connection you make should be weather-sealed. Heat shrink with adhesive lining, OEM connectors with rubber seals, and proper strain relief make a real difference.
Many electrical problems reported by riders months after an install trace back to moisture intrusion at poorly protected connections.
Front vs rear indicator differences
Some bikes use shared grounds for rear indicators or integrate indicators into tail light assemblies. Others run separate grounds for each side.
This matters when installing aftermarket indicators without cutting wires. Adapter harnesses designed for front indicators may not work for the rear and vice versa.
Always confirm whether your bike uses two-wire or three-wire indicators and whether the rear circuit shares a common ground.
Integrated tail lights require extra care
Integrated tail lights combine brake, running, and indicator functions in a single unit. These setups often require signal converters to separate circuits properly.
Cutting wires is especially risky here because mistakes can affect brake light function, not just indicators. Plug-and-play converters and adapters are the only safe approach if you want to avoid electrical headaches.
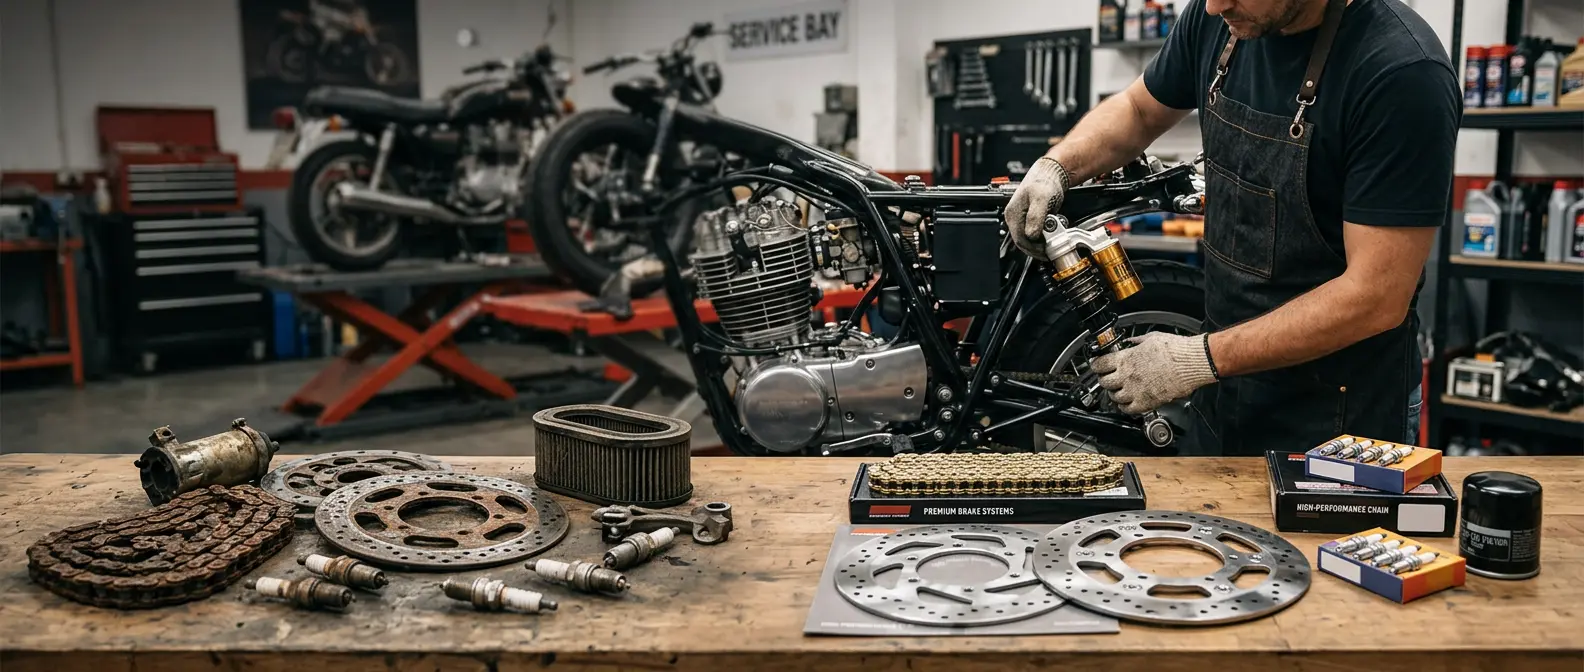
Quality parts reduce long-term issues
Riders who install indicators once and never touch them again usually use higher-quality components from the start. Cheap resistors overheat. Thin wiring breaks internally. Poor connectors loosen over time.
Sourcing reliable indicator adapters, connectors, and electrical accessories from trusted suppliers like Aliwheels helps avoid these problems. Properly matched parts make the difference between a one-hour install and weeks of troubleshooting later.
Common mistakes riders make
The most common mistake is assuming all indicators wire the same way. They do not. Another mistake is grounding LEDs to the frame instead of using the factory ground circuit. This can cause intermittent failures and warning lights.
Rushing the install is another issue. Many wiring problems happen because riders skip testing before reassembling body panels.
How to test before final assembly
Always test indicators before buttoning everything up. Check left and right signals, hazard function if equipped, and brake light interaction on integrated setups.
Turn the bars lock to lock to ensure no wires are stretched. Check that indicators still work with the engine running, not just with ignition on.
These small checks prevent rework later.
Final thoughts
Installing aftermarket indicators without cutting wires is not just possible, it is the correct way to do it. Using adapter harnesses, OEM-style connectors, proper resistors or ECU settings, and weatherproof connections preserves reliability and resale value.
Motorcycle electrical systems are more sensitive than they look. Respecting the factory wiring pays off long after the new indicators stop being the focus.
Do it once, do it cleanly, and your bike will thank you every time you ride.