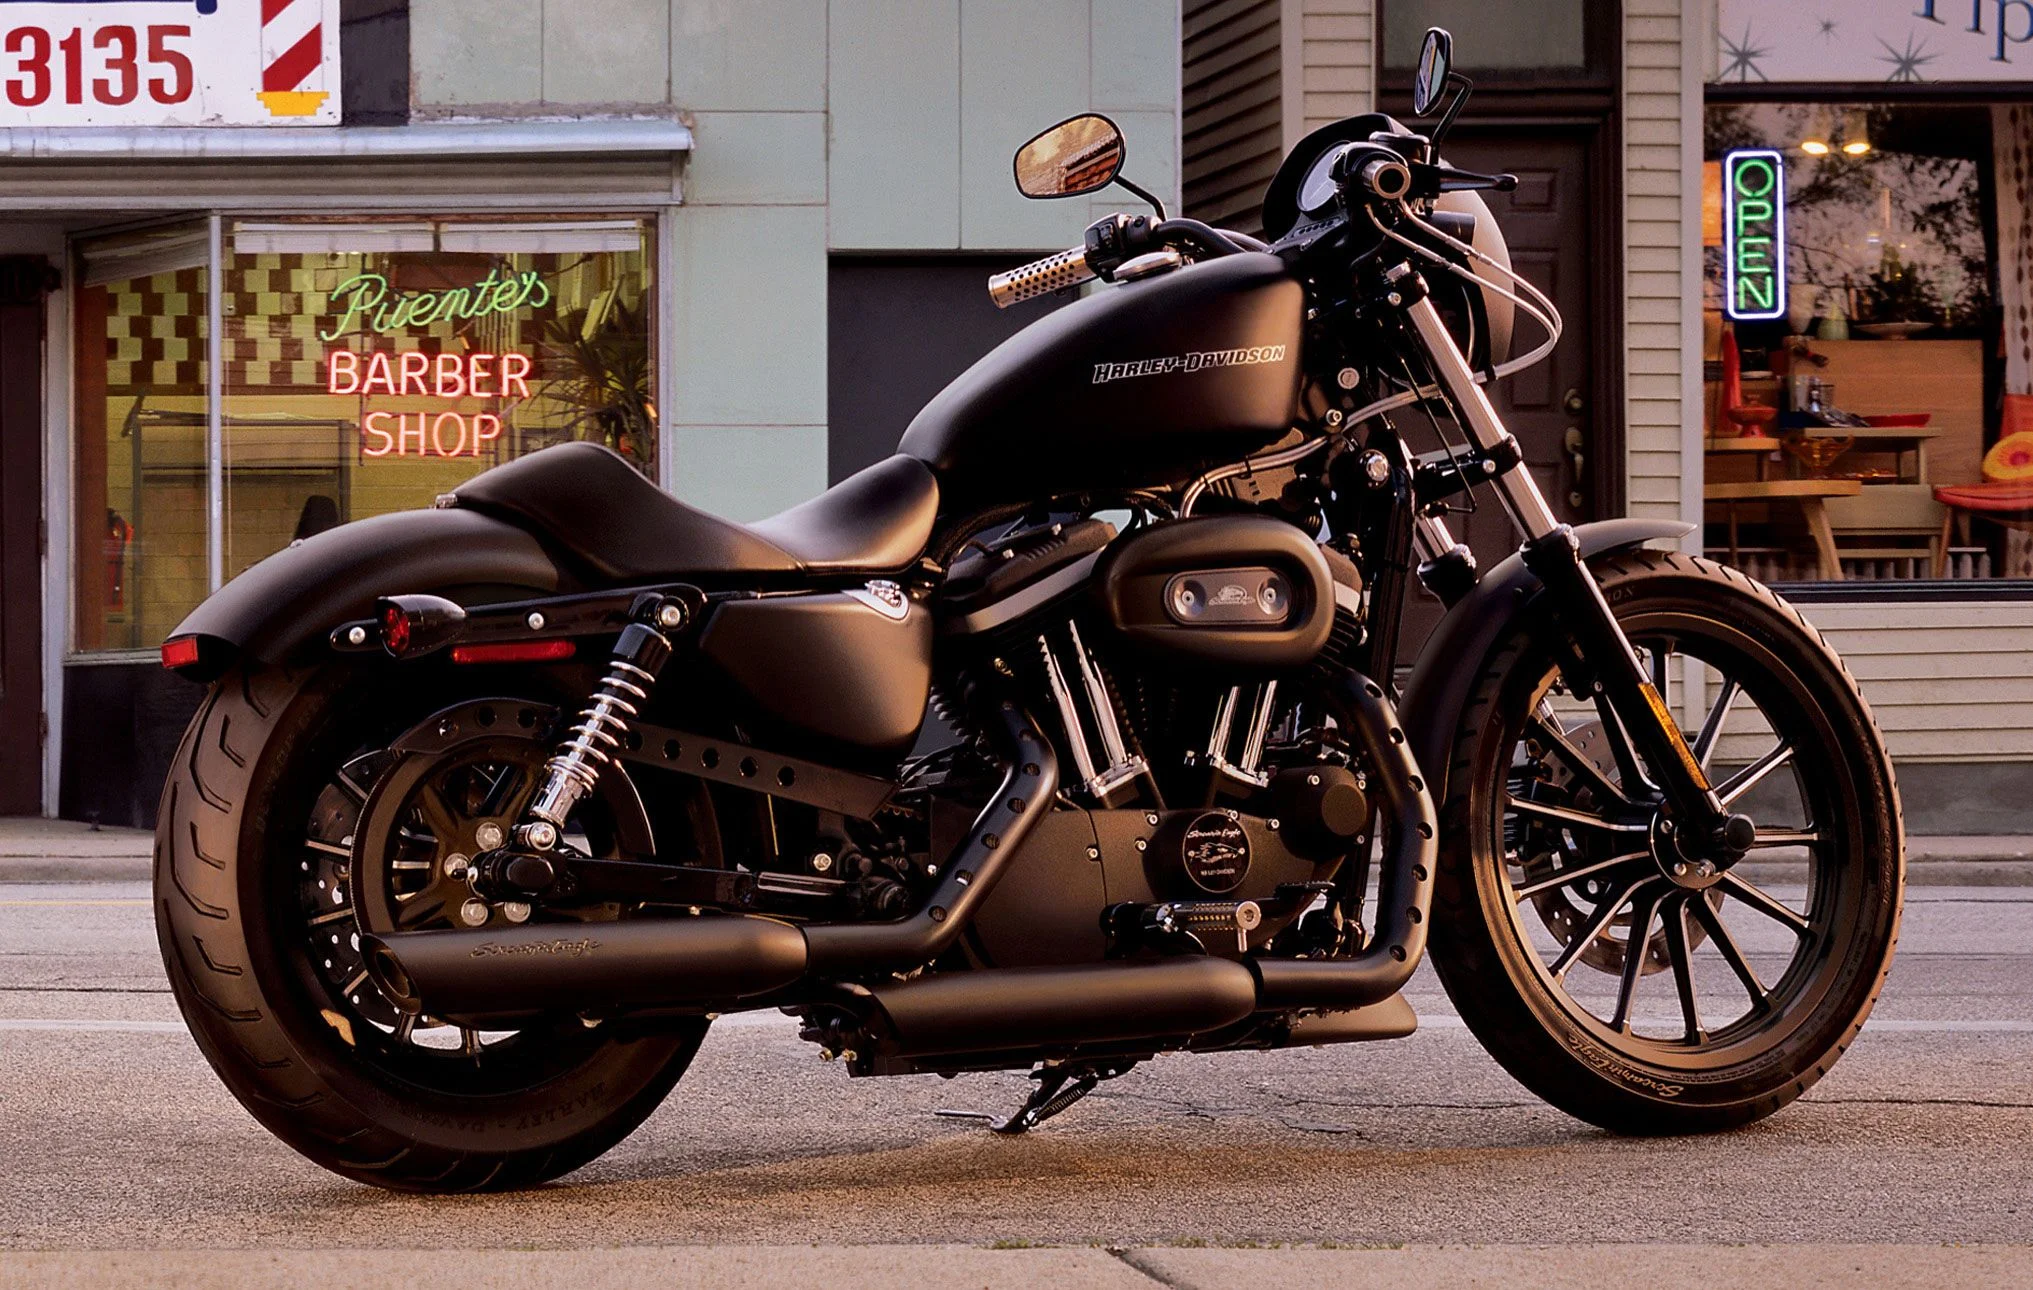




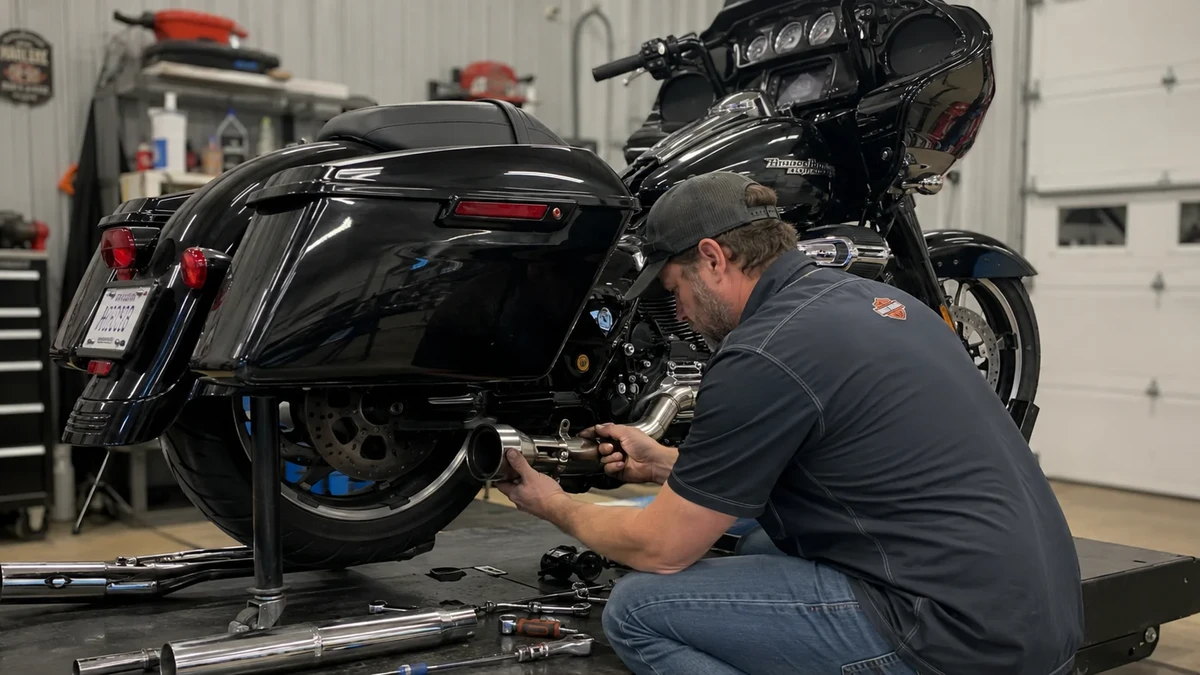

Already picked out your new exhaust? If you found our guide on choosing the right system for your Harley-Davidson Road Glide, this is the next step. Here is exactly how to get it installed the first time correctly.
Tools You Will Need to Install a New Exhaust System:
Gather everything before you begin, since stopping halfway through to find a missing tool wastes time and risks leaving your bike apart longer than necessary.
You will need a torque wrench, a socket set matching your bike’s bolt sizes, a motorcycle stand or lift, penetrating oil for stubborn bolts, and a new gasket kit specific to your exhaust system. Never reuse old gaskets, since they rarely seal a second time properly.
Step One: Let the Bike Cool Completely
Never work on a hot exhaust system. Give your bike at least an hour after your last ride before starting, longer in warm weather. Burns from a hot exhaust happen fast and heal slowly.
Step Two: Secure the Bike on a Stable Stand
Use a motorcycle stand or lift rated for your bike’s weight. Working on an unstable bike risks both injury and damage to your paint and bodywork during the removal process.
Step Three: Remove the Stock Exhaust System
Start by disconnecting any oxygen sensors if your bike has them, since these need careful handling to avoid damaging the wiring. Apply penetrating oil to exhaust mounting bolts if they show any resistance, and give it a few minutes to work before applying force.
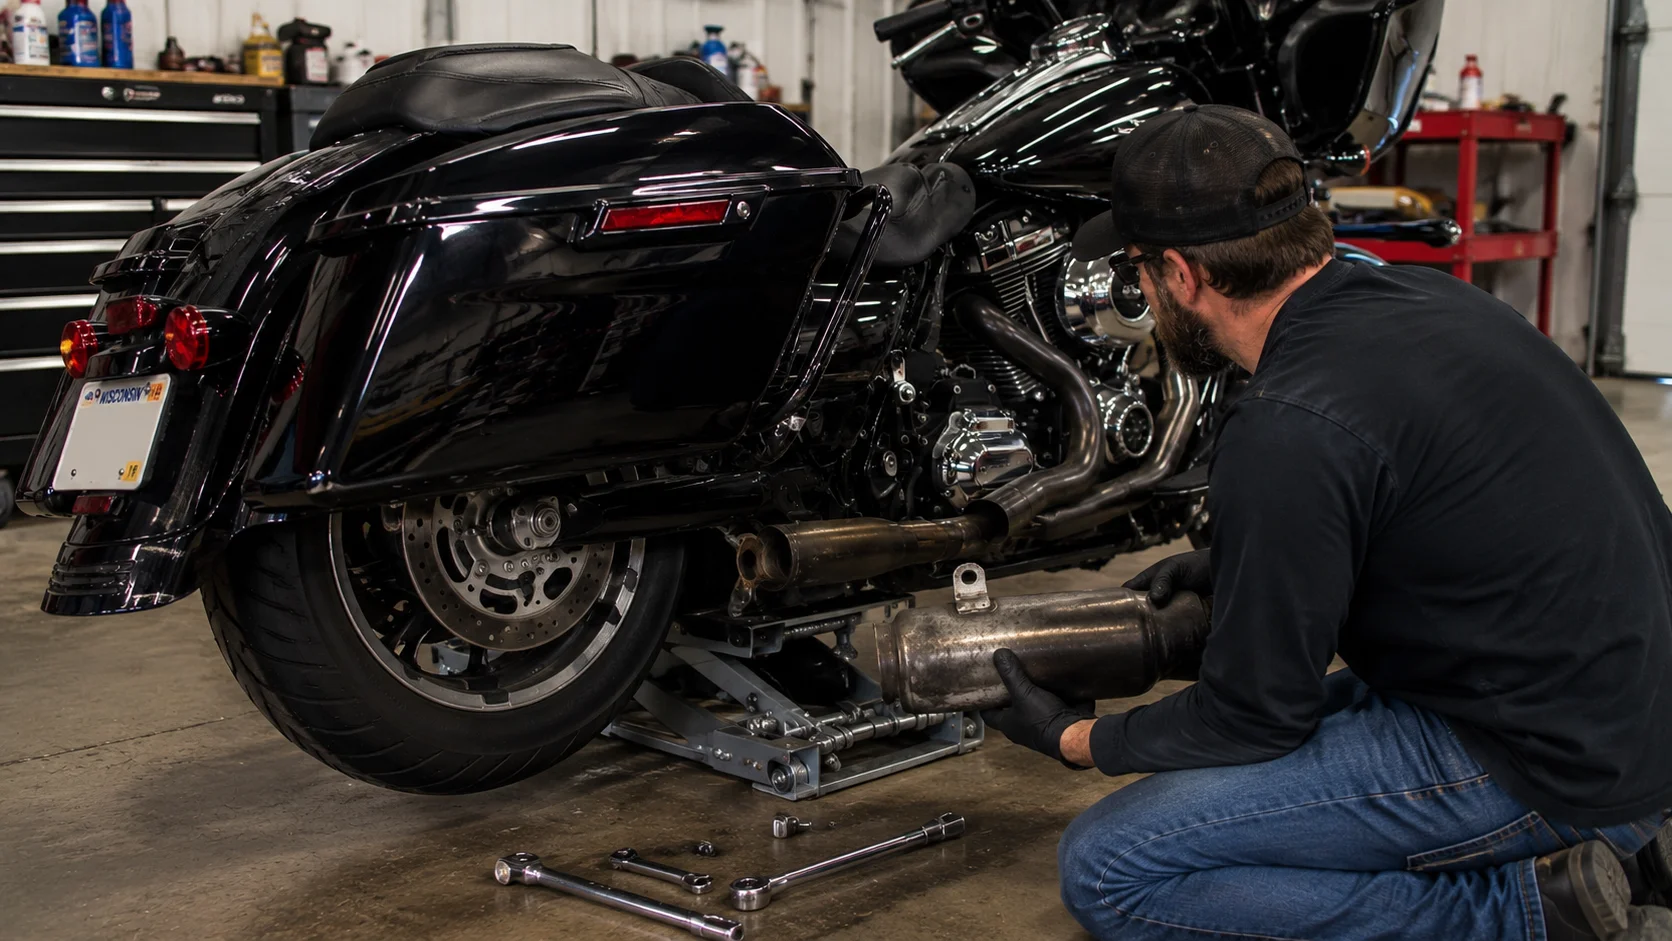
Remove the muffler first, followed by the header pipes. Keep track of any spacers, brackets, or hardware as you go, since you will likely reuse some of these with your new system.
Step Four: Prepare the New Exhaust System
Lay out all components from your new exhaust kit and compare them against the included instructions. Confirm you have every bracket, gasket, and bolt before beginning installation, since missing a single small part partway through creates unnecessary delays.
Step Five: Install New Gaskets and Position the Header Pipes
Always use fresh gaskets at every connection point. Position your header pipes first, hand-tightening bolts initially rather than fully torquing them right away. This lets you adjust alignment slightly before final tightening.
Step Six: Attach the Muffler and Heat Shields
Once your header pipes sit correctly, attach the muffler section and any heat shields included with your kit. Check that heat shields maintain proper clearance from bodywork, saddlebags, and rider footpegs, since improper clearance leads to melted plastic or scorched paint down the road.
Step Seven: Torque Everything to Specification
This step matters more than most riders realize. Under-torqued bolts loosen over time from vibration, leading to exhaust leaks or rattling. Over-torqued bolts can strip threads or crack mounting brackets. Always torque to the specification listed in your exhaust kit’s instructions, working in the sequence recommended by the manufacturer.
Step Eight: Reconnect Sensors and Do a Final Check
Reconnect any oxygen sensors or electrical connections you disconnected earlier. Do a full visual check of every connection point, confirming nothing sits loose or misaligned before starting the engine.
Things You Should Not Do While Installation Procedure
Skipping new gaskets ranks as the most common mistake riders make. Old gaskets rarely seal properly, leading to exhaust leaks and unwanted noise soon after installation.
Rushing the torque sequence causes problems too. Tightening bolts fully in random order before checking overall alignment often leads to stress on mounting brackets. Follow the sequence in your instructions instead.
Ignoring heat shield clearance is another frequent issue. Riders sometimes focus purely on the exhaust fitting correctly without checking that heat shields clear saddlebags, floorboards, or wiring harnesses nearby.
Break-In and First Ride
Start your engine and let it idle for a few minutes, listening carefully for any hissing or ticking sounds that indicate a leak at a connection point. Check all fittings again once the exhaust reaches full operating temperature, since metal expands slightly with heat and can reveal a loose connection that felt fine when cold.
Plan to re-torque all fasteners after your first fifty to one hundred miles of riding. Vibration and heat cycling often cause slight loosening during this initial break-in period, and catching it early prevents bigger issues later.
Choosing the Right System for Your Motorcycle
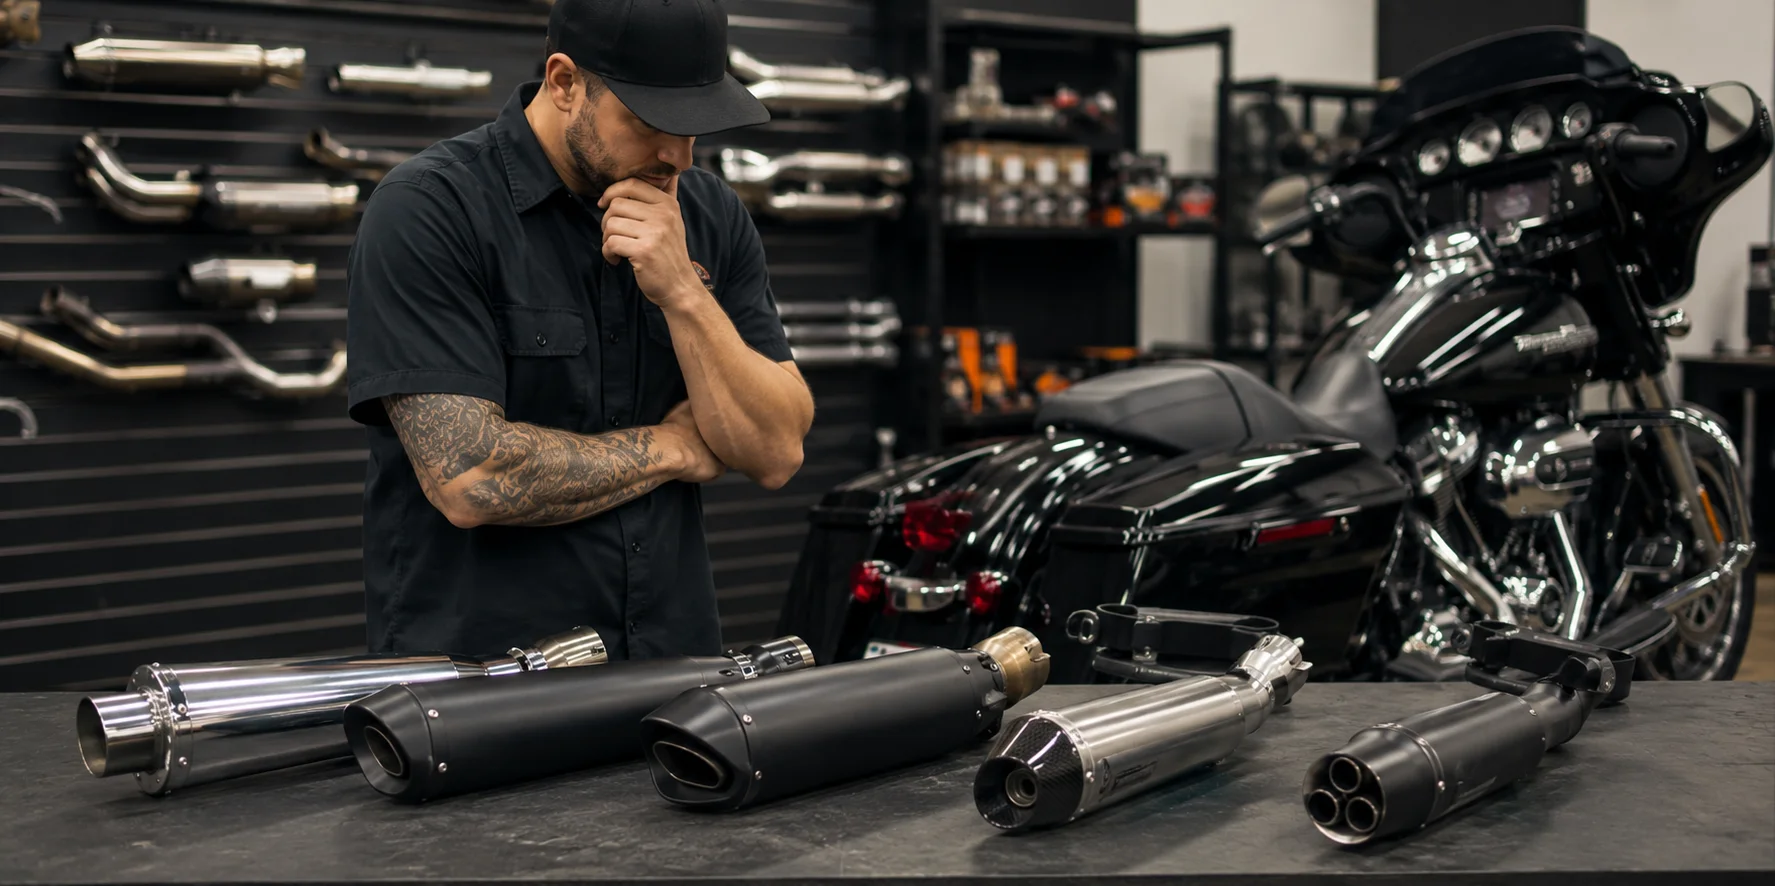
If you have not yet chosen your exhaust system, our guide on choosing the right exhaust for your Harley Davidson Road Glide covers sound, material, and style considerations in detail before you buy.
Once you are ready, browse fitment-verified options like the Harley-Davidson DYNA Super Glide Custom Anniversary FXDC Exhaust Pipes, listed with exact model year and material specifications to remove any fitment guesswork before installation.
Browse Aliwheels‘ full Harley-Davidson Parts for fitment-verified exhaust systems across every touring model.
Frequently Asked Questions
Can I install a new exhaust system myself, or do I need a mechanic?
Most riders comfortable with basic tools can complete this installation at home. If you are unsure about torque specifications or sensor wiring, a professional installation avoids costly mistakes.
Do I need to reprogram my bike’s computer after an exhaust swap?
Some Harley models benefit from a fuel tune or ECU adjustment after a significant exhaust change, especially full systems that alter airflow noticeably. Check your specific exhaust kit’s recommendations.
How long does a typical exhaust installation take?
Most riders complete a full exhaust swap in two to three hours, depending on experience level and whether any bolts require extra effort to remove.