")


9 Steps To Do A Burnout On A Motorcycle
Step 1: Stand Without Putting Pressure On The Tires
Locate a barren location. Put on your helmet and go on your bike.
You must first settle your posture before beginning the burnout. By resting your feet flat on the ground, you may stand straight and upright. You can’t put too much weight or pressure on the bike while standing over it.
The tires will be unable to establish traction as a result of this. Tires aren’t supposed to have much traction. This is due to the fact that during burnout, a motorbike with too much traction accelerates in the forward direction on its own.

Step 2: Start The Motorcycle
You must start the bike by placing the key into the ignition ON mode when you have finished configuring your position. You must keep the motorcycle in neutral gear at all times. Now it’s time to fire up the engine. The motor will now warm up because you inserted the key into the ignition mode.
Before trying a burnout on the motorcycle, it is necessary to warm up the engine. You must keep the engine in neutral gear until it has properly warmed up. The engine must run for at least 5 minutes before attempting a burnout. It must be fully warmed for 5 minutes.

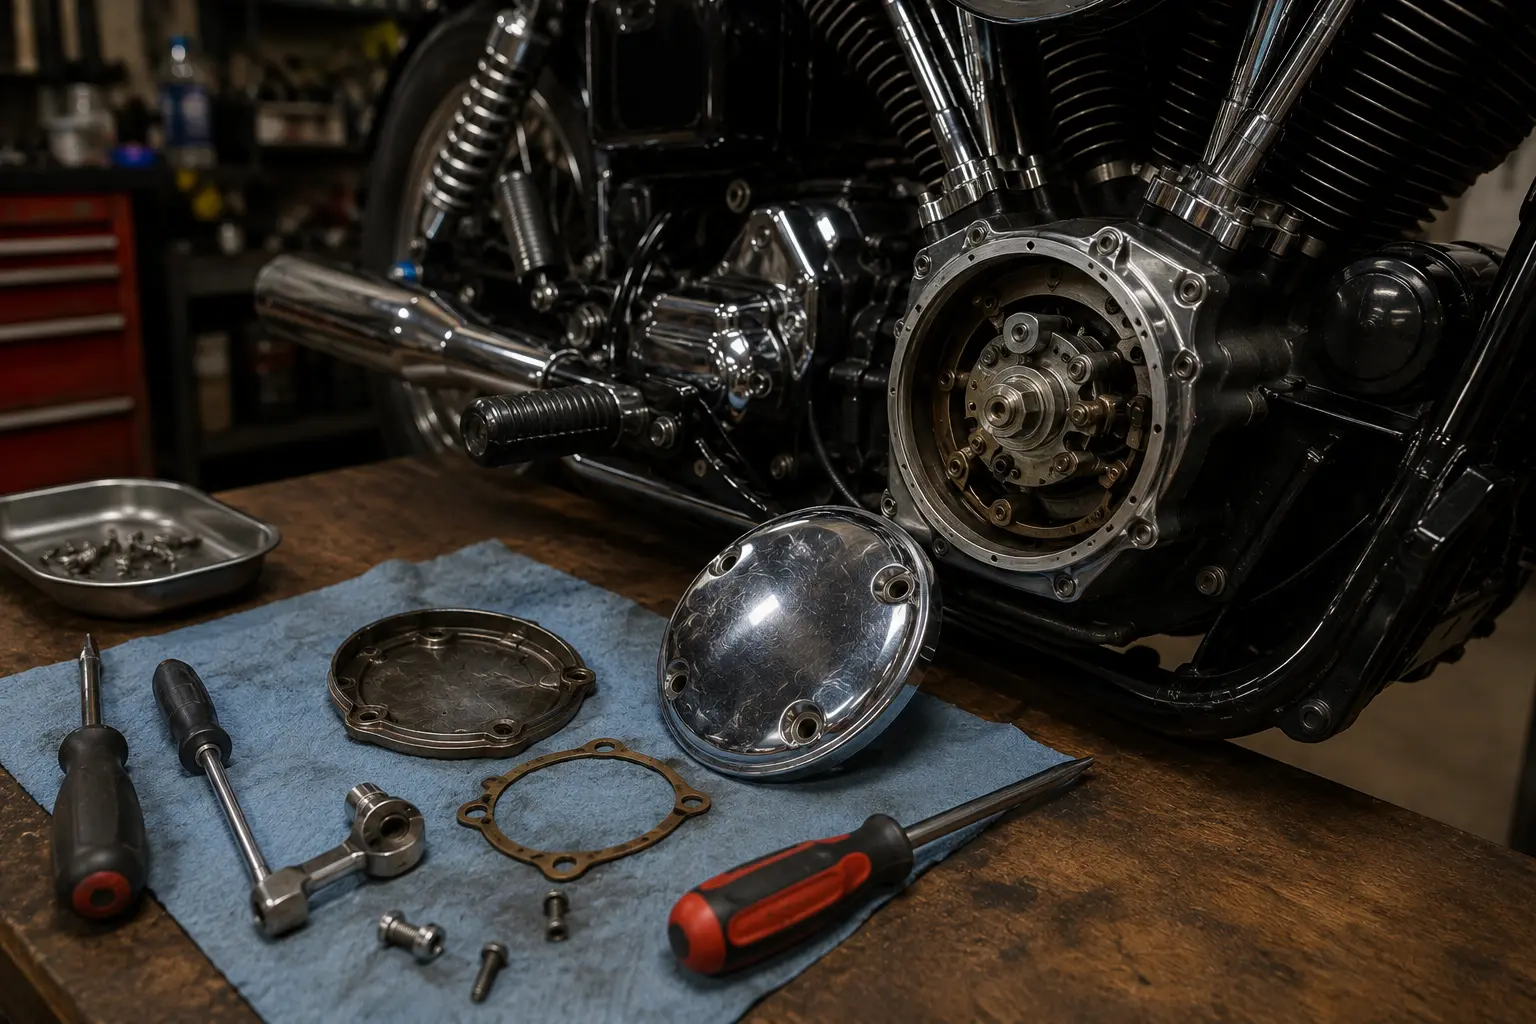
Step 3: Pull The Clutch Lever:
Now you must grasp the clutch lever with four fingers tightly. Then drag it back to the handlebars. The clutch lever can be found on the left handlebars. If your motorcycle’s clutch is located on the right handlebar, you must grab and pull it with four fingers using the same approach.
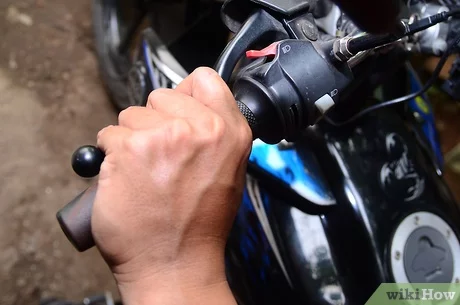
Step 4: Hold The Front Brake
You must now use your fingers to play! Grasp the front brake with your right middle finger. This means that you must use your right hand’s middle finger to engage the front brake. At the same time, you must maintain revving the motorcycle’s engine’s throttle. You can accomplish it by tightly gripping the front brake with your right hand.
We recommend that you only use your right middle finger to pull the brake lever backward. This is because you’ll need the rest of your hand to rev the engine throttle. If your motorcycle’s throttle is on the left side, however, you should use your left middle finger to squeeze the brake lever.

Step 5: Shift The Motorcycle Into First Gear
You must transfer the motorcycle into first gear at this point. You can do this by using your foot to click the gear shift pedal. To keep the motorcycle from moving into gear, you must engage the clutch with your left hand.
Step 6: Rev Up The Engine
Presently it’s an ideal opportunity to rush the motor by firing up it. There is a red line set on the measuring meter. You need to fire up the motor until the bolt arrives at a point that is somewhere around 75% near the red line.
You can do as such by turning the choke down utilizing the right hand. At the same time, you need to watch out for the RPM (reiterations each moment) measure and check to assume the bolt has arrived where it ought to.
You should begin firing up the bicycle’s motor at a low speed. Or, more than likely the motor may be in gear mode and it might begin moving without help from anyone else, which can prompt a mishap. Additionally, you need to recollect heating up the motor prior to placing it into gear with the goal that the tire can turn fast to get some foothold.

Step 7: Slightly Bend Your Posture In The Forward Direction
You can’t put a lot of weight over the back tire. From now on you should somewhat slender your body forward. Besides, you need to stand stable alongside keeping your feet level.
This will assist you with applying a minimal measure of tension over the back tire. Its vital to put less strain over the back tire or, in all likelihood it might achieve footing and cause a mishap.

Step 8: Release The Clutch:
Presently to do the burnout, you need to relinquish the grip. You don’t need to dial down the grip for withdrawing it. All things considered, let it off by pulling out each of your fingers from the switch for a second.
Thereafter the bicycle’s motor will change into first gear. Alongside that, the back tire will start pivoting and turning quickly. Accordingly, burnout will be made.

Step 9: Conclude The Burnout By Re-engaging The Clutch And Releasing The Throttle
Presently you need to set the choke by pulling out your fingers free from over it. All the while, you need to reconnect the switch of the grasp. That will finish up the burnout. For reconnecting the grip switch, you need to pull the switch with your left hand.
This will prevent the motor from remaining in the initial stuff and shift it into nonpartisan. Thereafter, utilizing your right palm, roll the choke in reverse. In any case, you need to make sure to keep the brake squeezed the whole time. This will make the back tire stop moving, and this will keep the cruiser from speeding up advances.