")


Tired of wrestling your motorcycle onto trailers and beds with wobbly, borrowed ramps that threaten to betray you at any moment? Do you dream of epic loading dock entrances and curb-hopping adventures but lack the proper tools (or budget) to make them happen? Fear not, dear rider! This guide is your ticket to motorcycle ramp independence, built with your own two hands and a thirst for freedom.
Get ready to ditch the dependence and unleash your inner ramp-building badass, because within these pages lies the key to conquering any loading zone, trailer, or curb with custom-crafted confidence. So, grab your tools, dust off your DIY spirit, and prepare to embark on a journey of self-reliance and epic motorcycle entrances. Buckle up,
Why Need Motorcycle Ramps?
Motorcycle ramps are essential tools for various reasons:
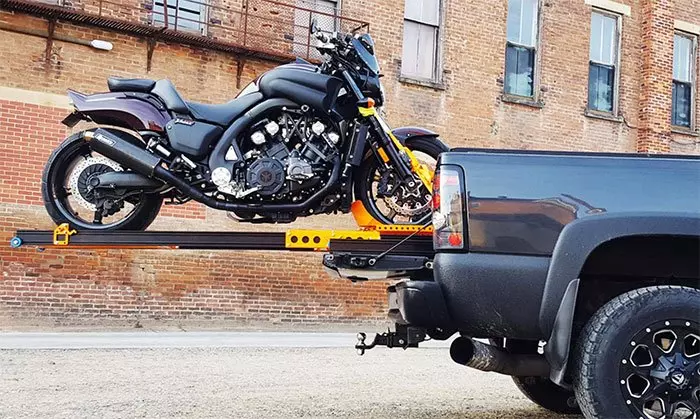
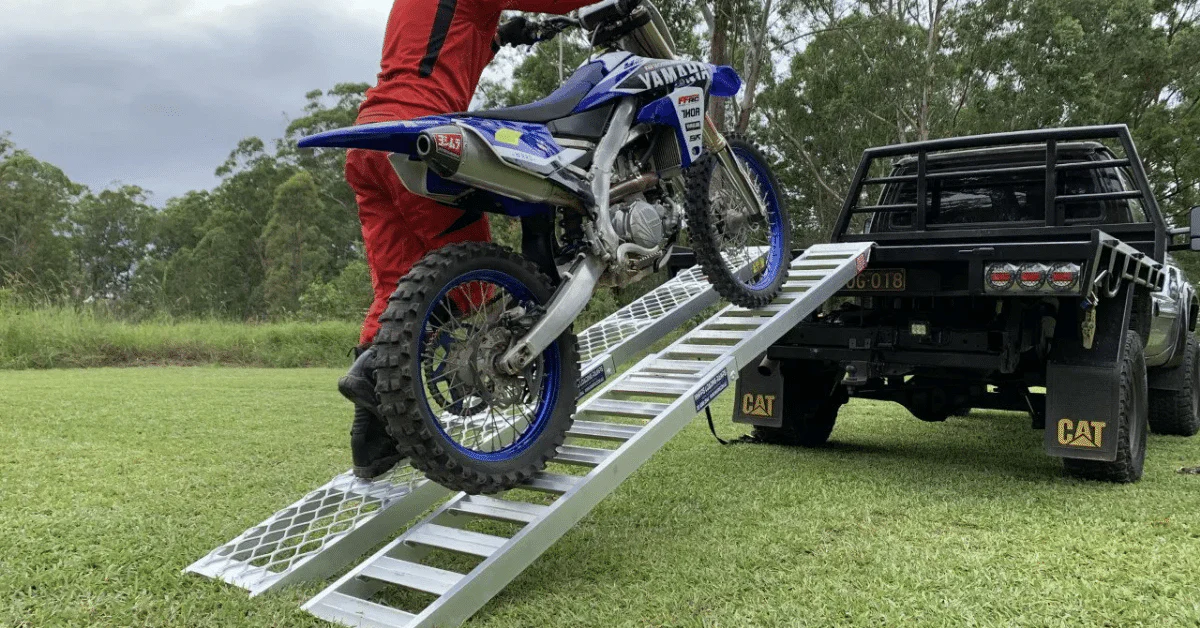
- Loading and Unloading: Motorcycle ramps allow riders to load their bikes onto trailers, trucks, or elevated surfaces safely and efficiently. Without ramps, loading heavy motorcycles onto elevated platforms can be challenging and risky.
- Transport: When transporting motorcycles over long distances or for events, ramps facilitate easy loading and unloading, making the process smoother and quicker.
- Accessibility: Ramps provide accessibility for motorcycles to access raised platforms like stages, displays, or storage areas without the need to lift or carry the bike.
- Maintenance: Motorcycle ramps also come in handy during maintenance tasks, allowing easy access to the underside of the bike for repairs, oil changes, or cleaning.
- Versatility: Ramps are versatile tools that can be used for various types of motorcycles, from heavy cruisers to dirt bikes, ensuring that riders of different kinds of bikes can benefit from them.
Overall, motorcycle ramps are crucial for enhancing safety, convenience, and efficiency in loading, transporting, and maintaining motorcycles.
Materials You Will Need:
- Two 2×8-inch portions of wood (duration depends on the favored ramp period)
- Sandpaper or a hand sander
- Non-slip adhesive tape or spray
- A field of 2½-inch wooden screws
- Metal brackets
- Saw (preferably a round notice)
- Drill
- Measuring tape
- Work gloves
- Safety goggles
Lets Get Started!
Step 1: Planning Your Ramp
Begin with the aid of identifying the period of your motorcycle ramp. Standard ramps vary from 6 to eight toes, but you may need a longer ramp if you’re loading onto a high truck mattress. A gentle slope will make it less complicated to load and sell off your motorcycle.
Step 2: Preparing the Wood
Using a hand sander or sandpaper, ease the whole surface of the 2×8 wooden pieces. This does not most effectively prevent splinters; however, it additionally permits the non-slip tape to adhere higher inside the next steps.
Step 3: Cutting to Length
Cut your wood boards to the preferred period, making sure each portion is equal. If you’re no longer skilled with saws, bear in mind having this completed at a hardware store to ensure precision.
Step 4: Attaching Metal Brackets
To grow the ramp’s stability and cargo-bearing capacity, attach steel brackets at one give up of the timber portions. These brackets will rest on the truck or trailer mattress and offer a stable lip for the ramp. Use your drill and screws to repair the brackets into place firmly.
Step 5: Applying Non-Slip Surface
Safety has to be your top precedence, so applying a non-slip floor to the ramp is essential. Use non-slip adhesive tape or spray to cover one facet of each wooden piece. Cover the entire length and width calmly.
Step 6: Joining the Pieces
Position the timber forums parallel to each other, about the width of your motorcycle’s tires aside. Join them collectively using extra metal brackets or lengthy screws, drilled without delay via one board and into the brink of the alternative to create a unified ramp shape.
Step 7: Testing the Ramp
Now it’s time to test your ramp. Place the metallic bracket cease on the bed of your truck or trailer, and carefully stroll up it to test its stability and power. If the ramp flexes an excessive amount of or feels unstable, you may need to head returned and support it with additional brackets.
Safety Tips and Tricks:
- Always put on gloves and goggles when operating a saw or drill.
- Use the ramp on a stable and stage surface to prevent it from tipping.
- If feasible, have a friend spot you the primary time you use the ramp to load your motorcycle.
- Check the ramp before each use for any signs and symptoms of wear and tear or damage.
- Longer ramps disperse the ramp grade, making loading simpler and safer.
Maintaining Your Ramp:
Regular maintenance will extend the existence of your ramp. Keep it dry to prevent wooden rot, and reapply the non-slip coating as wished. Store it flat and far away from excessive conditions, and periodically take a look at and tighten any unfastened screws or weakened brackets.
In Last!
Building your very own motorcycle ramp is an low priced and straightforward mission which could save you cash and provide you with a custom loading answer. With these step-with the aid of-step instructions, even the ones notably new to woodworking or cunning initiatives can address this DIY with self belief.
A DIY bike ramp no longer most effective meets your precise desires but also offers you the delight of having constructed some thing practical along with your very own palms. Remember, even as DIY projects may be fun, training protection and accuracy is paramount.
Next time you’re trying to transport your bike, do not allow the lack of a ramp gradual you down. With those simple commands, you are ready to construct a customized ramp that would be the final touch of your next proud project. Get equipped to upward thrust to the occasion, one wooden plank at a time!