


If you’re conducting a big restoration, customization, or bottom-end work on your motorbike, you’ll need to remove the engine from the frame.

How to Take a Motorcycle Engine out of the Frame
The following are the steps involved in removing a motorbike engine:
1) Completely drain the oil.

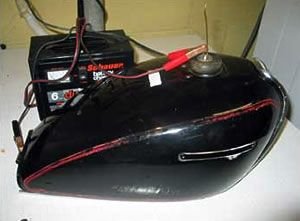
2) Disconnect or remove the battery.

3) Remove the gas tank, ignition coils, and spark plug wires.
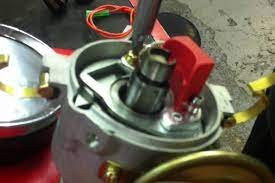
4) Disconnect electronic ignition or points.
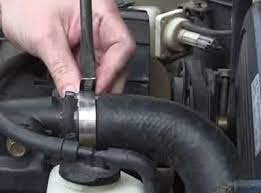
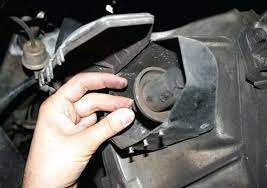
5) Disconnect all hoses connected to the engine.
6) Loosen and disconnect the clutch cable.
7) Remove the airbox and carburetors.

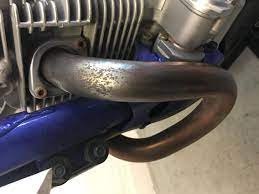
8) Loosen and remove the exhaust headers.
9) Remove the shift lever, brake lever, and foot pegs on some bikes.

10) Begin removing the engine mounting bolts, and keep track of where they go and how they’re assembled.
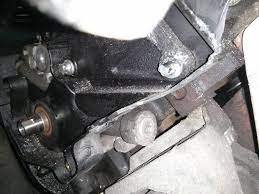
11) Remove the last mounting bolt and you’re ready to remove the engine.

The engine will normally need to be removed and installed from one side of the frame – usually the side opposite the welded-on engine mounts.
As you lift the engine out and over the frame tubes, you may need to slant it slightly. On some motorcycles, laying the bike on its side and lifting the frame over the engine is easier.
If you do this, make careful to support the engine with some wood blocks.
When removing the engine from the frame, having an extra pair of hands might be really beneficial.
When you’re ready to put the engine back in the frame, reverse the disassembly order.
How to Clean Motorcycle Engine Fins
It’s an excellent time to clean the cylinder head fins and the bottom of the crankcase while the engine is removed and dismantled.
Getting into the nooks and crannies of the engine is a key component of a clean motorcycle if you’re going for a restored bike that appears like new.
When everything has been removed and the cases and covers are entirely empty, the outside of the engine is the easiest to clean.
Grease, grit, and road filth commonly accumulate on the engine fins and crankcase bottom. It becomes more difficult to remove over time as it heats up, cures, and builds up more.
To clean the engine’s fins, covers, and crankcases, follow these steps:
1) Apply some degreaser to break down the grime.

2) Use soft wire or nylon brushes to get into the corners and between the fins, and scrub.

3) A medium to high-grit sandpaper can be used as well.

4) Use dental picks or pipe cleaners to get into hard-to-reach places.

You might use a power washer or media blasting to clean the engine before repainting it. Just make sure nothing gets stuck in the oil passageways or on the mars and gasket mating surfaces.