
You’ve got your new motorcycle tank protector. Now you’re thinking about how to fix it.
Don’t worry. This is one of the easiest tasks. However, there is a proper and an improper way.
Do it right, and it looks factory-fitted. It protects your tank perfectly. It stays in place for years. Rush it or skip a step and you end up with bubbles, lifting edges, or worse. A protector that peels off and scratches the very surface it was supposed to protect.
Let’s take it for a walk together then.
Before you get started, you will need the following:
First things first. Compile all of them first. Stopping halfway to find something always leads to mistakes.
Your motorcycle tank protector, a clean microfiber cloth, isopropyl alcohol, a plastic squeegee or an old credit card wrapped in soft cloth, a spray bottle filled with water and a drop of dish soap, and a hair dryer on a low setting. That’s it.
That last one sounds surprising. But heat helps the protector conform to curved tank surfaces. More on that in a moment.
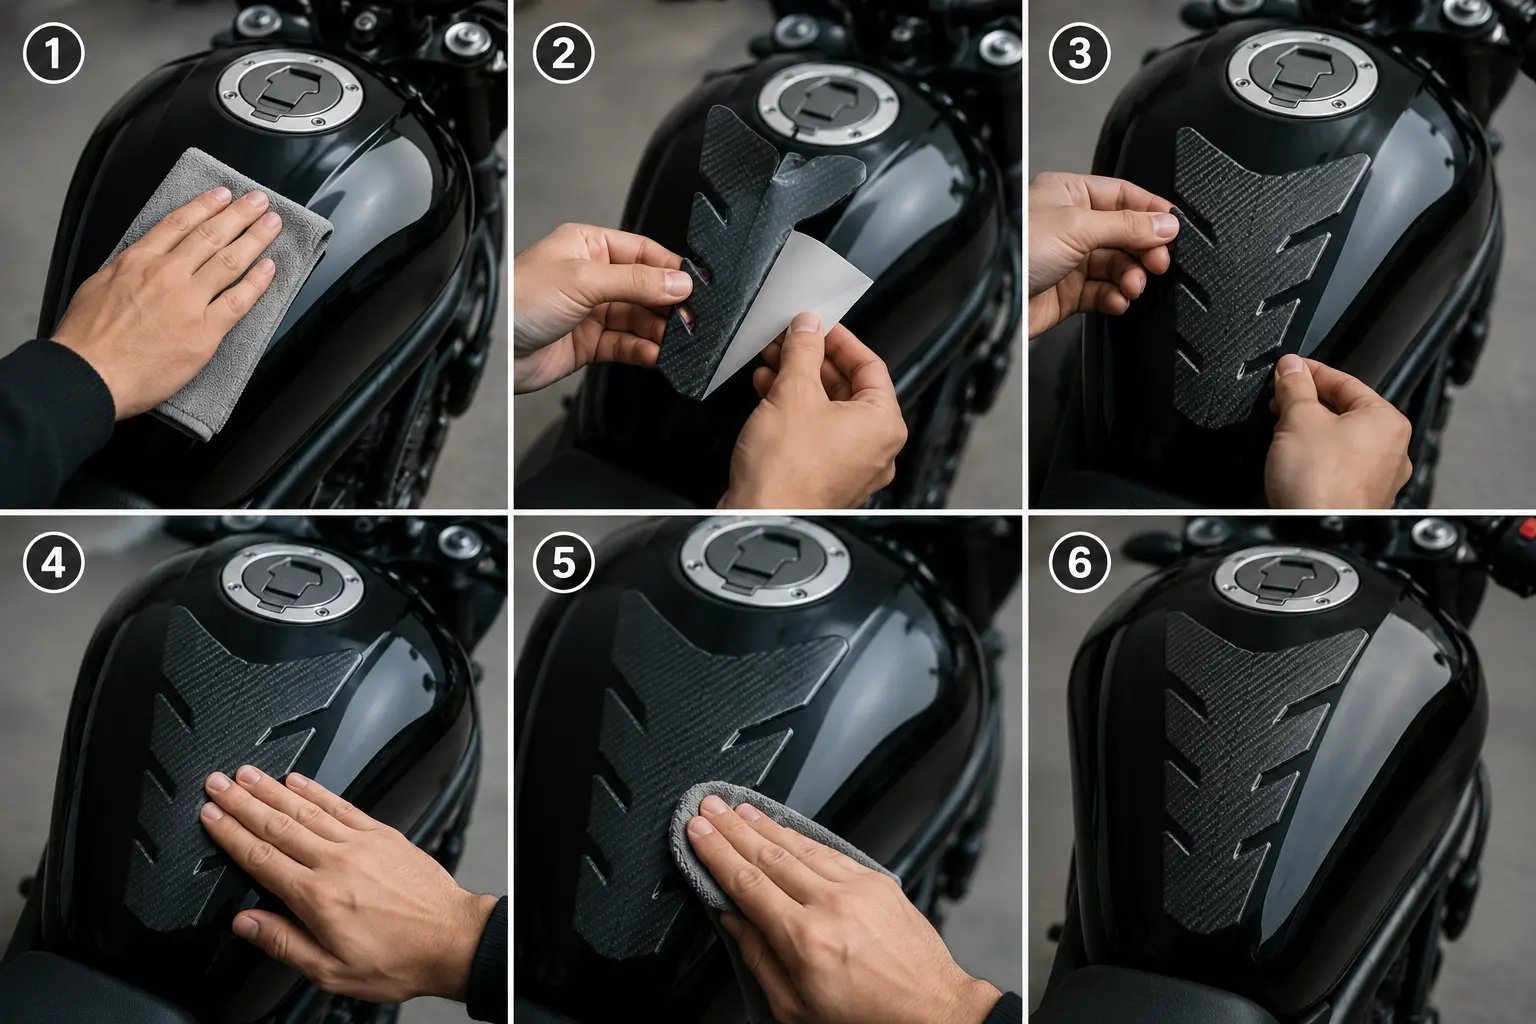
Step 1: Clean the Tank Surface Thoroughly
This step is the most critical one. It’s also the one that they tend to skim over when they’re in a rush. So enjoy yourself here.
First clean the tank with warm soapy water. Remove any surface dirt, dust, and road grime. Rinse thoroughly and use a dry microfiber cloth to dry it.
Then, clean the whole area the protector will cover with isopropyl alcohol. This will remove any wax, polish, silicone, or oil that might be on the surface. These cannot be removed by washing.
These residues are invisible, but they do not allow the adhesive to adhere to the tank’s surface.
Use a new piece of cloth for the alcohol wipe. Allow to dry thoroughly before proceeding. After this stage, avoid touching the area that has been cleaned with hands. The surface will be instantly contaminated by skin oils.
Step 2: Test Fit the Protector Without Removing Backing
Do a dry test fit before applying adhesive. Do not remove the backing paper from the protector; press against the tank.
Ensure it is positioned properly. Make sure it reaches the area that you’re covering. Make sure that it doesn’t intersect the tank lines or contours. Commit to memory where the edges are going to be placed.
If your protector has alignment marks and/or a center line guide, use them. When the adhesive is exposed, positioning is an important issue that can cause an awful lot of stress if the head is not in the right position.
Step 3: Use the Wet Application Method for Larger Protectors
With small protectors, you may peel and stick right onto the surface. The wet method provides much greater control wherever the size of the tank pad is larger.
Spray a thin layer of soapy water on the clean surface of your container. This slightly decreases the adhesion so that the protector can be slid in place. Avoid flooding the surface. Just a light mist.
Remove protector from backing paper. Lightly spray the adhesive side with the same solution. You can now mount it on the tank and maneuver it until it’s exactly where you want it to be.
When you feel that’s the right position, begin to press inwards from the middle. Use any squeegee or wrapped credit card. Work hard and methodically from centre to edges.
The soapy water will squeeze out from under the edges as you work. Continue to push until the position is correct.
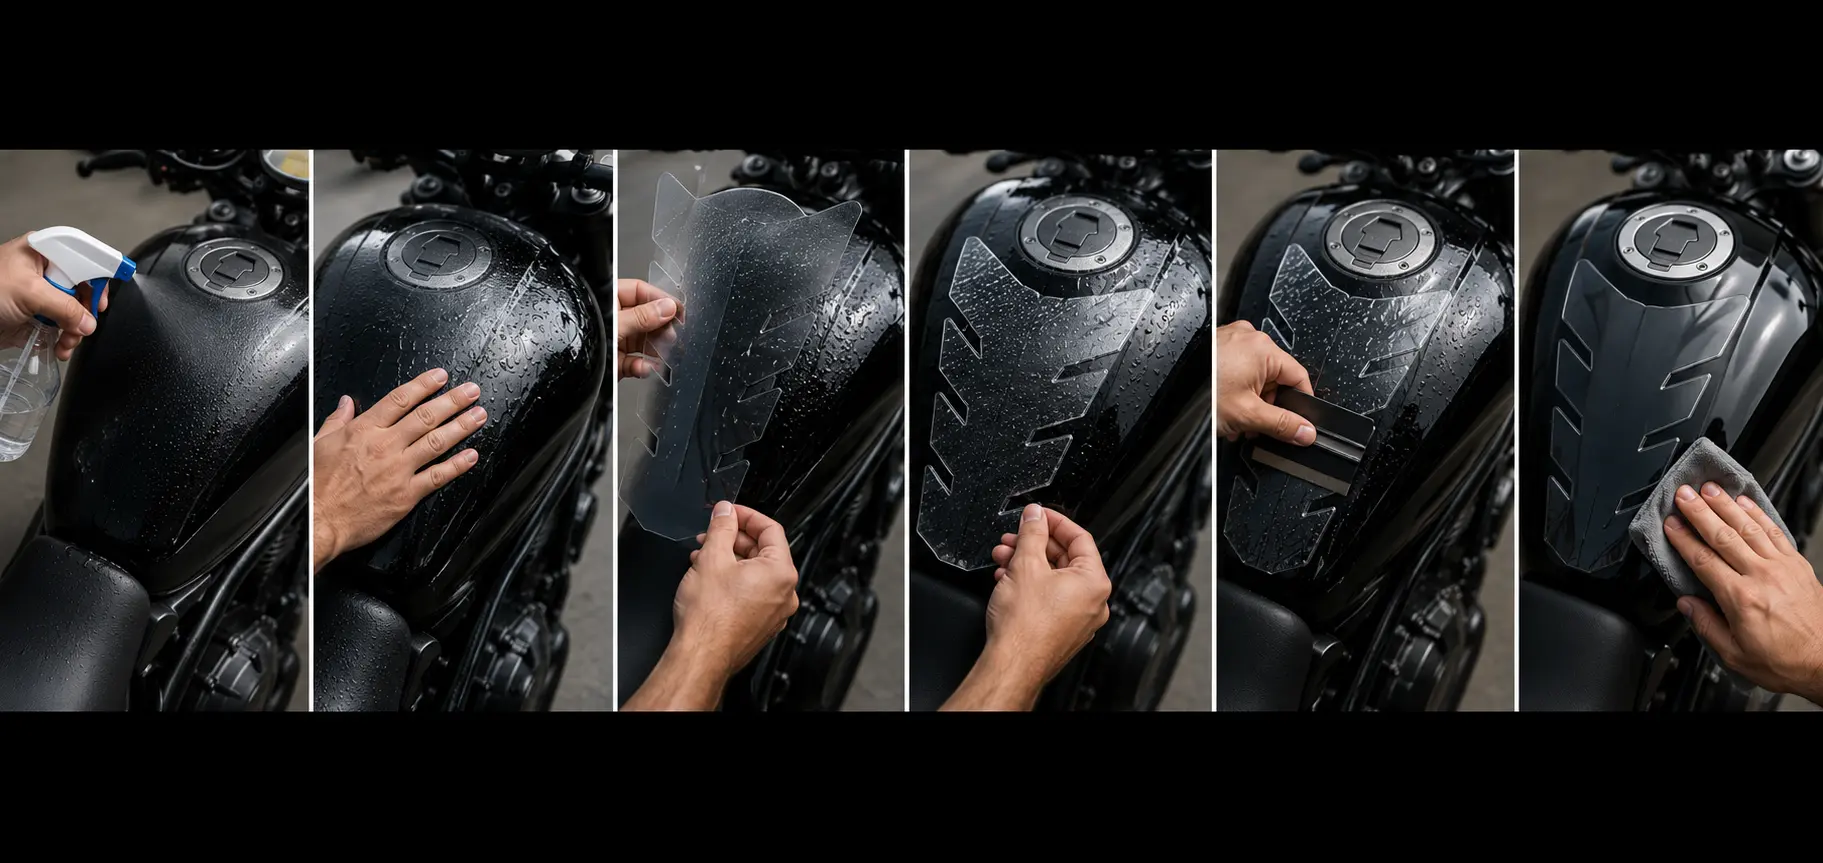
Step 4: Squeeze out All Air and Water
Work slowly here. Begin in the middle of the protector. Make outward firm overlapping strokes.
The water will appear and any small air bubbles pushing out towards the edges. Continue stirring until all the bubbles have disappeared.
Take special note of the corners and edges. These areas tend to rise up if not firmly pressed down. Apply more pressure and ensure that the adhesive is applied to the tank surface to the edge of the protector.
If a small bubble is still left and you can’t squeeze it out, it’s normally a small pinhole that will be filled with a fine needle and flattening the surface.
Step 5: Use Heat for Curved Surfaces
The vast majority of motorcycle fuel tanks are curved. They require a bit of help to get a flat protector to match them perfectly.
This is where your hair dryer will come in handy. Cook on low or medium heat. Keep it about 15-20cm away from the surface. Gently heat the protector for 20 to 30 seconds at a time.
The material will become more bendy as it warms up. Easy to press in curved areas. Use it when it is warm, and hurry. Squeeze or finger it to the shape of the tank.
Avoid overheating it. Excessive heat may cause the material to stretch or warp. Use a low heat and work in short bursts.
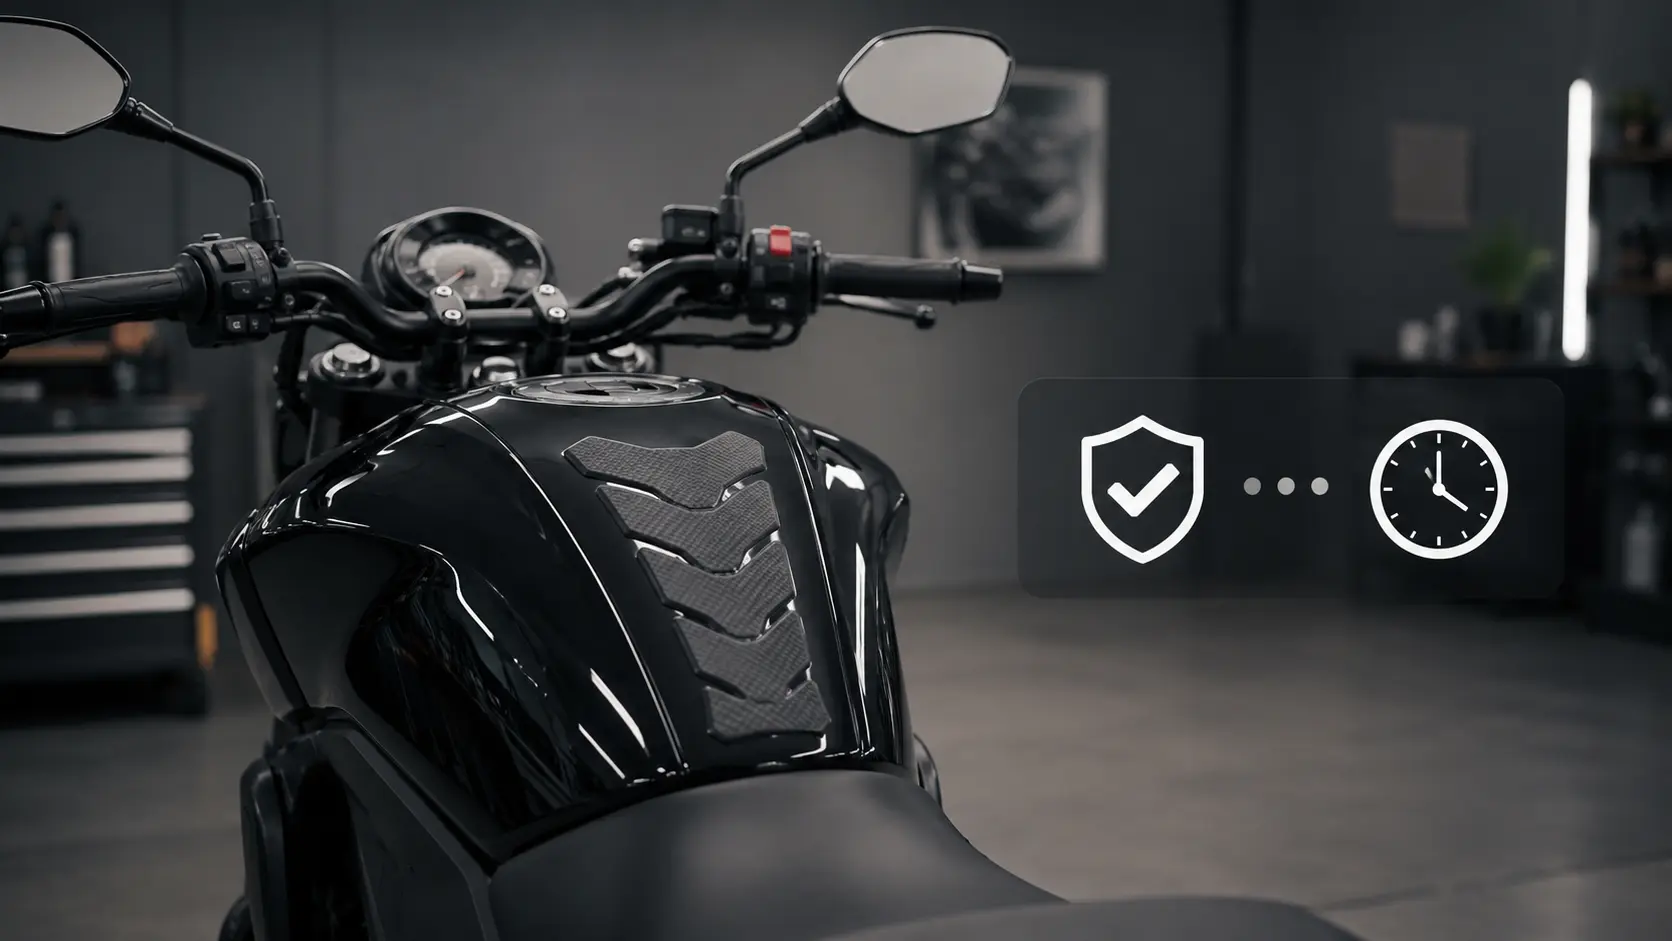
Step 6: Allow it to cure well.
When you are satisfied with the fit, you don’t want to test the edges. Never peel it up to see what is underneath. Allow it to sit for 24 hours or longer prior to riding.
For this period the adhesive is completely attached to the tank surface. There can be no bond if there is interference during this time.
Store the bike in a dry place until it is cured. The adhesive cure is significantly reduced by low temperature. When working in the winter, a warm garage is a huge asset.
Run a firm finger along all edges after 24 hours once again. Ensure that the installation is properly bonded.
Caring for Your Tank Protector After Installation
Once fitted and cured, a good tank protector is very low maintenance. Clean it with the same products you use on the rest of the tank. Avoid harsh solvents directly on the edges.
If an edge starts to lift after some time, a small amount of contact adhesive applied carefully under the lifted section helps. Press firmly for a few minutes. This usually fixes it before the lift gets larger.
Quality motorcycle tank protectors by Aliwheels are made from good materials and last for years when fitted and maintained correctly. They protect your tank’s paint from knee abrasion, jacket rub, and fuel spills.
That protection is worth far more than the cost of the protector itself.
Conclusion
This is genuinely a satisfying job to do yourself. You do not need special skills or expensive tools. You just need patience, a clean surface, and to follow the steps in order.
Take your time on the preparation and the application. The result will look professional and last for years.
FAQ Section
Q: What is the best temperature to install a motorcycle tank protector?
A: Between 15 to 25 degrees Celsius is ideal. Cold temperatures slow down adhesive curing. Warm the tank surface first if you are applying in cold weather.
Q: How long do I need to wait before riding after installing a tank protector?
A: Wait at least 24 hours. Ideally wait overnight. The adhesive needs full time to cure completely before any stress or vibration is applied.
Q: Can I remove a tank protector if I install it wrong?
A: Yes. Use a hair dryer to warm it gently, then carefully peel it off. Clean the remaining adhesive with isopropyl alcohol. Then you can re-apply if needed.
Q: What happens if I do not clean the tank properly before installation?
A: The protector will not bond securely. It will start lifting at the edges within weeks or even days. Cleaning with isopropyl alcohol is not optional.
Q: Can I use a tank protector on a wet tank?
A: No. The tank must be completely dry. Moisture under the protector prevents adhesive bonding. Always let it dry fully after cleaning.