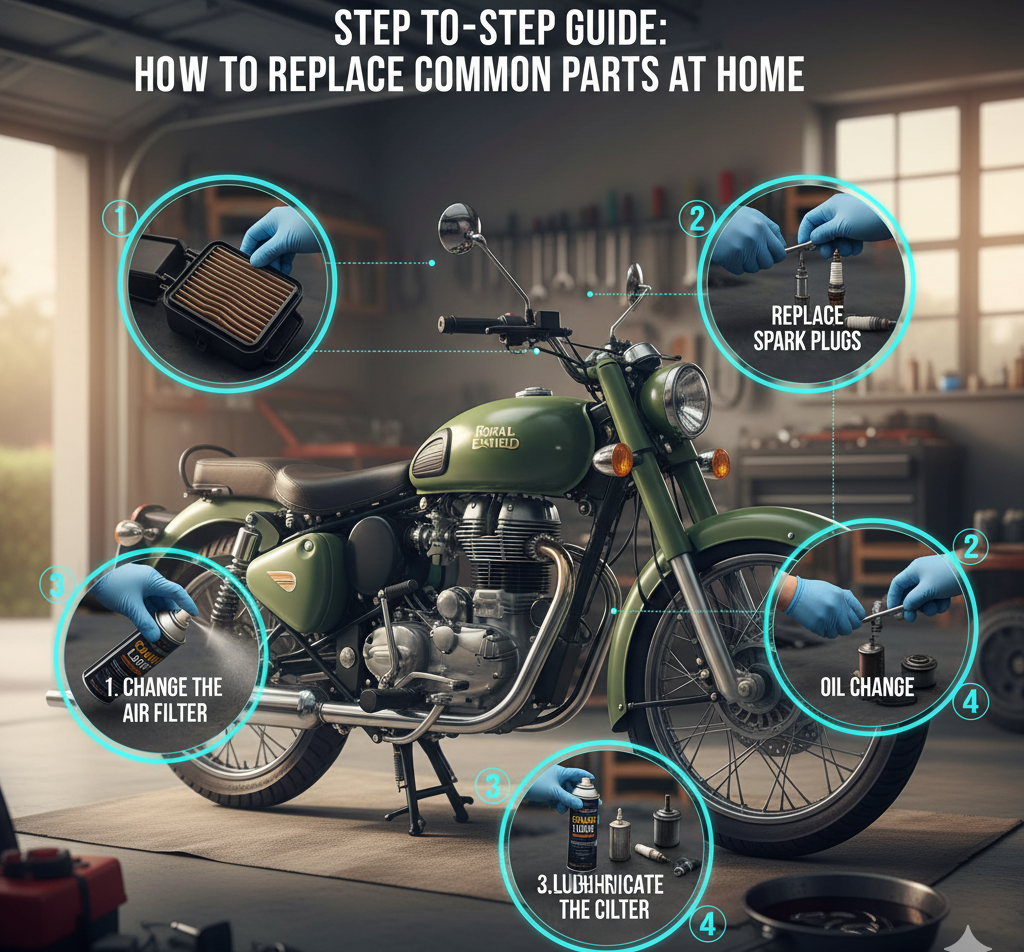

A sense of pride is uniquely different with ownership of your own Royal Enfield. It ties you to the machine and spares you garage fees, and allows you to ensure your classic ride is getting the necessary care. There are certain tasks of pros, yet several frequent manifestations can be solved simply at home. This guide will show you how to replace some major Royal Enfield parts, and you will be confident in basic maintenance. Stabilise and oil your Enfield and make your hands dirty.
Tools and Safety First
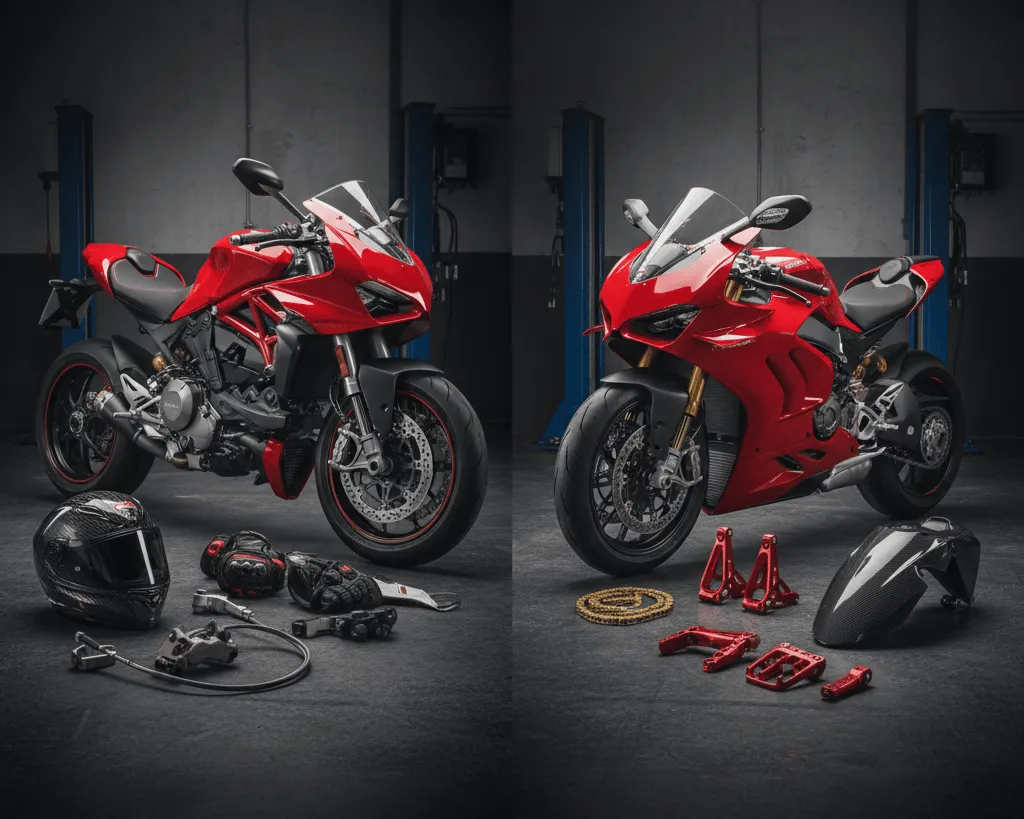
You will need the following tools beforehand: a set of spanners and sockets; a set of flat and Phillips screwdrivers; a tightening torque wrench; and a set of pliers. Work gloves to wipe hands and clean cloths to clean components, also. But first and foremost, safety: never operate on a hot engine, never leave your motorcycle unattended on a centre stand or paddock stand and never leave the battery on when doing any electrical work. Lastly, select good-quality parts. Well-woven or authentic aftermarket Royal Enfield parts from a reputable vendor or business, such as Aliwheels, provide an acceptable fit and extended durability for working.
Replacing the Motorcycle battery
A failing battery would manifest itself in slow cranking, dim headlights being dim or failure of the motorcycle to start.
- Preparation: leave the ignition off. Find the battery, which is often located under the seat.
- Disconnect: Have a spanner and disconnect the negative (black) terminal first, and disconnect the positive (red) terminal afterwards. This averts the unwanted short circuits.
- Take out: Loosen up any bracket with which the battery is attached, and pick up the old battery naturally.
- Install: Installation. The new battery must be installed in the tray, the positive terminal must be connected, then the negative, and both tightened.
Quick Tip: When the battery is out, examine it for white, crusty corrosion on the terminals. Clean with a wire brush. A small bit of petroleum jelly on the terminals helps to prevent future cases of corrosion.
Replacing Spark Plugs
Spark plugs play an important role in starting the engine and the efficiency of combustion. It is an indication of time to change, which is represented by a rough idle or misfiring.
- Locate: To find the spark plug on the cylinder head of the engine. Gently remove the spark plug lead rubber cap.
- Eliminate: To remove, you will be using a spark plug socket and a ratchet. Remove the old plug counter-clockwise.
- Check Gap: Before attaching the new plug, a gap tool is used to adjust the gap of the electrodes to the required specification given in the owner’s manual.
- Install: It is necessary to thread the new plug by hand to prevent cross-threading, then to tighten it down with the socket. Do not over‑tighten.
Quick Tip: Turn in the manufacturer’s checks regularly and replace the spark plugs as recommended by the manufacturer to be fuel-efficient and minimise engine air consumption.

Changing the Air Filter
The first level of defence of your engine is a clean air filter. It makes sure that your engine receives clean air, so that it performs well.
- Location: The Air filter box is present on the side of the motorbike. You might want to take off a side panel or a few screws from the filter cover.
- Dispose of: Find a new dirty filter and replace the old one.
- Install: This is the same as the old style; put the new filter in the same way as the old one. Ensure that the rubber seal remains in place in the box. Refit the cover.
Replacing Brake Pads
Safety is compromised by worn pads on the brakes. Clear warnings are squealing noises or increased brake lever travel.
- Loose Calliper: Find the brake calliper on the disc. Unscrew the pin or the 2 bolts securing it.
- Take the Old Pads out. Slide the old pads out of the calliper bracket.
- Reset Piston: Replace existing pads. Push the calliper piston(s) into their housing before fitting new ones. Apply a C -C-clamp or a flat head screwdriver cautiously.
- Install and Refit: Fit the new pads in. Install the calliper and tighten the bolts up to the given torque.
Replacing the Chain and the Sprockets on the Motorcycle
Loose gearing is known as a shaky means, providing power. Might need to replace both chain and sprockets, in case of a loose rusty chain or hooked teeth on the sprockets.
- Loose Rear Axle: Identify the Rear axle nut. This enables you to roll the wheel as far forward as to loosen the old chain.
- Take away Old Set: Break the master link with a chain tool or a grinder to take away the old chain. Removal of the old sprockets on the wheel and countershaft, which is not bolted.
- Fit New Set: Install the new sprockets, making sure that they are fitted in the right way. Punch holes through them, and fit the new chain inside them, then connect it with a new master link as per the instructions in the kit.
- Adjust Tension: Align the wheel back to the correct (chain slack) (look at your manual). The correct tightness of the axle nut should be re-tightened.
Replacing Headlight Bulbs
Safe night riding cannot be compromised due to a lack of good visibility.
- Get the Bulb: There is a rubber dust cover behind the casing of the headlight. Stake out the bulb holder to remove.
- Disconnect and either: Take out the wiring connector. The spring clip or the retainer ring keeps the bulb in place. Drop it, the old bulb will unscrew.
- Install New Bulb: Gently remove the glass of the new halogen bulb, fit it to the holder and attach it with the clip without any physical contact with it.
Conclusion
It is so powerful to make it your own work to serve your Royal at a bare minimum level. You can save some much-needed money with the correct tools, careful methods, and good value parts of Royal Enfield by Aliwheels. Learn and know your motorcycle, and let your motorcycle always be ready to take you where you want to go. Ride safely and have the pleasure of a job well done.