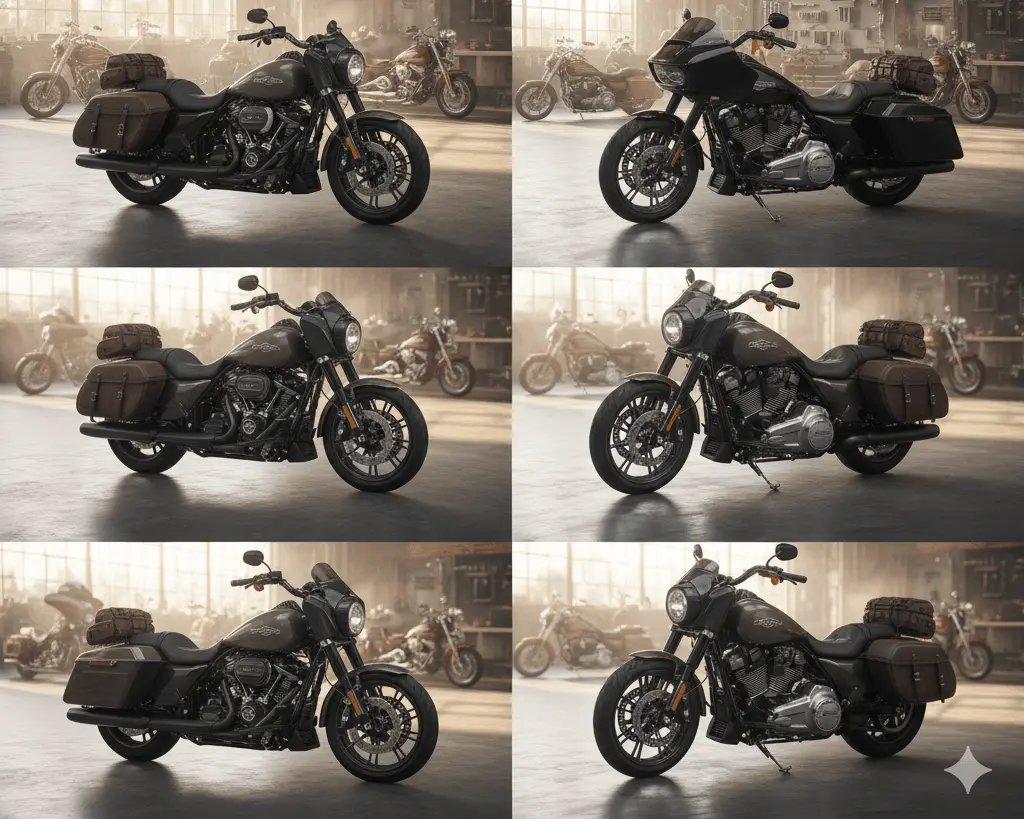

The Suzuki Boulevard C50 Gas Tank Cover 2005-2015 consists of a masterpiece cruiser design, with raw power that creates eternal beauty. This machine has its iconic gas tank at the visual centrality of the machine, something that should be given protection and pride. A gas tank cover is not a fashion accessory. It provides the surest form of protection against scratches, oil leaks and the beat of the sunny sun.
Nevertheless, Improper installation may cause fitment problems, trapped moisture and even create damage to paint. The step-by-step guide will teach you the proper method for attaching a tank cover to your Boulevard C50 to create a perfect, fitting cover that will make your bike look good all the way to the furthest future.
Knowing Your Suzuki Boulevard C50 Gas Tank Design
It is good to know the form of a tank beforehand. The (2005–2015) Boulevard C50 is one of the unique teardrop fuel tanks that have chrome side panels and a middle gauge. The shape of your cover should be exactly that, not cover any gauges or badges.
There are minor model variations in the cosmetics, and thus, the case needed in the 2005-2015 model series is vital. These are made of such materials as sticky leather or abrasion-resistant synthetic vinyl or athletic carbon-fibre replicas. Both of them feature an exclusive combination of style, protection, and feel.
Tools and Materials You Will Require
- Suzuki Boulevard C50 miscellaneous (2005-2015) Suzuki gas tank cover
- Microfiber cloths
- Spray bottle of a small amount of soapy water
- Isopropyl alcohol or an adhesive promoter (to act like adhesive-backed covers)
- Thick paper (to trace the bridge)
- Taping (so the bridge fits in the stylus grooves of a record)
- Hairspray (to stiffen fabric)
- Heat gun or a hair dryer (to mould vinyl)
- A clean, shaded workspace
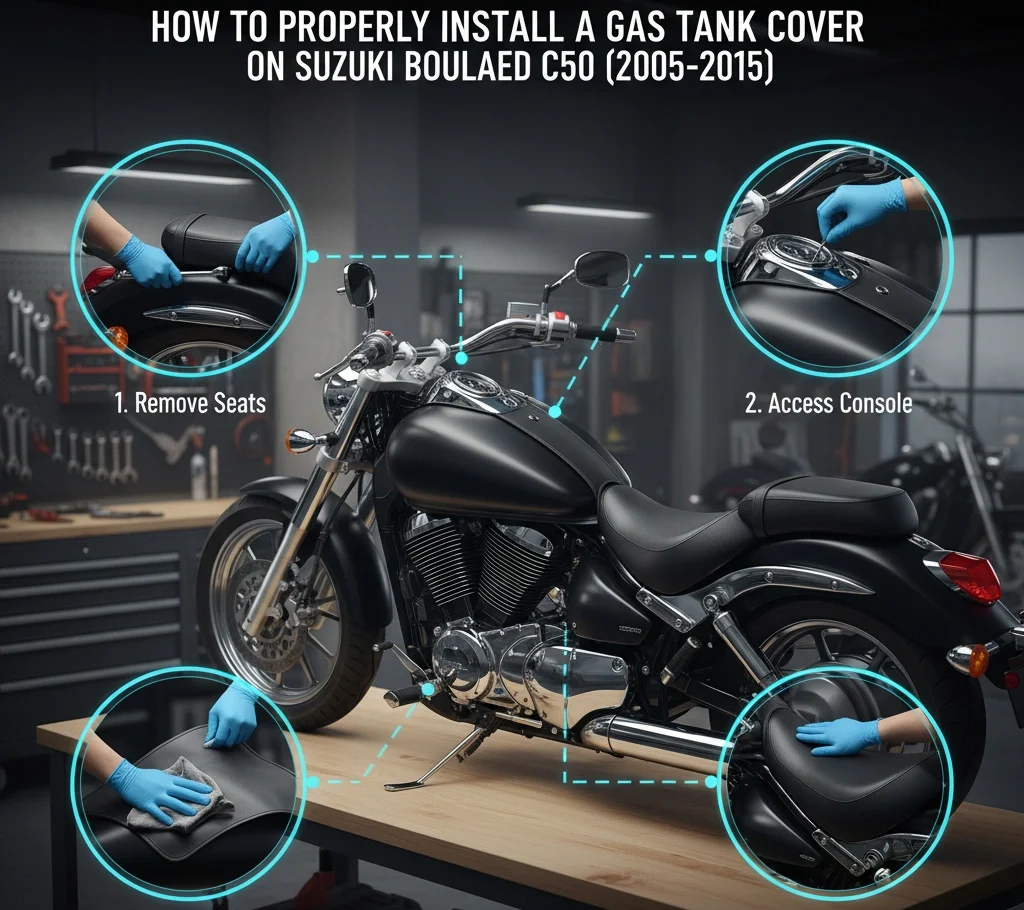
Step 1: Preparation
The preparation involves the cleaning of surfaces before the procedure begins (infection control). This is the most paramount step. A bubble or a scratch can be made when there is a speck of grit.
- Cool Down: Make sure that the tank is cooled in terms of touching it. The metal can swell when subjected to heat and produce changes in the fit.
- Deep Clean: Sprays the inside of the tank using light soapy water, wipes, then dries using a fresh microfiber cloth.
- Final Wipe: put isopropyl alcohol to wipe away invisible wax or oil residue. Let it evaporate fully.
- Protect Surroundings: Apply masking tape over chrome accents around the place to prevent scratches which may be caused accidentally.
Step 2: Positioning and Alignment
Take your time. A few extra minutes at this time saves wrinkles at a later stage.
- Dry Fit: Peel the cover on the top of the tank, keeping the adhesive or straps intact.
- Centre Covers: Get the covers centred so that the hole that holds the fuel cap, the holes where the gauges are, and the badges all lie in line.
- Mark with Tape: David, when you are happy with the cover of the tape, use little pieces of masking tape on the sides of the cover to mark the cover. This will determine the ultimate placement.
- Heat the Material (where necessary): In the case of vinyl covers, one has to heat them a little by using a hair dryer in order to get them to conform better. Don’t overheat.
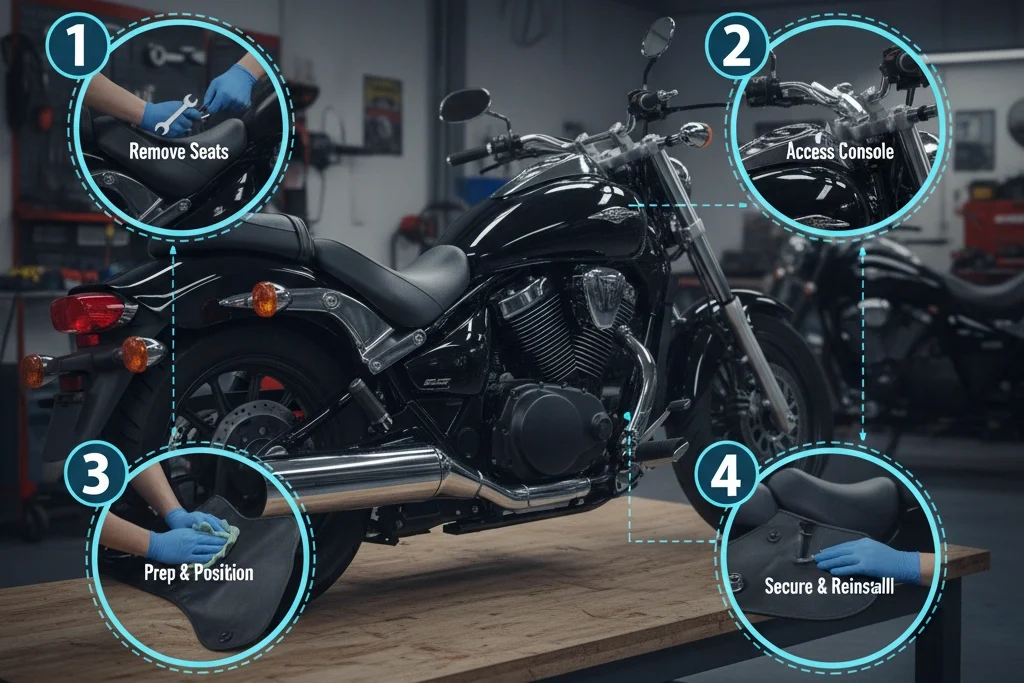
Step 3: Securing the Cover
This approach is based on the type of cover.
- Strap-Style Covers: Keep the straps tight and pull them up slowly on a side-by-side basis. Always maintain straps flat, and do not contact wiring or painted tank surfaces beneath the tank.
- Adhesive-Backed Covers: This is a section of the top centre covered with a peeling of backing. Follow masking-tape guides, and press. Step Ellen worked around by peeling off more support with backing and applying a squeegee or microfiber cloth, and pushing out any air bubbles to the centre of the cover and towards the edge.
- Bolt-On Covers: Insertions by the use of a screwdriver, then tighten with the correct tool in order to gently fit the cover into place. Do not crimp in a manner that will produce warps or damage in the threads.
Lastly, ensure that the fuel cap opens easily, and the cover does not obstruct this fuel gauge, as well as your vision.
In certain respects, tests conducted by the project timeline indicate complete work completion, with the construction field taking the ultimate decisions on the site.
Step 4: Post-Installation Checks
The tests to be taken by the project timeline show full completion of work on the site, with the ultimate decision made by the construction field.
It is not over as soon as your cover is on.
- Check around the bike: Check to see that there are no air bubbles, folds or wrinkles, or loose edges.
- First Ride Inspection: Re-examine all the edges and straps after a brief ride. Loosening of a fresh installation can be caused by vibration.
- Cure Time: In the case of adhesive covers, make sure not to wash or reexpose the adhesive for at least 24 hrs so as to ensure complete machine dryness.
Common Mistakes to Avoid
- Putting in on a greasy tank, the quickest way to get a bad job.
- The cold vinyl that is stretched can crack or peel off with time.
- Excessive strapping of the backpack onto the knees or shoulders of the rucksack carrier while carrying some weight in the bag can dent the paint and press components.
- Spread the fuel cap thinly, test the block first before laying it out.
Tips on cover maintenance of tanks
A little care goes a long way. Wipe your cover with a wet microfiber towel and gently wash it with soap. Clear of rough solvents, scathing cleaners or petrol spills. On leather covers, apply specific conditioner every now and then. Always park where it is shady so as to avoid fading and brittle shapes.
Why Buy from Aliwheels
Aliwheels realises the significance of an ideal fit. We provide real-fit gas tank coverings confirmed with our model, such as the Suzuki Boulevard C50. In the case of Aliwheels, where it has customer-proven quality, it is durable and with durability comes a snug, professionally fitted one that lasts long term.
Conclusion
An appropriate gas tank shielding cover not only adds to the look of your Boulevard C50, but also protects your fine paint job and retains the value and persona of your bike. It is one of the easiest and most efficient upgrades as it requires the right component and proper installation.
Shop Suzuki Boulevard C50 accessories and more at Aliwheels and ensure that your vehicle continues to appear factory-fresh.