It is not just a vehicle; your motorcycle is an extension of your personality. Motorcycle graphics decals are one of these easy forms of expressing yourself. You can use them as a creative, cheap way of painting your motorcycle without spending much money on paint. This guide outlines the merits, variety of the type of decals and gives useful tips on the choice of decals and application of these tips. Make your ride your personal statement.
The importance of Customisation to Riders
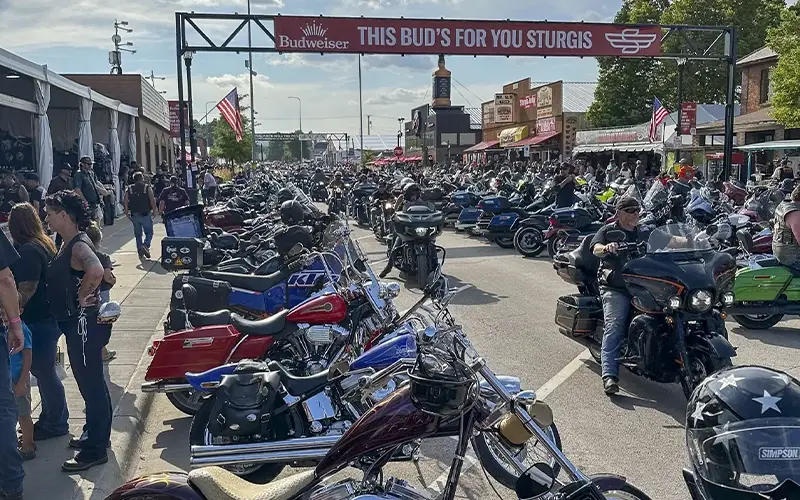
Personalising your motorcycle allows you to demonstrate who you are. It defines your motorcycle differently. Motorcycle Graphics Decals are an easy and less expensive method of updating your appearance. They are also important in providing value to prospective purchasers, demonstrating the fact that you have taken care of the motorcycle and made it personal. Decals on owners of such marques as Kawasaki or Yamaha can report brand pride in a new personal style.
Different Types of Motorcycle Graphics and Decals
Full-Body Wraps: Gift wrap everything about your motorcycle. They are radical and revolutionary.
- Partial Kits: It is ideal when a subtle change is required. Add tank pads, one side panel stickers and fairing accents.
- Custom Logos and Lettering: Add your name, a number to the race or the insignia of a favourite club, just to make the motorcycle your own.
- Reflective and Safety Decals: Not only do these decorations look appealing in daytime, but they also start glowing with light at night, thus enhancing visibility.
- Limited-Edition OEM Designs: Versions based upon factory styles, yet may have an individual superset.
The Right Graphics on Your Motorcycle
Choosing the appropriate design: Consider the sort of motorcycle you have; whether it is a sportbike, a cruiser or an adventure tourer, as each type can be matched with specific graphics. Find a decal that fits your paint colour and the shape of your body that will not conflict.
Quality is also important: Seek UV-resistant vinyl and waterproof adhesive, since it will not fade or peel. Make sure you select kits that fit your specific model so well, and weigh to custom suppliers, such as Aliwheels, that offer graphics cut to fit a vehicle exactly.
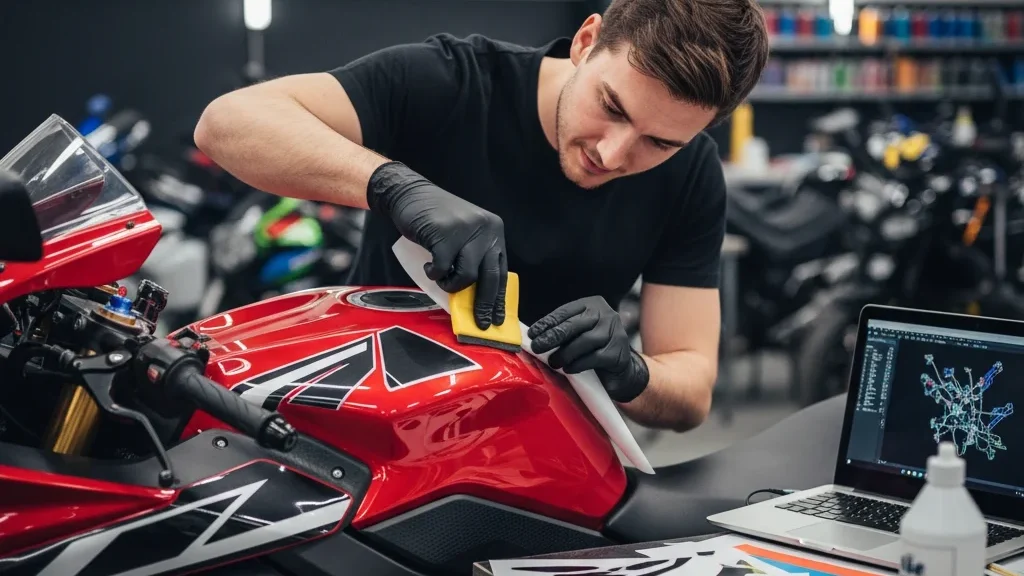
A DIY & a Professional Application
DIY Application:
- Advantages: low cost and rewarding; you can work as fast or as slowly as you wish.
- Cons: Air bubbles, poor fit or edges, are at risk, and it takes patience.
Professional Application:
- Advantages: No bubbles or imperfections on the surface, the flawless finish; the specialists work with tricky wrappings and ensure their durability in the long run.
- Cons: Greater price and inferior hands.
Our Recommendations: Decals are inexpensive DIY endeavours, although full-body wraps or complex designs may require a professional approach.
How to Put up Decals: Step-by-Step Instructions
- Clean the Surface: The motorcycle surface should be completely clean, dry, and free from anything to do with wax. Wipe it off with isopropyl alcohol.
- Measure and Align: Stick the decal, but do not take off the backing. The number of small pieces of masking tape should be used to indicate its right position.
- Make a Hinge: Take off a bit of the backing. Line up the sticky part with the spots of your tape; the rest of the backing will serve as a hinge.
- Peel Gently: peel slowly, ensuring you stamp the decal onto the surface using a squeegee or a piece of soft card. Free air bubbles by working out.
- Apply heat to curve: On curvy contours, such as the fuel tank, apply a low setting hairdryer on the vinyl to ensure that it becomes compliant and extends to irregular surfaces.
- Let It Cure: Once applied, do not run in the rain or wash within 24 hours, as this doesn’t allow time to allow the adhesive to cure properly.
Maintenance tips (longer-term decals)
- Clean Softly: Do not use hard pressure washers and chemicals. Wash with a soft sponge, mild shampoo and under a shower.
- Sun protection: Always find shade to leave your motorcycle when you are not using it, to avoid exposure to the UV rays that fade them.
- Check periodically: Check the edges of decals often. In case it lifts, apply a hairdryer to heat the adhesive and push it down.
Reliable Source
That is where searching for a trusted supplier is important in terms of long-term and developed graphics. Aliwheels is the place where you can find high-quality Motorcycle Graphics Decals, aftermarket, and spare parts. Our designs will suit most of the popular brands of Honda, Kawasaki, Yamaha, and Suzuki barbed wire fences. We use high-quality materials in order to make our graphics appear excellent and endearing in lifespan.
Conclusion
It is an enjoyable and inexpensive endeavour to customise a motorcycle by placing graphics and decals. It allows you to express yourself as well as give your motorcycle a protective surface finish. The decals, when used, are the same. The accent is light or full conversion, depending on the appropriate decal used. Aliwheels is where you can begin customising your own and create your own unique style. Design the motorcycle the same way you are different.