
Ducati is considered a dream for many riders, and many want to customize their motorcycle with aftermarket parts without a mechanic. It is famous for its unmatched road performance and powerful presence. In this blog, we will discuss installing aftermarket Ducati Motorcycle Parts without a mechanic.
Tools You Will Need Before Starting
Foremost, having the right tools is necessary to install aftermarket parts without a mechanic.
- A high-quality socket set and Allen keys
- A torque allows you to tighten bolts
- A paddock stand will keep your Ducati upright and stable
- Threadlocker keeps screws and bolts secure during rides
- Screwdrivers are also required
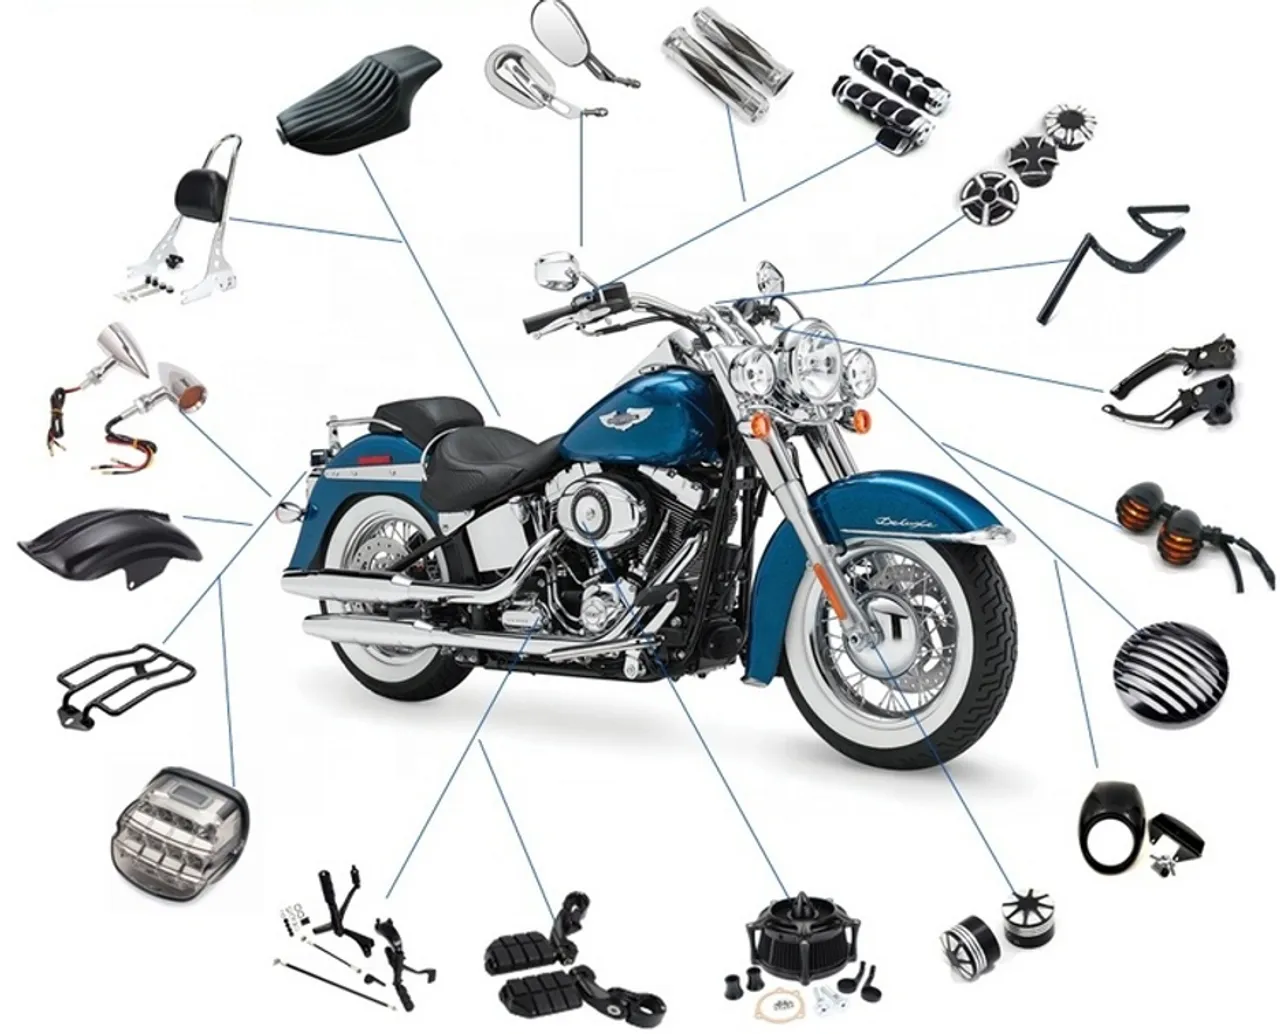
Common Aftermarket Parts For Ducati Upgrade
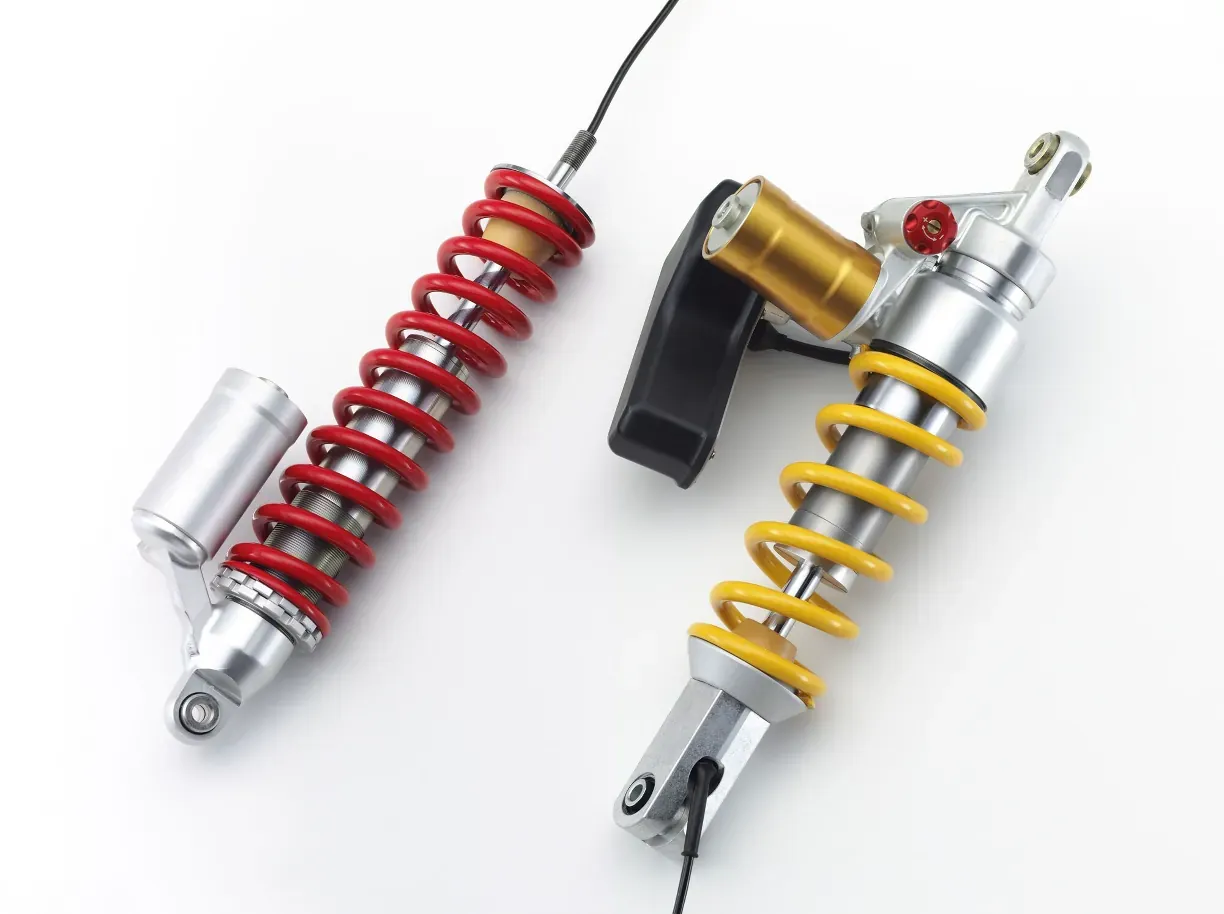
1- Exhaust Systems
Generally, riders want to improve their bikes’ performance, which is why they upgrade the exhaust system. Aftermarket exhaust systems offer better sound quality, and carbon fibre systems are lightweight. It also provides better air flow because freer-flowing exhaust helps the engine breathe better. Slip-on exhausts are more affordable and ideal for riders who want an improved style update without major engine adjustments. However, a full system replacement can be expensive but delivers maximum performance.
DIY installation tips
- Start by removing the stock exhaust.
- It’s important to replace the gaskets to avoid air leaks, which can create annoying popping sounds.
- Fit the new exhaust in place, making sure it is aligned correctly before tightening.
- Torque all bolts to the manufacturer’s specified settings, and use a thread locker on the recommended fasteners for added security.
- After installing, run the bike briefly to check for any leaks before taking it on the road.
Important: Full exhaust systems often need remapping of the bike’s ECU to work properly. If you’re unsure about this process, it’s better to choose a slip-on exhaust for a DIY upgrade.
2. Levers and Foot Pegs
Reasons for upgrading: Updated levers provide adjustable reach, which enhances rider comfort and control, especially for those with smaller hands. Aftermarket footpegs offer better grip and feel, which are crucial during aggressive riding or in wet conditions. Additionally, new levers and pegs are an easy way to add a custom, stylish touch.
DIY installation tips:
- Remove the stock levers by loosening the pivot bolts and carefully disconnecting the clutch or brake cables.
- Slide the new levers in place, ensuring they move smoothly and maintain proper cable tension.
- For the foot pegs, remove the retaining pins and springs, then swap the new pegs into position.
- Be careful to reinstall the springs correctly; if installed improperly, the pegs won’t fold up as intended, creating a safety risk during a tip-over.
Important: Poorly installed levers can impact braking and clutch performance. Test them thoroughly while stationary before riding.
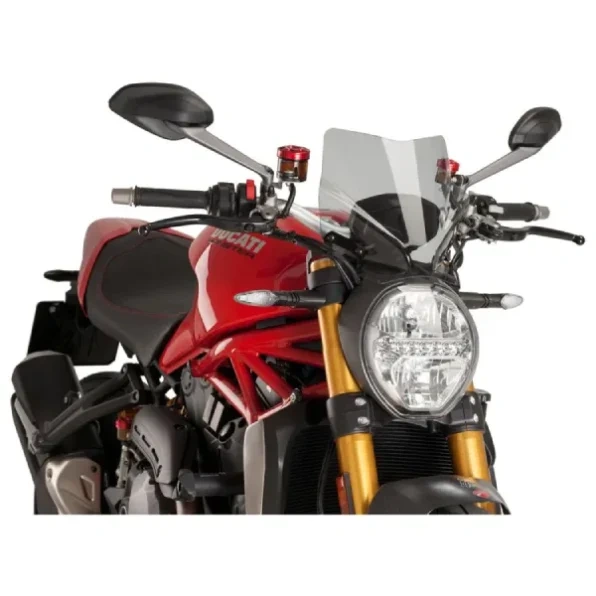
3. Windscreens and Fairings
Reasons for upgrading: A new windscreen can greatly reduce wind buffeting and rider fatigue on long trips, making the ride more comfortable. Upgrading fairing panels to materials like carbon fibre or adding a custom tint can improve aerodynamics and give the bike a more aggressive, personalised look.
DIY installation tips:
- Carefully unbolt the old windscreen or fairing panels. Use a soft cloth to protect painted surfaces from scratches.
- Install the new parts using the provided brackets or original OEM bolts.
- Tighten all screws evenly to avoid stress cracks in the plastic or carbon fibre.
- Important: Over-tightening the fairing bolts is a common error. They should be snug, but not too tight. The rubber grommets absorb vibration; let them function properly without excessive force.
4. LED Indicators and Lighting
Reasons for upgrading: Modern LED lighting enhances visibility for both the rider and other road users. LEDs also last longer and offer a cleaner, sharper appearance compared to bulky, outdated stock indicators.
DIY installation tips:
- Always disconnect the battery before starting any electrical work to avoid short circuits.
- Remove the old indicators, being careful with the wiring polarity.
- Plug in the new LED indicators. If they flash too quickly (known as hyper-flashing), resistors or an LED-compatible relay must be installed to fix the flash rate.
- Neatly secure all new wires with zip ties to prevent them from rubbing against the sharp edges of the motorcycle frame.
Important: Exposed wiring can be a safety hazard. Ensure all connections are properly insulated with heat-shrink tubing or electrical tape.
5. Performance Air Filters
Reasons for upgrading: A performance air filter is an easy and effective way to improve airflow to the engine. This can lead to better throttle response and a more lively, responsive feel from the bike.
DIY installation tips:
- Access the air box, which is usually under the fuel tank or seat.
- Remove the old filter and clean the air box housing thoroughly.
- Insert the new performance filter, making sure it creates a tight seal.
- Securely close the air box to stop dirt and debris from entering the engine.
Important: Never run the bike without a properly sealed air filter. This could let dust and other particles enter the engine, causing serious internal damage.

Conclusion
In this blog, we discussed the DIY guide for installing aftermarket Ducati parts. Moreover, we explored the installation tips and tools you will need before starting. Lastly, it is necessary to choose a good source to buy aftermarket parts. For instance, Aliwheels is one of the affordable websites for quality purchases.