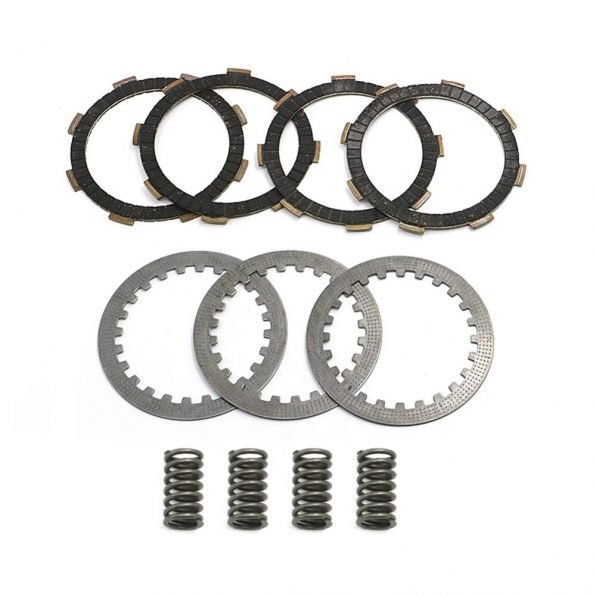

Wondering how to maintain motorcycle brakes, we will explain how to change motorcycle brake pads Except for annual fluid bleeding and pad examination or replacement, modern motorcycle brakes require little maintenance. Changing pads is a simple afternoon project, and if you buy high-quality ones, you’ll get better performance for less money. Check your pads with a ruler or a calliper if they appear to be too small. It’s time to replace them if there are only two millimetres of material left. Here’s how to take care of your brake pads and callipers.
Remove Your Callipers :
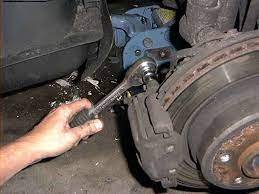
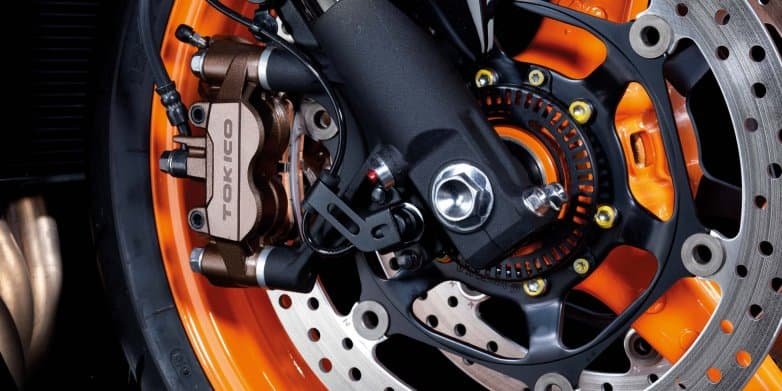
Although the callipers fastened to the forks can be used to change brake pads, it’s preferable to remove them so you can thoroughly inspect all of your braking components. Begin by putting your bike on a centre or rear stand to support it. It’s beneficial to be able to spin the front wheel for access, therefore leaving the fork free to turn. After that, release the pad retaining hardware with the calliper in place. Any retaining pins and clips are included in this. Then unbolt the calliper and remove the old brake pads, making a mental note of their orientation and any spring plates or spacers that may be present
Scrub & Clean Everything :
Push Your Pistons Back In :
Remove the master cylinder—or rear brake cylinder if you’re changing the rear brake pads—reservoir cap and record the fluid level to press your pistons back in. Using your fingers or the old brake pad, gently press the pistons back into the calliper body. As you press in the pistons, the reservoir will fill with fluid; wick it off with a paper towel or draw it off with a syringe so it doesn’t overflow and spill all over your bike.
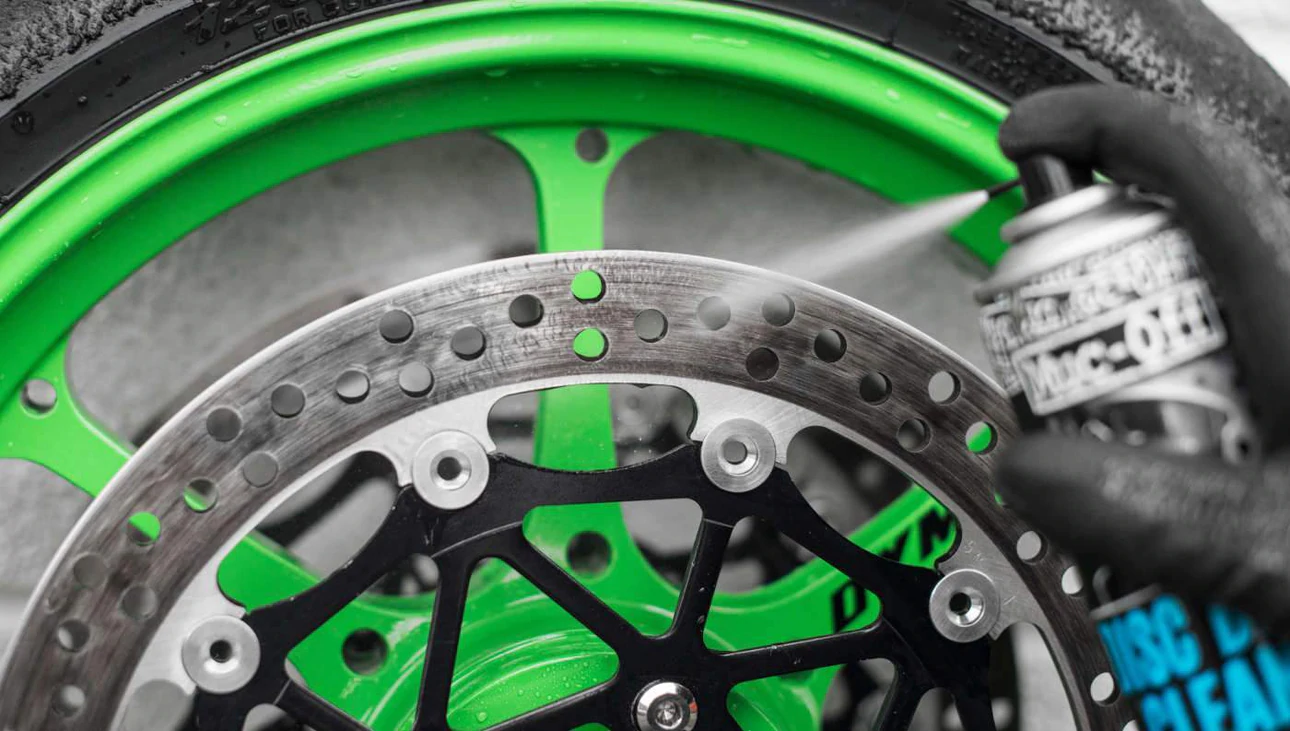
Dress Your Rotor :
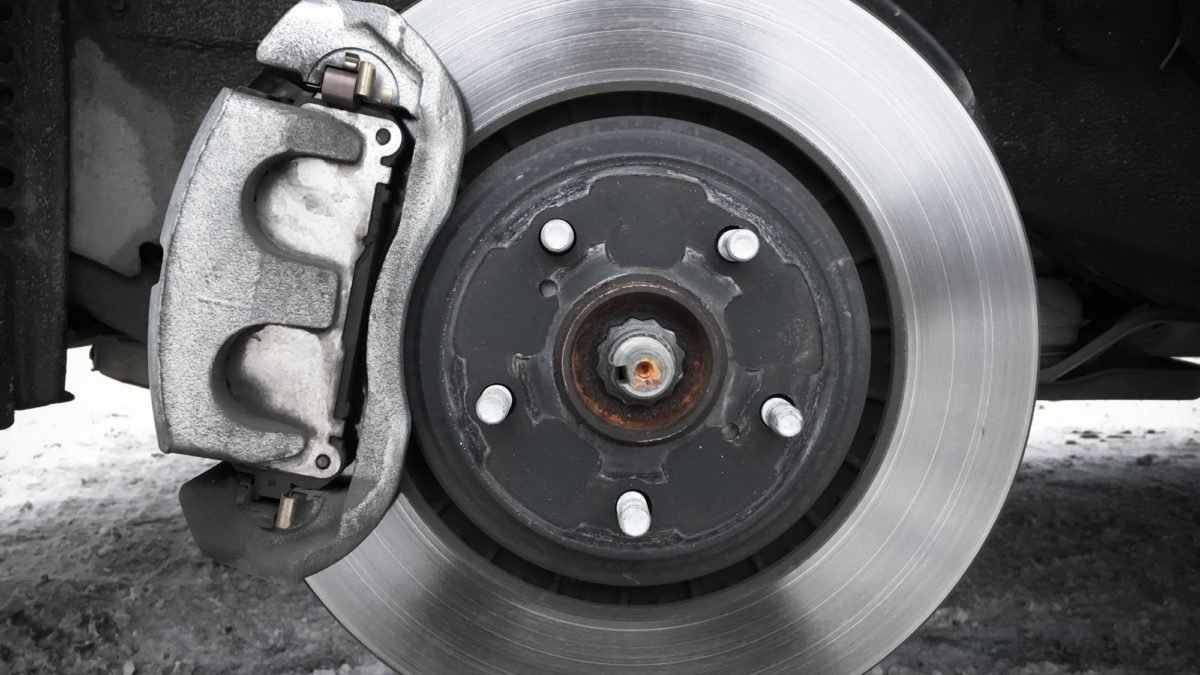
Dress the rotor with a red Scotch-Brite pad and brake cleaner, then a clean rag while the calliper is still off. The goal is to remove any filth and glazing so that the new pads can settle into a clean surface. This is an important step that you should not skip!
Install the New Brake Pads :

Install the new brake pads—noting the direction marked on the pads—in the calliper then reattach the calliper and torque all fasteners according to the service or owner’s manual. Pump the brake lever and check the brake fluid level. Now would be a great time to bleed your brakes, but otherwise, reinstall the reservoir cap.
Ride & Bed Your Pads :

Start with a few hundred stops at greater speeds to break in your new pads. Your brake rotor must have a layer of new brake pad material on it to work at its optimum. When you slow down and stop, this will reduce brake squeals and vibration. Also, keep in mind that your new pads may not be completely mated to the disc for several hundred miles.