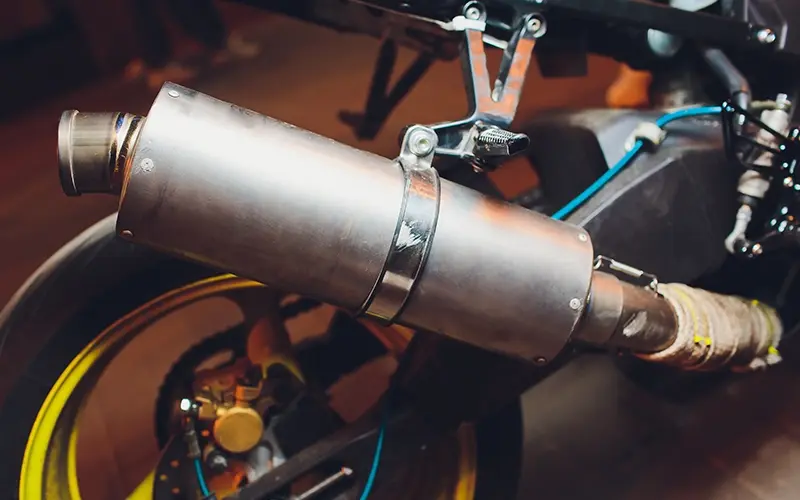
Fender eliminator kit can dramatically change the appearance when personalizing a bike. The stock rear fender is massive and it serves a compliance purpose and thus it is not always appealing. Motorcycle Fender eliminator Kit is preferred by riders who desire a sleek and aggressive look. It removes the tail part and makes the bike more track-ready.
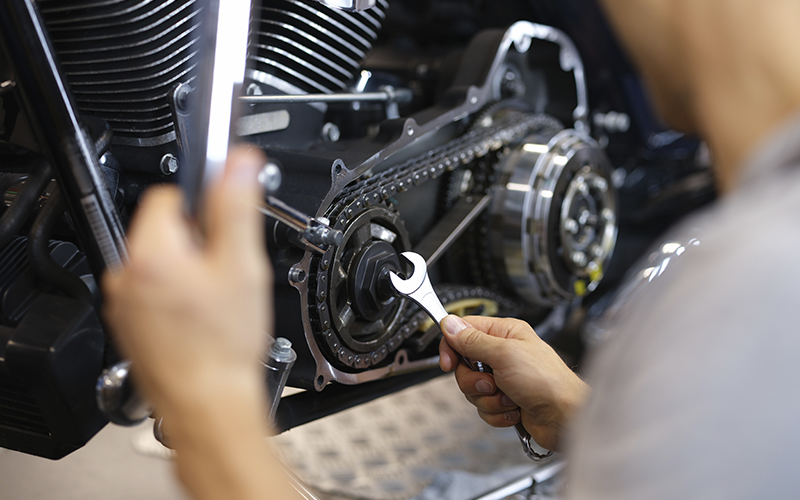
The good thing is that it is easy to install. All you need is some simple equipment and some time to make your bike better in your garage.
What is a Fender Eliminator Kit?
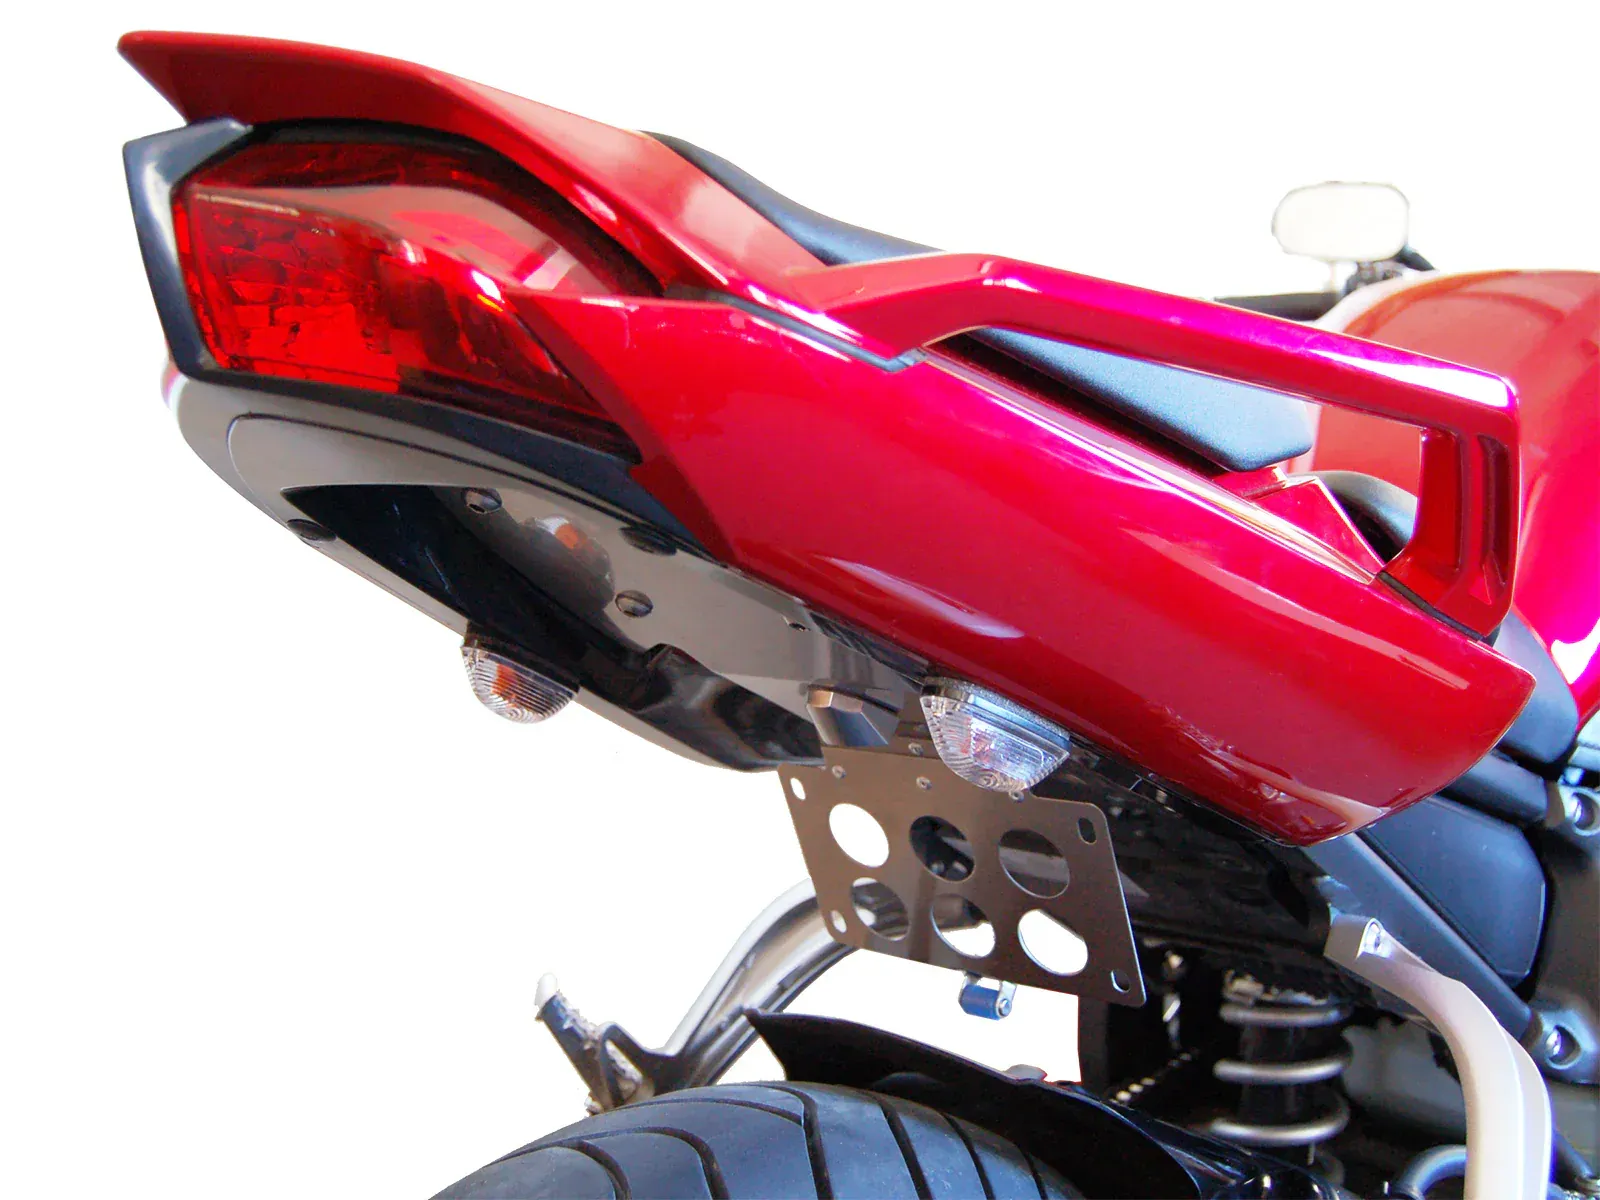
A fender eliminator kit is used to remove the normal rear fender and install a thin bracket system. The bracket contains the license plate and usually has inbuilt turn lights or LED lights.
Stock Fender: Large, heavy, fit to grab road debris and comply with regulations.
Fender Eliminator: Slim, sleek and makes your bike look sporty.
The kit also gives the motorcycle a look of performance without changing the fundamentals.
Tools You need to Install a Fender Eliminator Kit at Home
To begin with Fender Eliminator Kit, you will need:
- Your preferred fender eliminator kit (be sure it is model-specific).
- Basic socket wrench set.
- Phillips and flathead screwdrivers.
- Pliers and wire cutters.
- Heat-shrink or electrical tape.
- Zip ties to clean up wiring.
- Torque wrench (recommended).
Installation Guide Step-by-step
Preparation and Safety
- Put the bike on a stand or a flat level area.
- Unplug the battery to prevent unexpected shorts when working with wiring.
- Check the instructions of the kit; every little difference counts.
Remove the Stock Fender
- Lift the tail part to expose the bottom.
- Unscrew the bolts which hold the factory fender.
- Be careful to unscrew any turn signal, plate light, or reflector wiring.
- Reduce the fender of the stock and take it off, retaining the bolts.
Pro Tip: Before unplugging any equipment, take a picture of the wiring. This will assist you to reconnect the wires with the new set up.
Assemble the Fender Eliminator Kit
- Open the kit and locate all the parts.
- The majority of kits consist of brackets, plate lights, and signal mounts.
- Check-fit the bracket to the bike then tightens bolts to fit correctly.
Install the Bracket
- Place the main bracket in the place of the old fender.
- Fasten it with the bolts supplied or with the original hardware.
- Tighten the bolts to the required specification using a torque wrench.
Wire the Lights
- Attach the LED plate light of the kit to the wiring harness of the motorcycle.
- Find the color of the wires (ground is generally black, positive is generally red or yellow).
- Seal the connection using heat-shrink tubing or electrical tape to seal out moisture.
- In case the kit is fitted with inbuilt signal lights, wire them in the same manner.
- Certain LED kits need a resistor or relay to inhibit hyper-flashing.
Mount the License Plate
- Screw the plate to the bracket with the screws provided.
- Recheck that the plate is present and that it is in accordance with local laws.
- Secure and Clean Wiring.
- Wire wires with zip ties.
- Do not leave any wires hanging around the tire, suspension, and exhaust.
Test Everything
- Reconnect the battery.
- Switch on the ignition and check the plate light and turn signals.
- Check brake lights in case the kit is connected with them.
- When everything is in order you are set to ride.
Common Mistakes to Avoid
Failure to follow instructions may cause:
- Slack wiring can result in shorts or tires rubbing against wires.
- Tightening bolts excessively may strip off threads or cause damage to bracket.
- LED signals might flash too rapidly when resistors or relays are ignored.
The advantages of Fender Eliminator Kit Installing
- Sleeker Look: It transforms the rear profile of the bike immediately.
- Loss of weight: It eliminates the superfluous mass.
- Customization: With numerous kits you can select the light styles and bracket designs.
- Resale Value: Clean stylish setup will appeal to buyers.
Post-Installation Maintenance
- Periodically check the bolts to ensure that they are not loose to vibration.
- Clean the LED lights as much as possible.
- Check wiring regularly to check wear or exposure.
- Re-use anti-rust treatment when using a metal kit.
Conclusion
The simplest and most effective form of customizing the appearance of a motorcycle is to install a fender eliminator kit. Proper equipment and proper installation will make you have a more sporty appearance with clean look and still be safe and functional.
It is a DIY project that most riders can complete at home with simple tools and thus is an excellent introduction to motorcycle customization.
Are you willing to change the style of your bike? The AliWheels fender eliminator kit collection is a curated collection of quality and performance-based fender eliminator kits.